As I was picking Tami for the airport this morning I was thinking "I got to go home and finish this puff pastry post already. Kind of ready to move on" Now that I sit at the computer putting words to my thoughts, it feels a little like Christmas morning. I am getting giddy all over again.
I know I know. It’s dough. But I am staring at a block of layer upon layer of buttery goodness. And it’s all gluten free. And it’s good. And it puffs. And it makes me stand up and say "heck yeah we can do this!" I’m obstinate and stubborn you see.
It took quite a few tries to get to what I did consistently for the past two weeks. Five times now to be exact. Yep, even if it meant eating puff pastry for two weeks straight just to make sure I did not just get lucky on the first try. I got lucky all five times. That’s not luck anymore – that’s a recipe ready to roll. Pun intended. Oh yes!
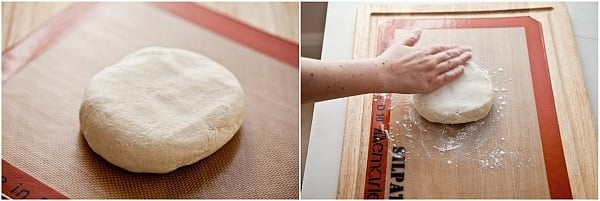
Dough "detrempe" ready to roll before butter block.
I could not have done it without Shauna and Danny. It was high time for a classic puff pastry recipe that would not make anybody cuss up and down their street "it was hell-ish to work with" and they just "managed a substitute". While I am finally happy with this one, I can’t wait for the rough puff pastry version that Shauna and her husband have been working on these past few weeks! Check her site soon for that version. I know their dedication. You’ll want to read it.
From the gluten free point of view, this ain’t no substitute! This is not hell-ish to work with. It actually feels as good under my fingers as my favorite puff pastry recipe from Martha Stewart. I want to rest my head on it and take a nap it is that soft.
It bends and it moves. It has dimples and ripples. It rolls and folds. It stretches just enough and never pulls away. That’s the joy of gluten free baking.
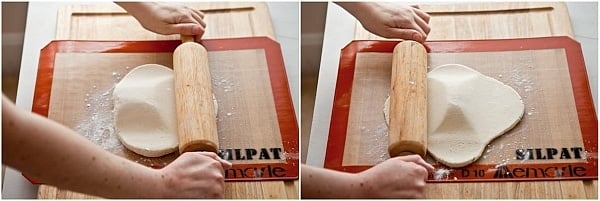
Rolling the "detrempe" before the butter block.
I used to think while working on the recipe that people who could bake with gluten had it easy because of the elasticity pertinent to each strand of gluten. Now that I am "getting" gluten free baking each day a little/lot more, I realize that we have a serious advantage: I can flour the heck out of my counter top to roll my dough and never worry about adding too much flour. I never worry about a batter becoming to stiff, too stretchy because I overworked the gluten. There is joy in this people. There is calming effect to that notion.
But, I am glad you were not there in the kitchen the very first time I tackled gluten free puff pastry. That was sometime last September. It did not work. It worked just enough to make me want to get it right though!
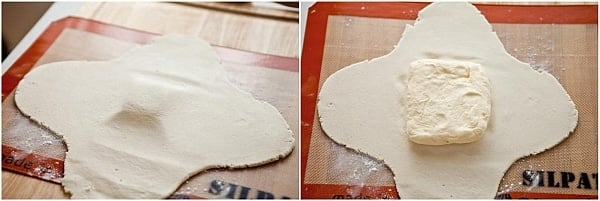
Creating a cushion mat before the butter. Just enough butter.
I uploaded a picture and my recipe and send it off to Shauna. Her response was immediately "too much butter – but look at those layers" See…I knew it. It was possible. As much as it pains me to say, there was too much butter indeed for something gluten free. We bounced back a few thoughts: maybe add an egg, maybe change the flours. All valid thoughts. And then I sat on it for a few months.
There was something that bugged me from those first experiments. Handling that dough, with the proportions and recipe I had in front of me, was like being on the brink of a cliff on a tight road in a big old truck. Nerve wracking. It cracked everywhere. It did not bend. It did not look good or felt good under my hand. I have the tenacity of a bull so I didn’t give up but the whole time I kept thinking that I did not want any of my readers left alone with this dough. You would have hated it with every fiber of your being. I sure did.
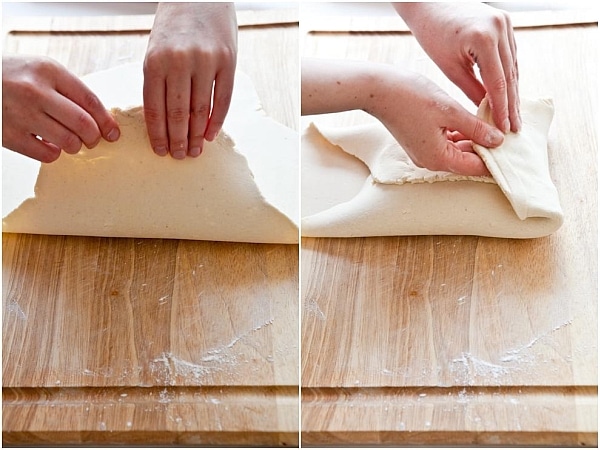
Folding dough flaps over butter. Most pliable dough ever.
As months went by of gluten free baking, I have started to acquire a more comfortable handle of the flours, which ones were softer in my hands or were nicer to our palate. I started picking my puff pastry recipe again and jotting down my favorite flours and possible ratios for them.
Then I remember Shauna’s words "too much butter" and started working on the butter part of the recipe. This one left me puzzled. Classically trained. French. And now I had to do this Holy Grail of pastry with less butter. Oooohhh… I stripped it down to the very minimum and I went to work. And it worked. And I did this. Really.

Butter block encased and ready to be rolled in with the dough.
From the classic puff pastry point of view: this still bears a higher degree of difficulty than other tart dough but trust me when I say it’s not rocket science. Just like most things in pastry though, you have to pay attention. A little of that goes a long way. And some time to set aside to give your day enough chilling time between each turn. Not because it needs to rest its gluten strands, obviously but because this dough is a bit wetter than usual and the cold helps with all the rolling and handling.
Just like with regular puff pastry, one other critical step is to have your dough block and butter block at the right temperature before starting the layering/rolling process. I like for my butter block to still be firm to the touch but for the top to slightly give under my fingers. It might take you a couple of tries though whatever type you chose to work with (gluten or gluten free). One thing for sure is that there is such a thing as too cold butter and too soft butter. If you have the latter case, just place your dough block as the recipe indicates but refrigerate for 20-30 minutes before attempting to roll it out.
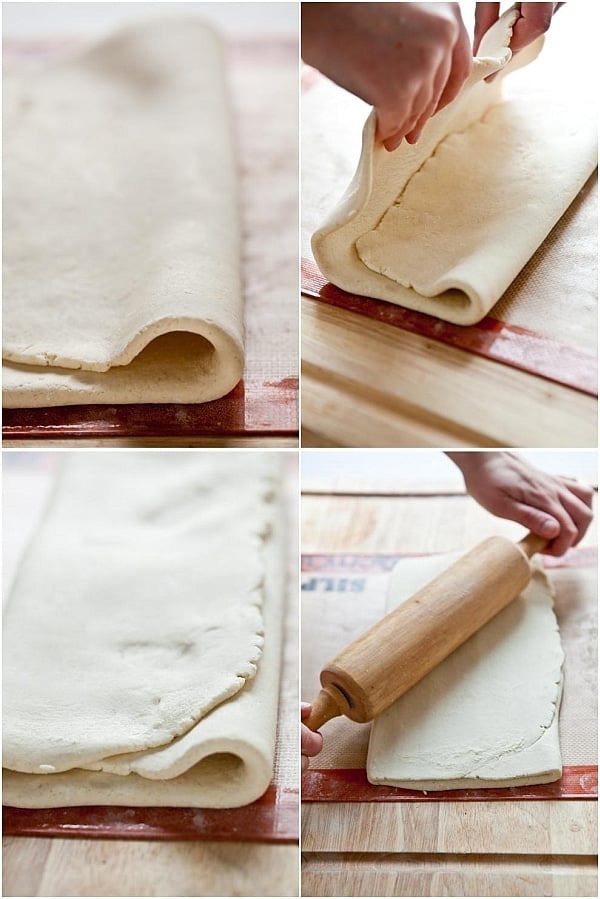
Rolling and layering – doing the turns.
The possibilities once you have your dough ready to go after all your turns are done, just make sure to refrigerate the dough once more before rolling and cutting and using. It will thank you a plenty.
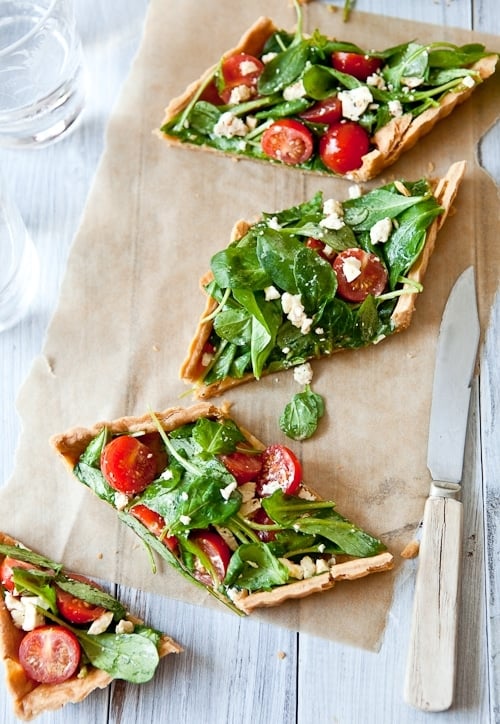
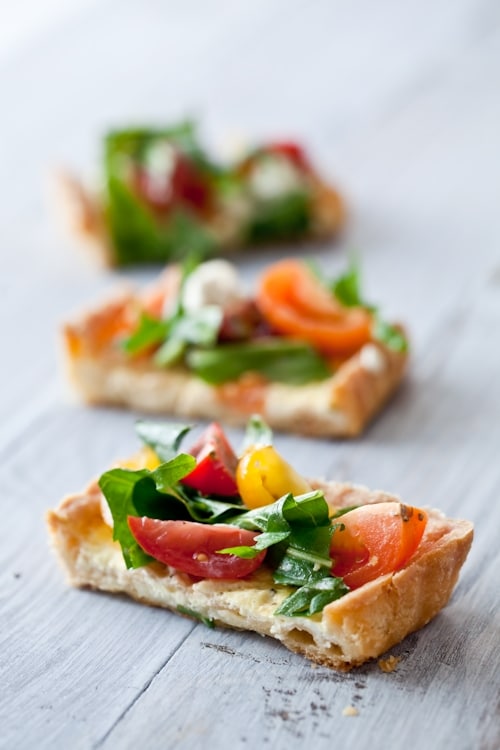
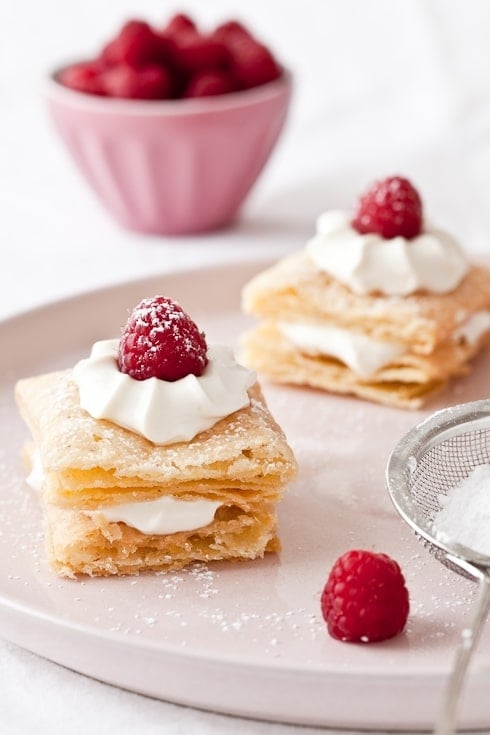
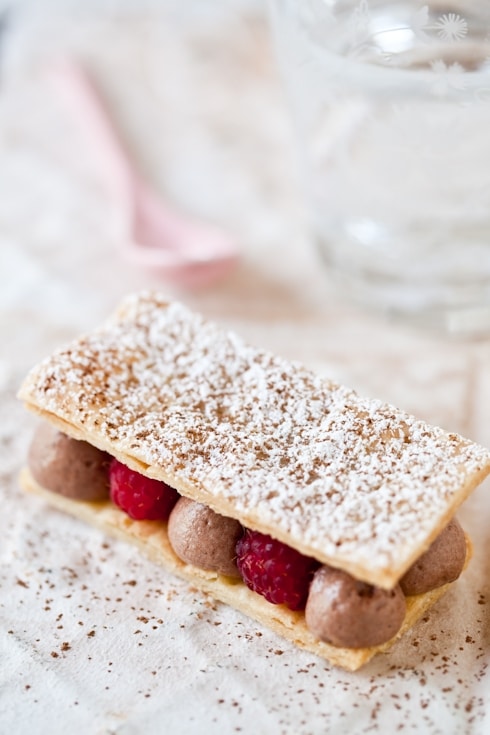
See the first picture with the tart shells filled with all these beautiful ingredients? That’s going to be lunch for my friend Tami from Run With Tweezers who is visiting for a week and myself. That’s why I am late posting this today. We had a "no work all play" kind of day. Bill might have some leftovers…if he gets home at a decent hour. Otherwise he’ll just have to be happy with some chocolate mousse and Raspberry Mille Feuilles. Tough. I know. I am super strict with his diet.
Classic Puff Pastry – Gluten Free
Notes: rolling the dough on a piece of silicone mat is very helpful if you are new to baking gluten free or new to baking puff pastry. You don’t have to if you flour your pastry board generously but I do it even now. Makes cleaning up way easier!
This is the flour combination that we liked best but feel free to experiment. I did try it twice with tapioca flour instead of cornstarch and although the consistency was the same – we did not care much for the strong tapioca taste so I tried a few times with cornstarch and it worked better for us. One day I replaced the millet with cornmeal(I was tired, not paying attention) and it worked out well also.
If you are not gluten free, here is my go-to recipe for puff pastry on which I based these experiments.
This dough is wetter than what you would expect, for a good reason: it really rolls soft and beautifully with a greater ratio of water than most BUT refrigerating is crucial with it. Each grain will soak in some of the moisture which will work to your advantage as it chills. Use plenty of gluten free flour to roll it out or use a silicone mat.
For the dough block:
1/2 cup superfine sweet rice flour
1/2 cup brown rice flour
1/2 cup millet flour
1/2 cup cornstarch
1/4 teaspoon salt
1 teaspoon xanthan gum
1/4 teaspoon guar gum
3/4 cup cold water
For the butter block:
1 1/2 sticks unsalted butter, soft but not room temperature just yet
1 tablespoon superfine sweet rice flour
Make the dough package: In a large mixing bowl, combine all flours with the salt and both gums.
Form a well in center of mixture, and pour the water into well. Using your hands, gradually draw flour mixture over the water, covering and gathering until mixture is well blended and begins to come together. Gently knead mixture in the bowl just until it comes together to form a dough. Pat dough into a rough ball, and turn out onto a piece of plastic wrap. Wrap tightly, and place in refrigerator to chill 1 hour.
Make the butter package: Sprinkle 1/2 tablespoon flour on a sheet of waxed or parchment paper. Place uncut sticks of butter on top, and sprinkle with remaining 1/2 tablespoon flour. Top with another sheet of paper; using a rolling pin, pound butter to soften and flatten to about 1/2 inch. Remove top sheet of paper, and fold butter package in half onto itself. Replace top sheet of paper, and pound again until butter is about 1 inch thick. Repeat process two or three times, or until butter becomes quite pliable. Using your hands, shape butter package into a 4-inch square. Wrap well in plastic wrap, and place in refrigerator until it is chilled but not hardened, no more than 10 minutes.
Assemble and roll the dough: Remove dough package from refrigerator, and place on a lightly floured work surface. Using a rolling pin, gently roll dough into a 9-inch round. Remove butter package from refrigerator, and place it in the center of the dough round. Using a paring knife or bench scraper, lightly score the dough to outline the butter square; remove butter, and set it aside. Starting from each side of the center square, gently roll out dough with the rolling pin, forming four flaps, each 4 to 5 inches long; do not touch the raised square in the center of the dough. Replace butter package on the center square. Fold flaps of dough over the butter package so that it is completely enclosed. Press with your hands to seal.
Using the rolling pin, press down on the dough at regular intervals, repeating and covering the entire surface area, until it is about 1 inch thick. Gently roll out the dough into a large rectangle with one of the short sides closest to you. Be careful not to press too hard around the edges, and keep the corners even as you roll out the dough by squaring them with the side of the rolling pin or your hands. Brush off any excess flour. Starting at the near end, fold the rectangle in thirds as you would a business letter; this completes the first single turn. Wrap in plastic wrap; place in refrigerator 45 to 60 minutes.
Remove dough from refrigerator, and repeat process, giving it five more single turns. Always start with the flap opening on the right as if it were a book. Mark the dough with your knuckle each time you complete a turn to help you keep track. Chill 1 hour between each turn. After the sixth and final turn, wrap dough in plastic wrap; refrigerate at least 1-2 hours or overnight before using.
For the chocolate mousse in the raspberry – chocolate mousse Mille Feuilles:
See recipe here.
For the recipe for the lemon mascarpone cream:
See recipe here. (minus the rhubarb)
