The first time I heard about Squam Lake and Squam Workshops I said outloud "Ugh?". That was last year. Now, when I hear those words, something inside of me lights up and I say "heck yes!"
Squam is truly a magical place. A three day retreat put together by a group of talented women with the gorgeous Elizabeth leading the troups. I was honored to be asked by Elizabeth to come teach last September and the experience changed me deeply. I understood I needed to be nicer to myself. My inner child resurfaced. The one everyone in my family talks about. I found her again. It made me progress and gave me what I called a work inspired. A direction. I am not letting go of that feeling, no matter how hard it is to express.

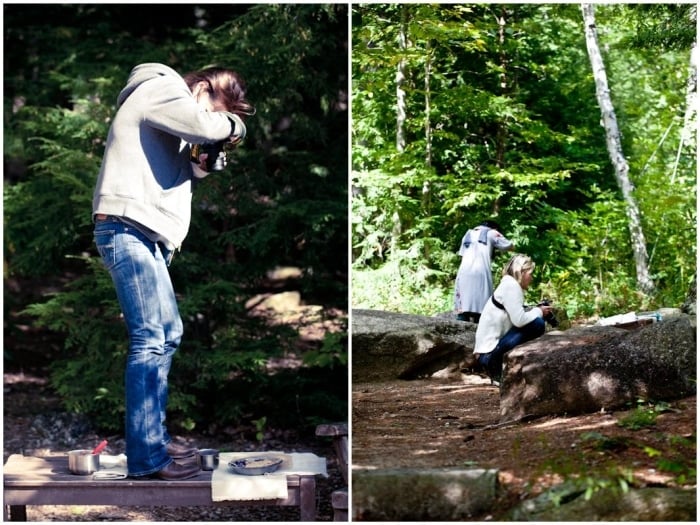
At Squam, I met women so reserved, it was a gift to see their personalities transpire through their paintings, screen printing or story telling sessions. I also meant women so gifted at expressing themselves and leading others into tapping into their resources, that it was inspiring in itself when I went to lead my workshops there.
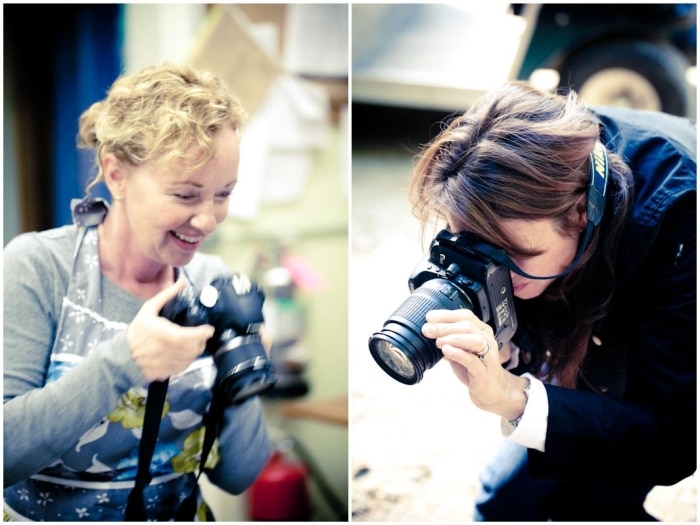
Back in September, I taught two food photography and styling class at Squam and really did not want to see the sessions end. The morning was devoted to cooking the food we would be styling and photographing in the afternoon. We had the luxury of the camp’s commercial kitchen, equipped with everything we could need. During one session we made savory tarts and the day after we made cobblers and crisp.

And we shared with everyone…I had the best roomates to come back to at night and share a glass of wine with in front of a warm fire. A couple of slices of tarts or a spoonful of cobbler and we were good to chat the night away.
I was thrilled when Elizabeth asked me to come back and teach again this year. Not once but three times! I just can’t wait. I love how each session combines cooking and photographing so no matter what you forte is with food and pictures, you will learn and have fun in the process. I loved all my students last year and learned so much from them too that I can’t wait to meet the new ones this year!
I will be teaching two classes at the Squam June Retreat In New Hampshire(I know it reads that one class is over 2 days but both are all day classes. All day Thursday and all day Friday). Then I will be back in NH at Squam for their September Retreat with two more classes. And I am super excited to be teaching at Squam By The Sea on the North Carolina Outer Banks. Check all the classes and schedules on the website. Hope to see you there!
Making. Creating. Having fun. Letting go. Going with the flow. There is something for everyone at Squam. No matter your skill level. Hanging out is also a art form you know…!
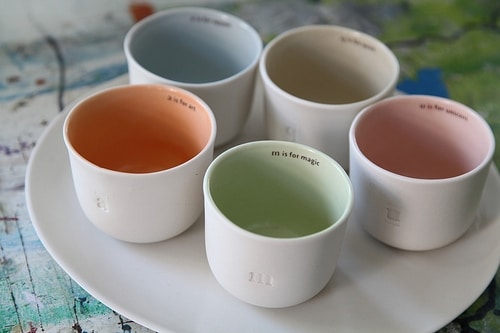
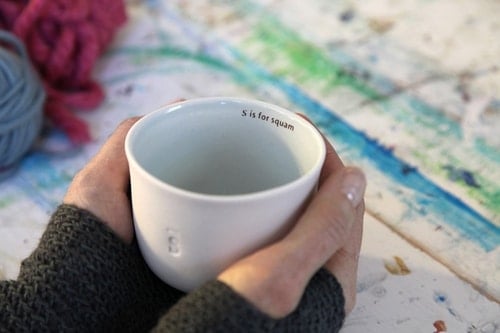
To celebrate this year’s workshops and their brand new shiny website, the folks at Squam are doing a little giveaway for you guys. Every month, the Squam site will offer one exclusive item for sale. This January, it’s these much coveted cups from Gleena Ceramics. I am thrilled to see my friend Asya’s gorgeous pieces associated with all the goodness that is Squam. Up for grabs is the "s" is for squam cup.
All you have to do is leave a comment on this post. I will draw the name of the lucky winner on Tuesday at noon (Eastern US time). Why not taking this opportunity to tell me one Special talent that you have…!
Squam is fun, Squam is enriching, Squam is what you want it to be. No one to force you into anything. No one to frown or look at you sideways. Squam is sharing. Tart and cobbler recipes after the jump!
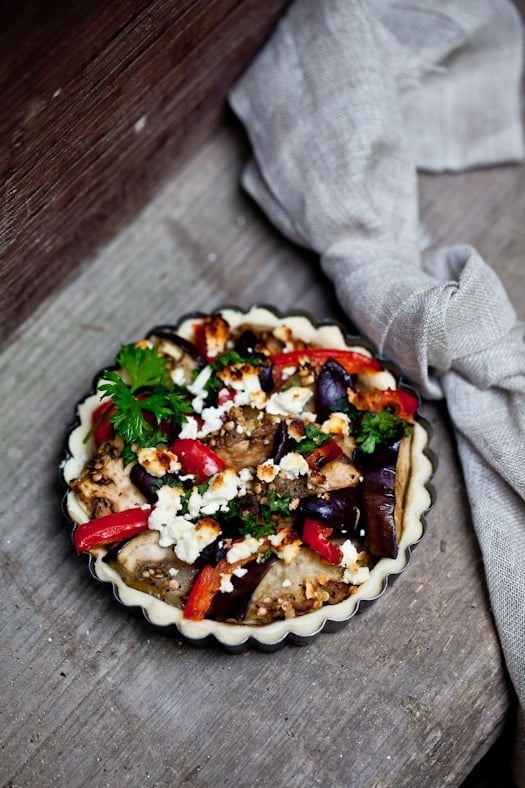
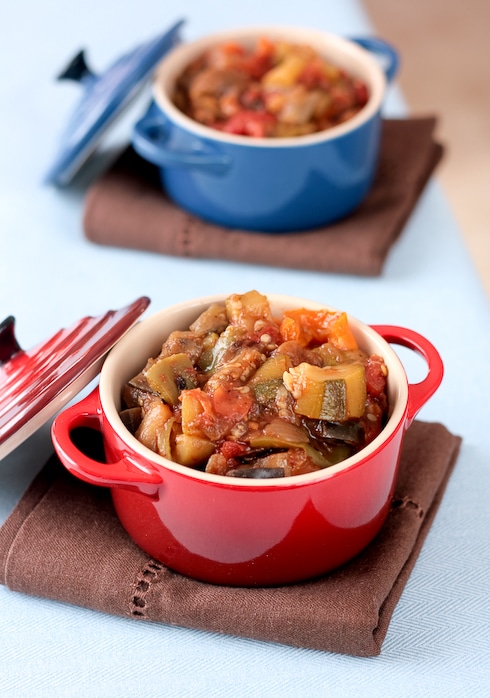
Ratatouille Tart:
Makes one large 9-inch or eight smaller 4-inches tartelettes
Ingredients:
For the crust:
1 1/4 cups all purpose flour (or same amount of Jeanne’s gluten free flour mix)
generous pinch sea salt or kosher salt
1 stick (115gr) cold, unsalted butter, cut into 1/2″ cubes
1/4 cup ice cold water, or enough to just hold together the pastry
1 egg wash – yolk, pinch salt, splash water, blended together
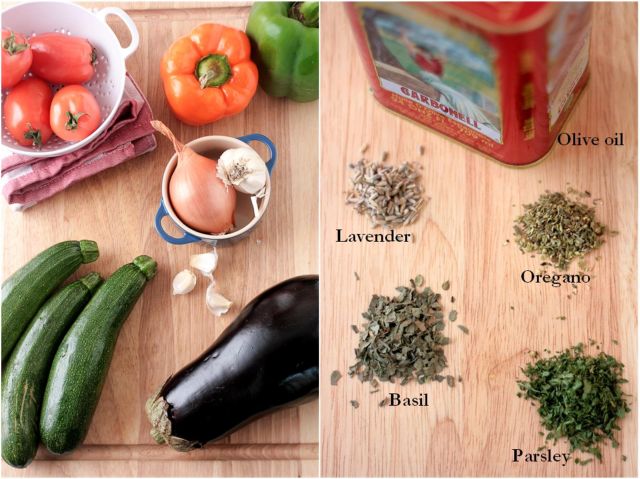
Half the quantity of ratatouille recipe here.
1/2 cup feta or goat cheese.
Directions:
In the bowl of a food processor fitted with a plastic blade, pulse together the flour and salt. Add the cold butter all at once. Pulse until the flour is the size of tiny peas. Drizzle the ice water through the mouth of the food processor, while pulsing. Stop just when the pastry begins to come together. Empty the bowl onto a lightly floured surface and form into a disk using your hands. Wrap with plastic wrap and refrigerate for at least 30 minutes. This can be done up to 2-3 days in advance. You can of course, do the whole thing by hand.
Once the pastry has rested, preheat the oven to 375F. Roll it out on a lightly floured surface, to about 1/4″ thickness. Line the tart pan with the pastry (or several tart shells if doing small ones). Line with parchment paper and fill it with pie weights or dried beans and bake in preheated oven for 20 minutes. Remove the parchment and weights, brush down the bottom, sides and edges of the tart shell with the egg wash using a pastry brush. Return the tart pan to the oven and bake another 10 minutes or until golden. Remove from the oven and set aside to cool slightly.
Fill the tart shell(s) with the ratatouille, top with the feta or goat cheese and return to the oven for about 20 minutes.
————————————————————————————-
Blackberry Cobbler:
Makes 6 to 8 (depending on your ramekins)
Ingredients:
For the fruit:
4 cups blackberries
2 tablespoons honey
juice and zest of one lemon
1 tablespoon cornstarch
1 teaspoon cardamom (optional)
For the crisp:
1 cup Jeanne’s all purpose gluten free flour mix (or same quantity regular flour)
1/2 cup (100 gr) light packed brown sugar
1 stick (113 gr) butter, softened
Directions:
Preheat the oven to 350F (convection or regular) and position a rack in the center. Prepare the fruit filling:
Place the blackberries in a large bowl with the honey, lemon zest and juice, cornstarch and cardamom. Toss well and reserve.
Prepare the crisp topping:
In a medium bowl, combine with your fingertips or a pastry blender the flour, sugar and butter and form large clumps of dough. Refrigerate at least an hour or freeze overnight.
Assemble and bake:
Divide the fruit filling evenly among 6 gratin dishes or ramekins. If the crisp dough was refrigerated, just break apart clumps of it over the fruit with your fingertips. If it was frozen, you can simply grate it on top with a large cheese grater.
Bake for 20-30 minutes. Let cool.