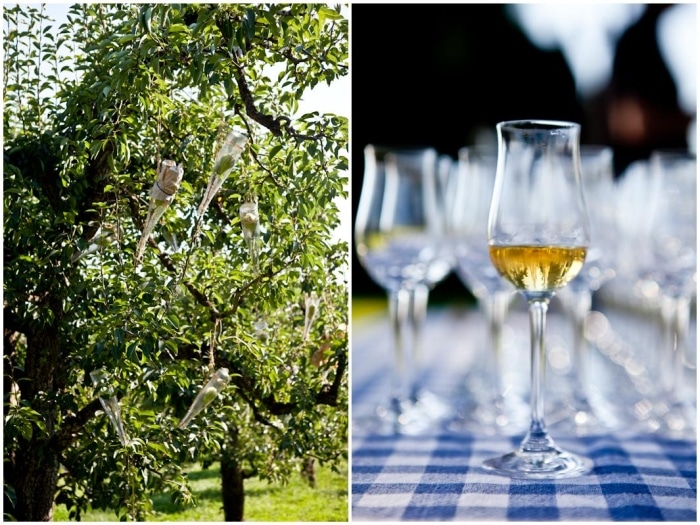
All packed and ready to go! I think. First stop Scotland for a couple of short days. Then we will head over to Ireland and backroad our way to Belle Isle Cookery School for the 4-day workshop I am teaching there. To say that I am excited would be the understatement of the year. I have not been to that part of the world yet.
House sitter all set up. Dog sitter already thrown in the middle of a creek chase by Bailey. Raincoats. Rain boots. Layers. Maps and big giddy smiles. Yep. I think we are about ready. Oh and Elliott, our 6 year old beta fish (so not joking) also found a temporary pad with friends, becoming their kids' first official visiting pet. Everyone is pretty much set.
It’s been such a long time we went abroad together. And the first real time off we have in a completely uncommon, unknown and foreign (to us) location. Pretty cool. We have been pouring over Google Earth for so many months checking the scenery and trying to figure out where his ancestors had lived that I am about as ready as can be to check things out.
I have no idea of what we will actually find, see and who we will end up meeting along the way. And we are completely open to that. I have learned to just learn and get familiar with things as much as possible and let thing unfold the way they do. There will always be something to come out of it, an improvement to be made, a lesson to be learned, another place to discover.
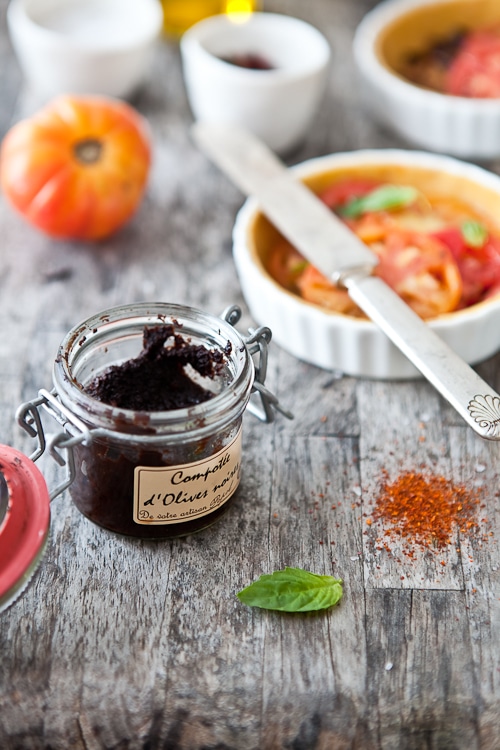
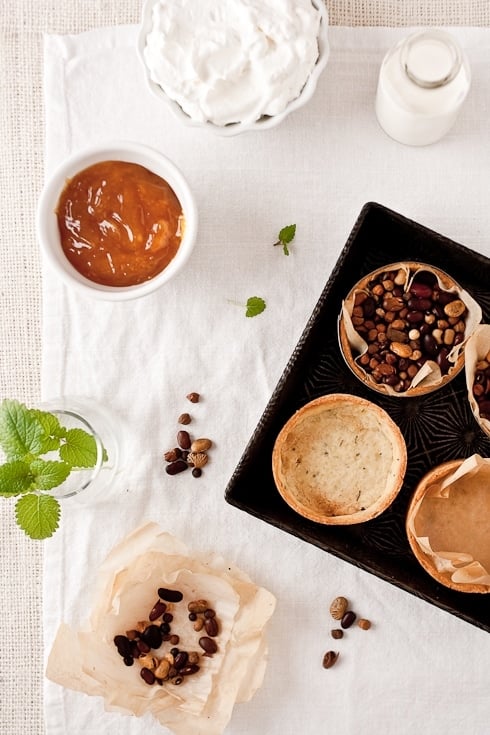
That’s pretty much the motus operandi I have had these last few days as I was trying to empty out the fridge before our departure. Grab a few ingredients and spices agreeing with our taste buds, toss them up together and see where that gets us. Adjust attitude seasoning and keep going until dinner comes together.
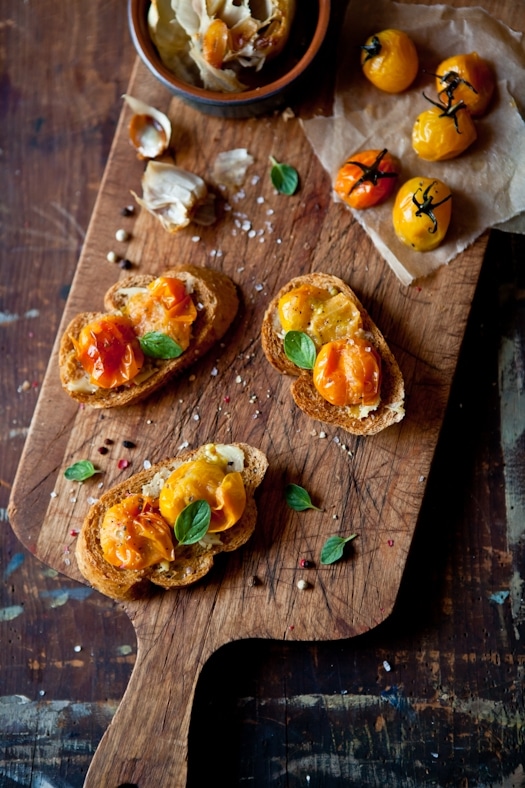
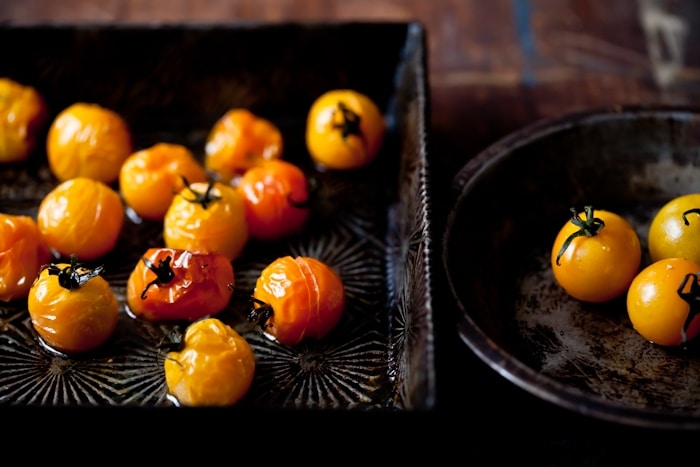
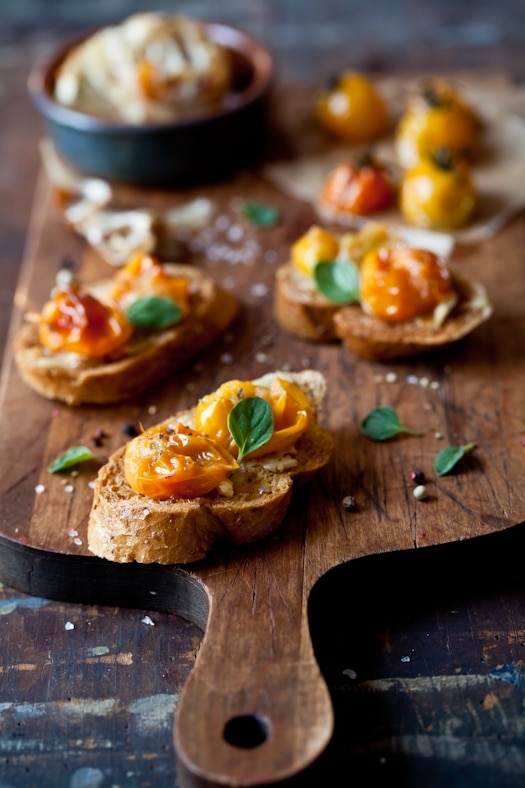
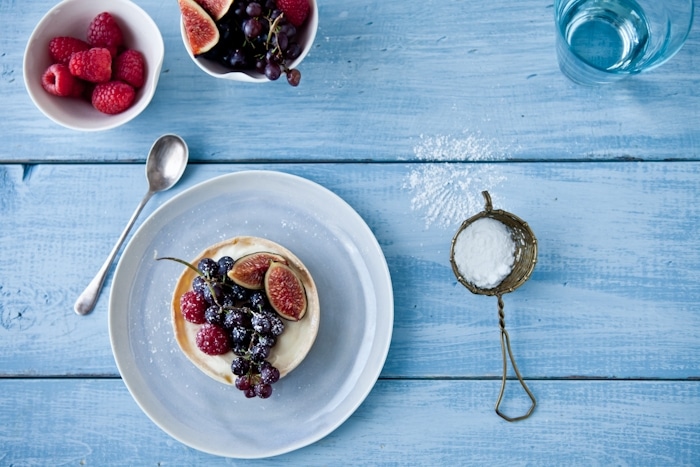
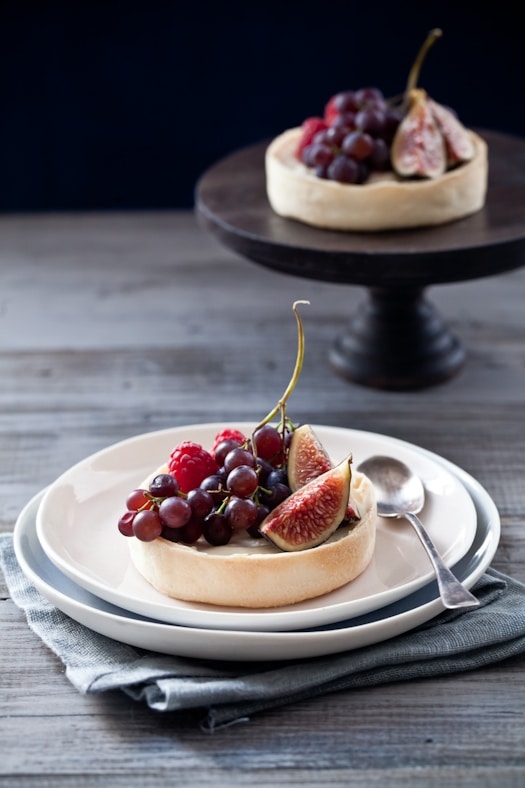
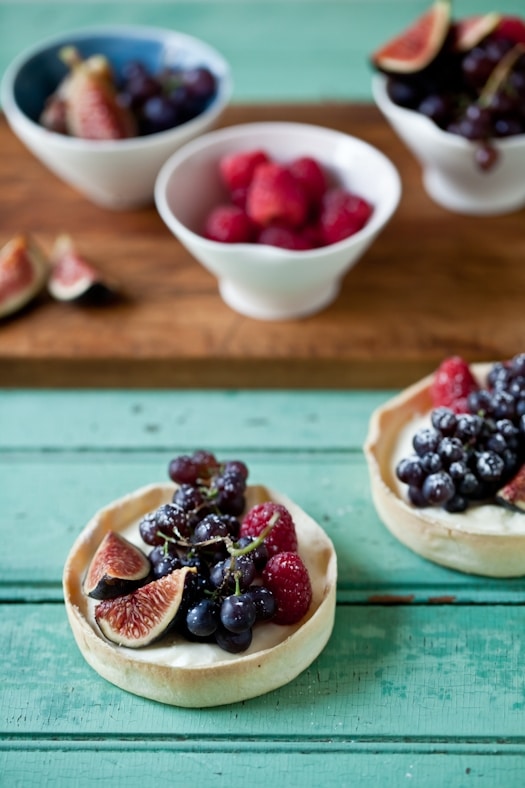
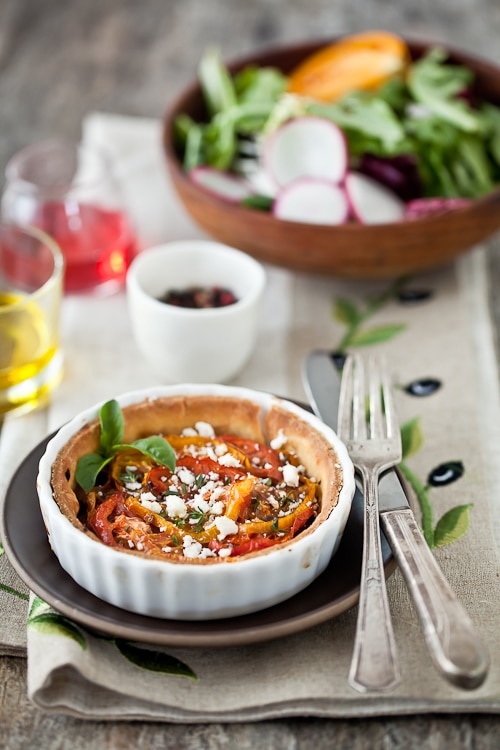
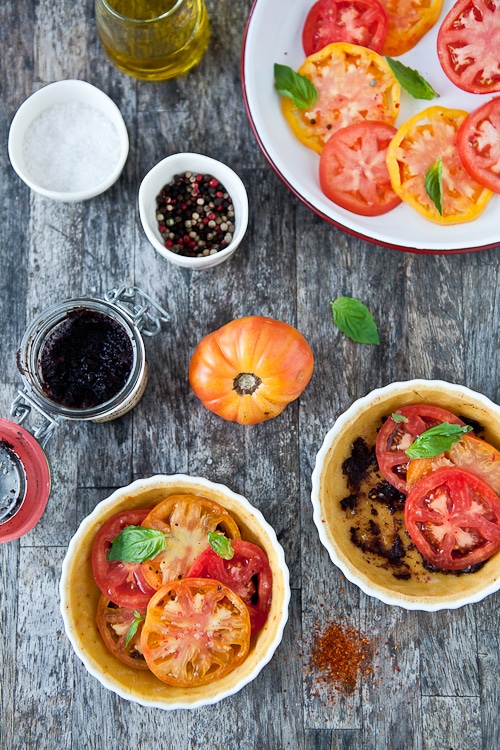
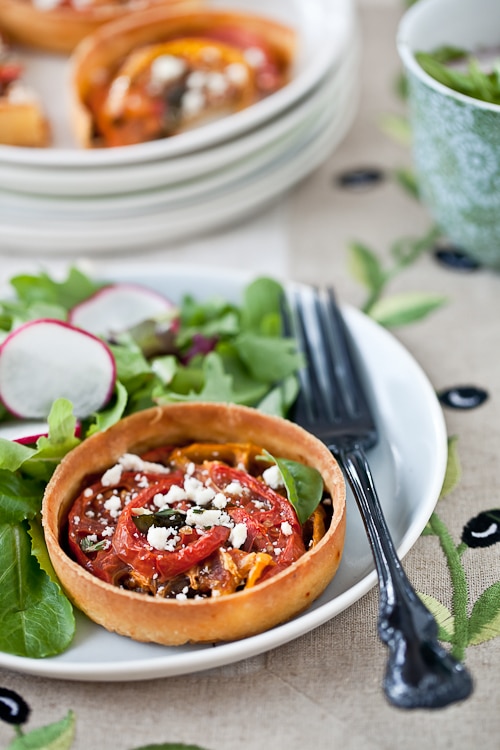
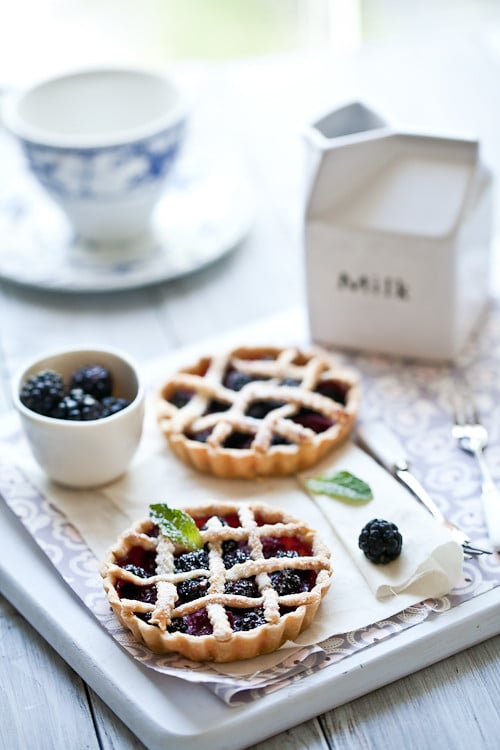
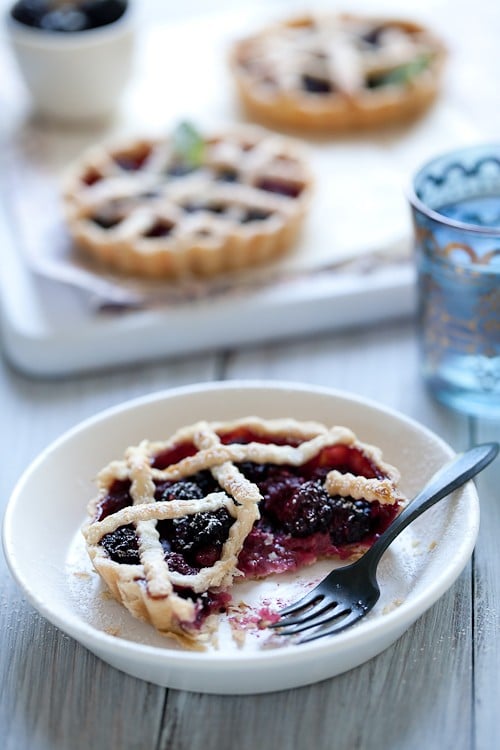
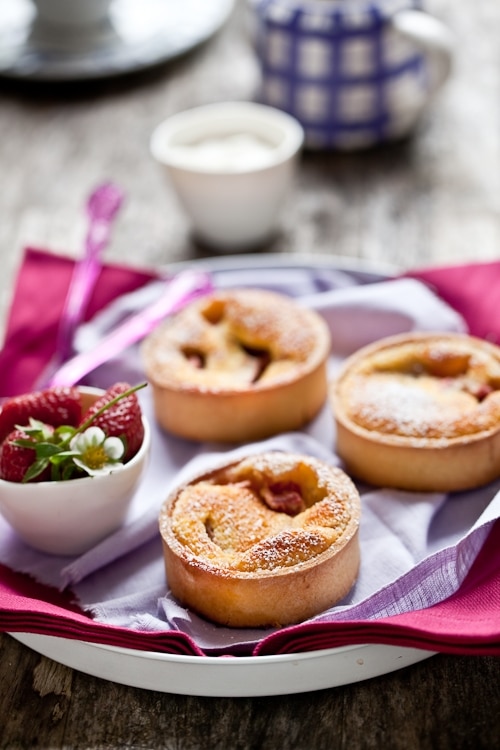
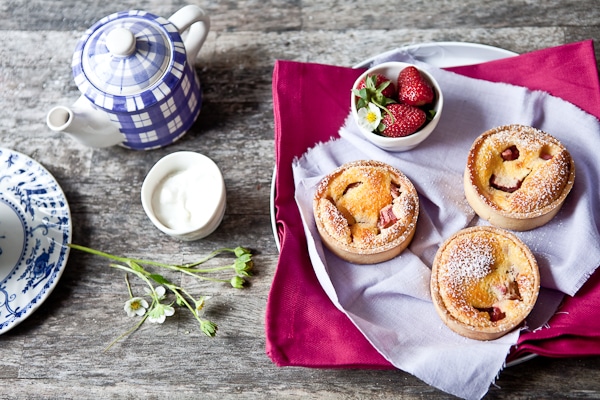
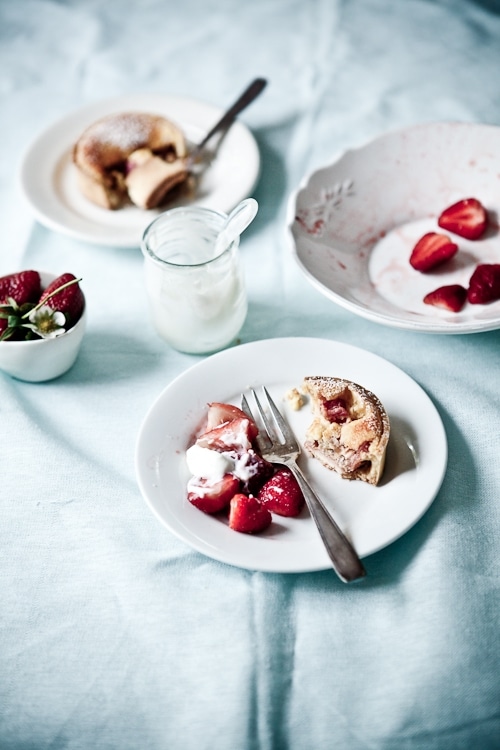
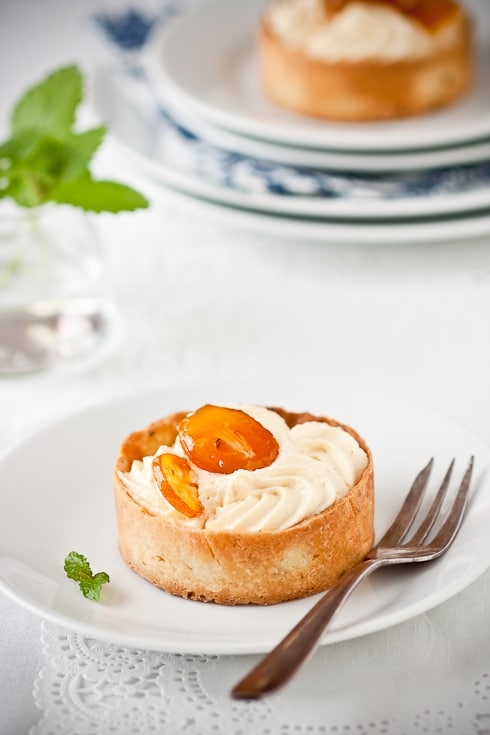
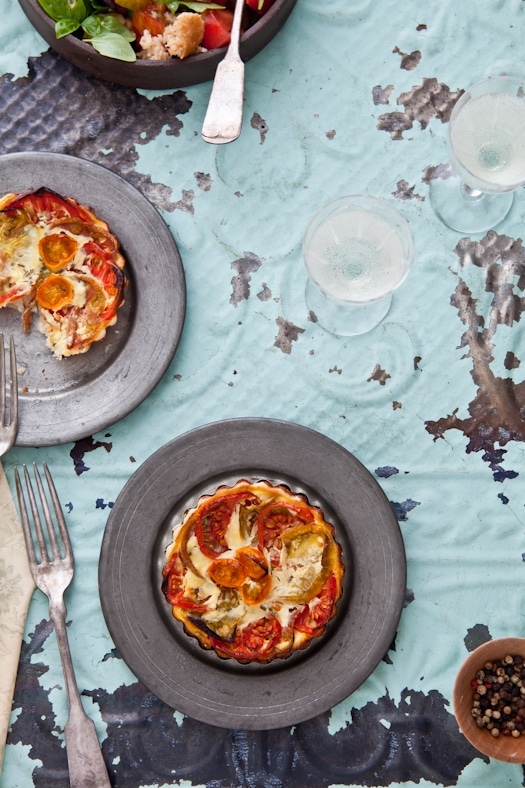
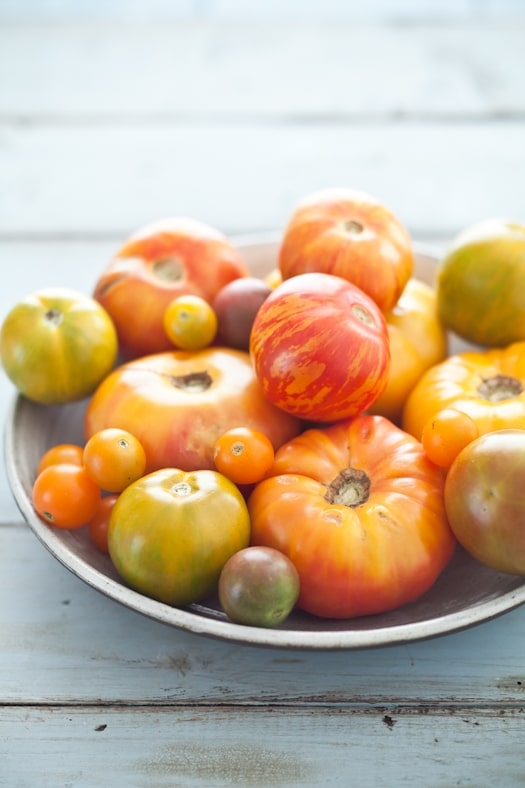
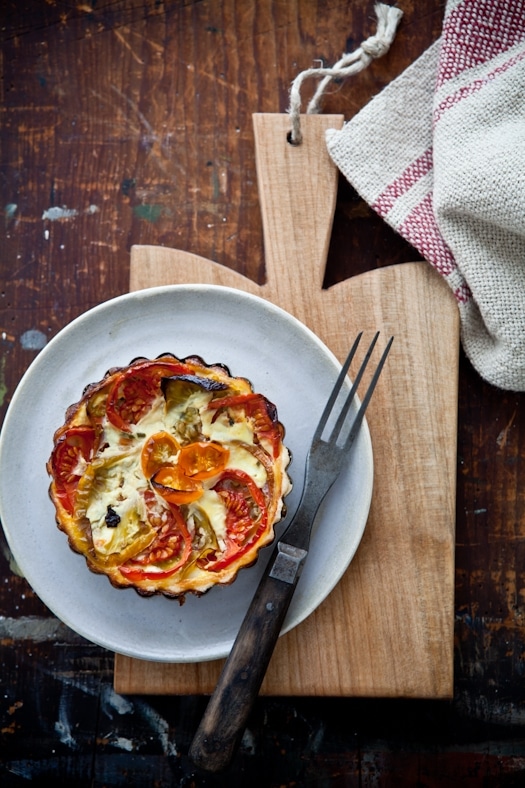
And well…With an small peleton of heirloom tomates leading the race (yes, I may have the Tour De France playing in the background of my studio), we ended up with Heirloom Tomato and Rosemary Tarts one evening, accompanied by a few big spoonfuls of panzanella salad. And yes, tarts again. One of the easiest thing to do to clean out a fridge before a trip.
There are as many ways to make a tomato tart as there are cooks out there. And wait until you taste the quintessential Southern tomato pie. Oh dear. And well, there are as many versions of the panzanella salad as there are people having an opinion about it. That diversity is one of the many reasons why I love reading stories and anecdotes behind recipes. It’s also one of the reasons that make me grab my camera to make an imprint of the moment and tell another story. Or the same one, with a different look.
Traveling is very much the same. You see the same things as the many people around you. With a different look. For all of us.
Have a fantastic weekend! I will try to post some pics and updates as the trip unfolds but if you want first hand thoughts and pictures, best is to read my Twitter feed, @helenedujardin or check my Instagram shots at helenedujardin.
All pictures © Helene Dujardin Photography.
Heirloom Tomatoes Tartlets:
Makes eight 4-inch tartlets or one regular tart
Ingredients:
For the crust:
1 1/4 cup all purpose flour or Jeanne’s all purpose gluten free mix
1 stick (115g) unsalted butter, kept very cold
1/4 teaspoon of salt
2-3 tablespoons ice cold water
For the filling:
6 to 8 heirloom tomatoes
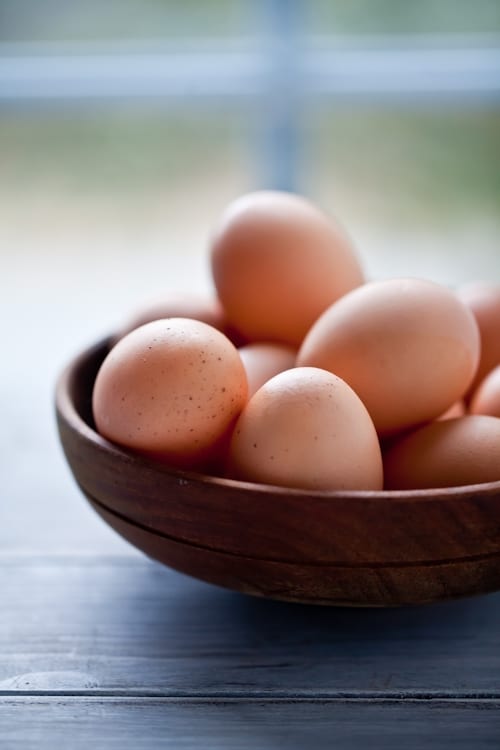
2 eggs
1 cup milk
2 teaspoon freshly chopped rosemary
pinch of salt and pepper
1/8 teaspoon freshly grated nutmeg
Directions:
Prepare the crust: In the bowl of a food processor, (or follow the same instructions if doing by hand), pulse together the flour until incorporated. Add the butter and pulse until the butter resembles small peas and is evenly incorporated. Add the salt and pulse on more time. Gradually, stream in the cold water until the flour just comes together. Turn the mixture out onto your work surface and form into a 2-inch thick, round disk. Wrap with plastic wrap and refrigerate at least 30 minutes (or overnight) before rolling out.
Flour your working surface with tapioca flour (if gluten free) or regular flour and start rolling out the dough to about 1/4-inch thick adding more flour as you feel the dough starts to stick. You can also roll it out in between two sheets of plastic wrap of parchment paper, especially with working with the gluten free version. Cut eight 5-inch rounds of dough and place them inside eight 3 to 4-inch tartlet pans. Place a small piece of parchment paper inside each of them, fill with dried beans and refrigerate for another 30 minutes.
Preheat the oven to 350F (both convection and not) and position a rack in the middle.
Place the tart shells on a baking sheet and bake the tartlets for about 15 minutes (with the dried beans inside). Remove from the oven, let cool for 5 to 10 minutes and remove the beans and parchment paper.
Prepare filling:
Slice the tomatoes and lay them flat on a couple of sheets of paper towels to soak up some of their juices.
In a large bowl, beat the eggs with the milk until well incorporated. Add the rosemary, salt, pepper and nutmeg. Whisk again.
Divide the mixture in between all the cooled tart shells and arrange the tomato slices over the top.
Bake at 350F for about 20 to 30 minutes or until the center is barely set.
——————————————————————————
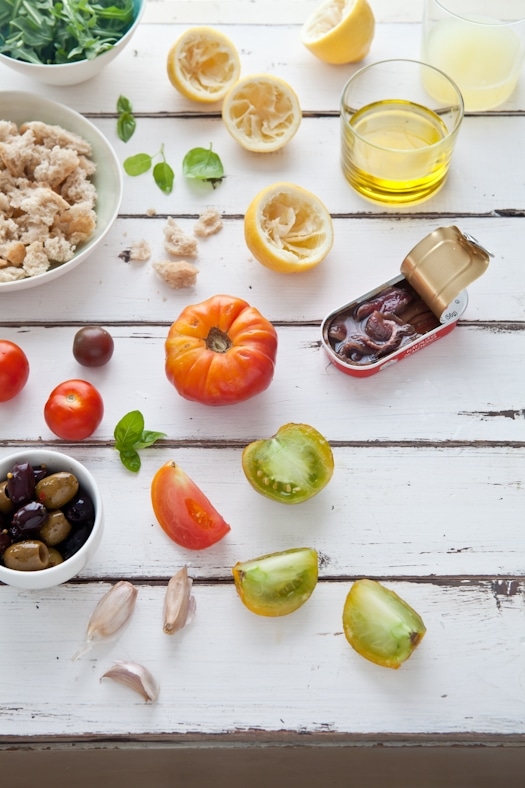
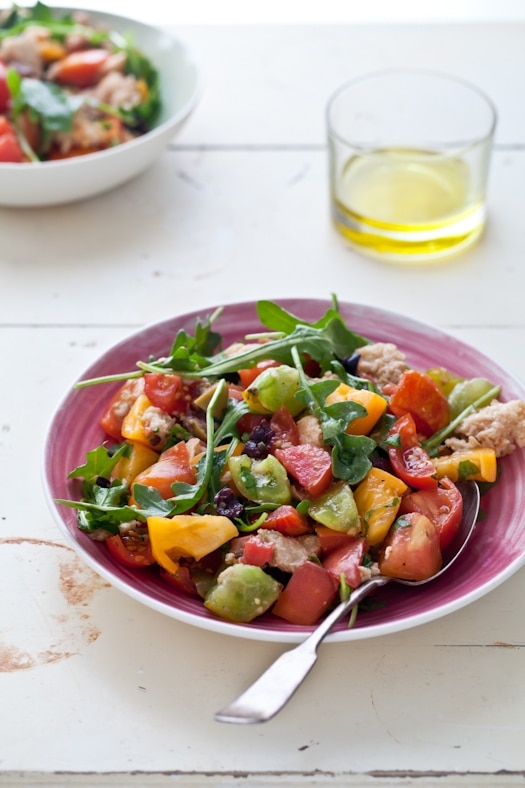
Panzanella Salad:
Not so much a recipe but more a big toss up according to your own appetite.
( for recipes, here is a good start)
Mine goes something like this:
some leftover bread
plenty of tomatoes
some anchovies
some olives
lemon juice, olive oil, salt and pepper
freshly chopped basil
fresh arugula
fresh minced garlic
Toss all the ingredients together and let sit for about an hour so the bread gets a good soaking…