
SHF

Goat Cheese And Fig Cake with Fig Mascarpone Verrine

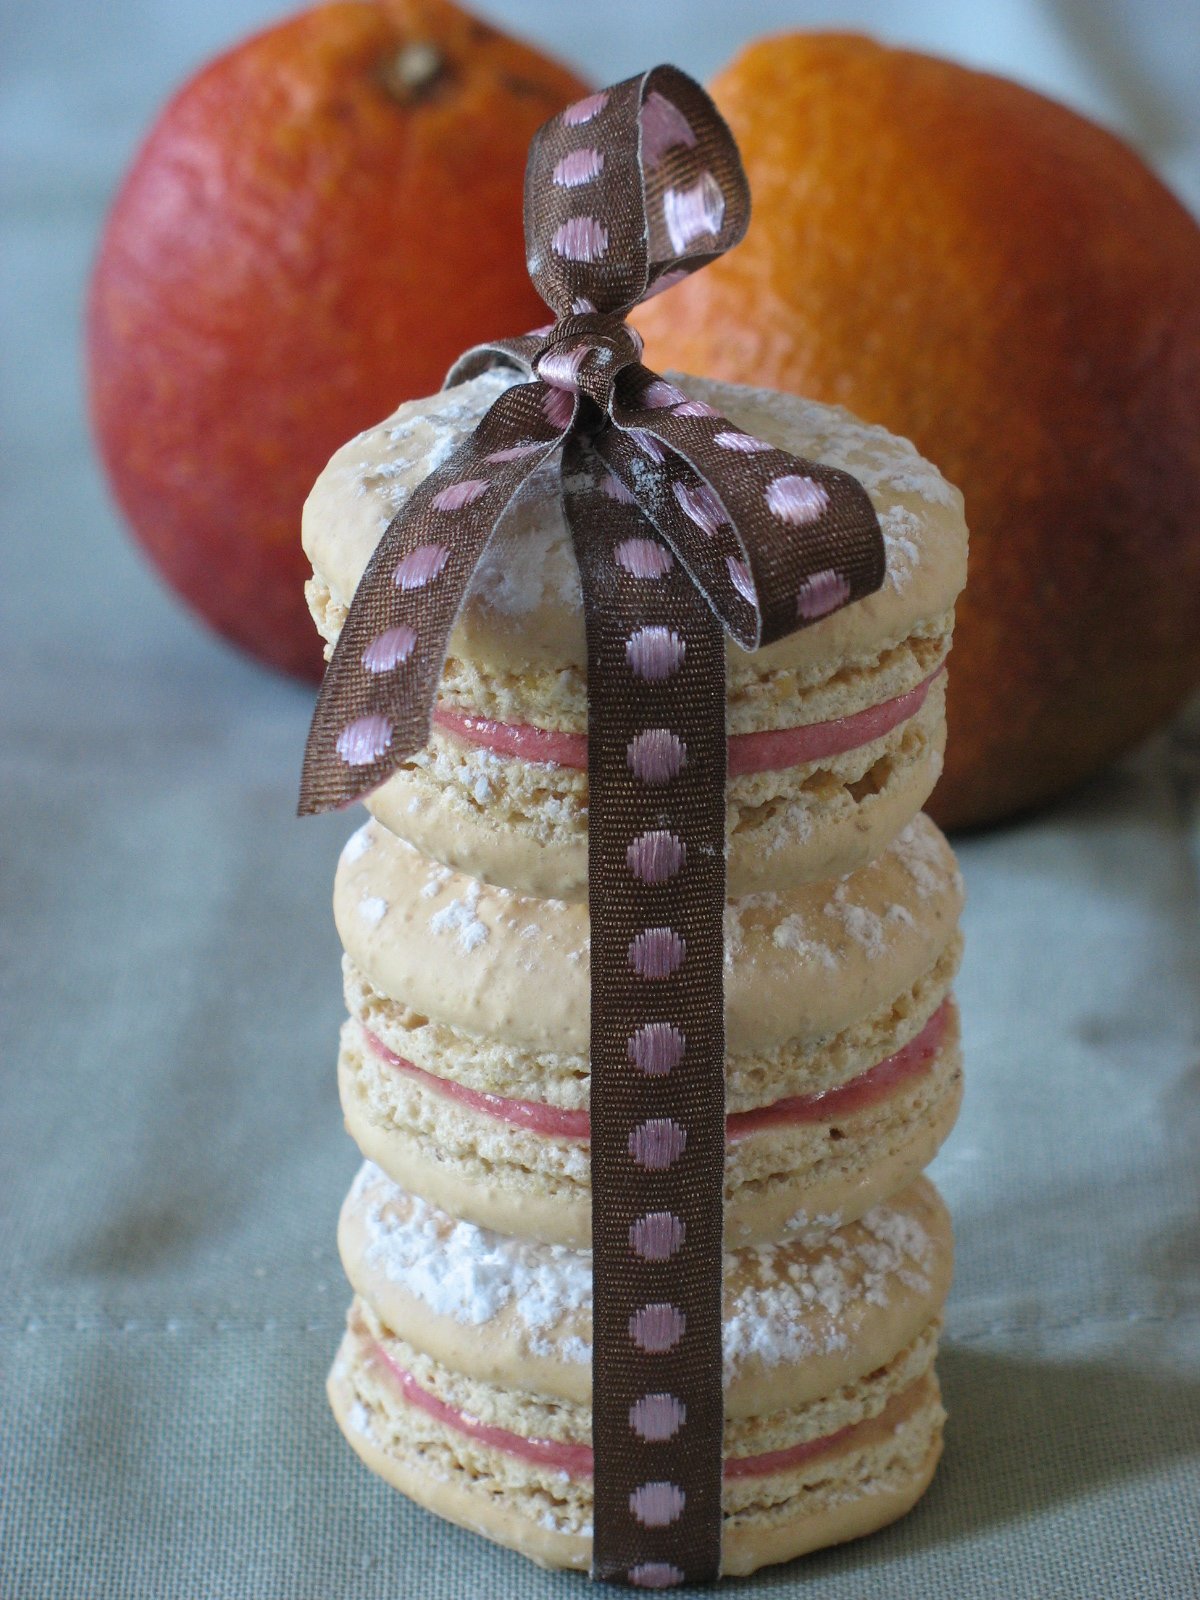
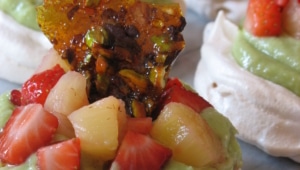
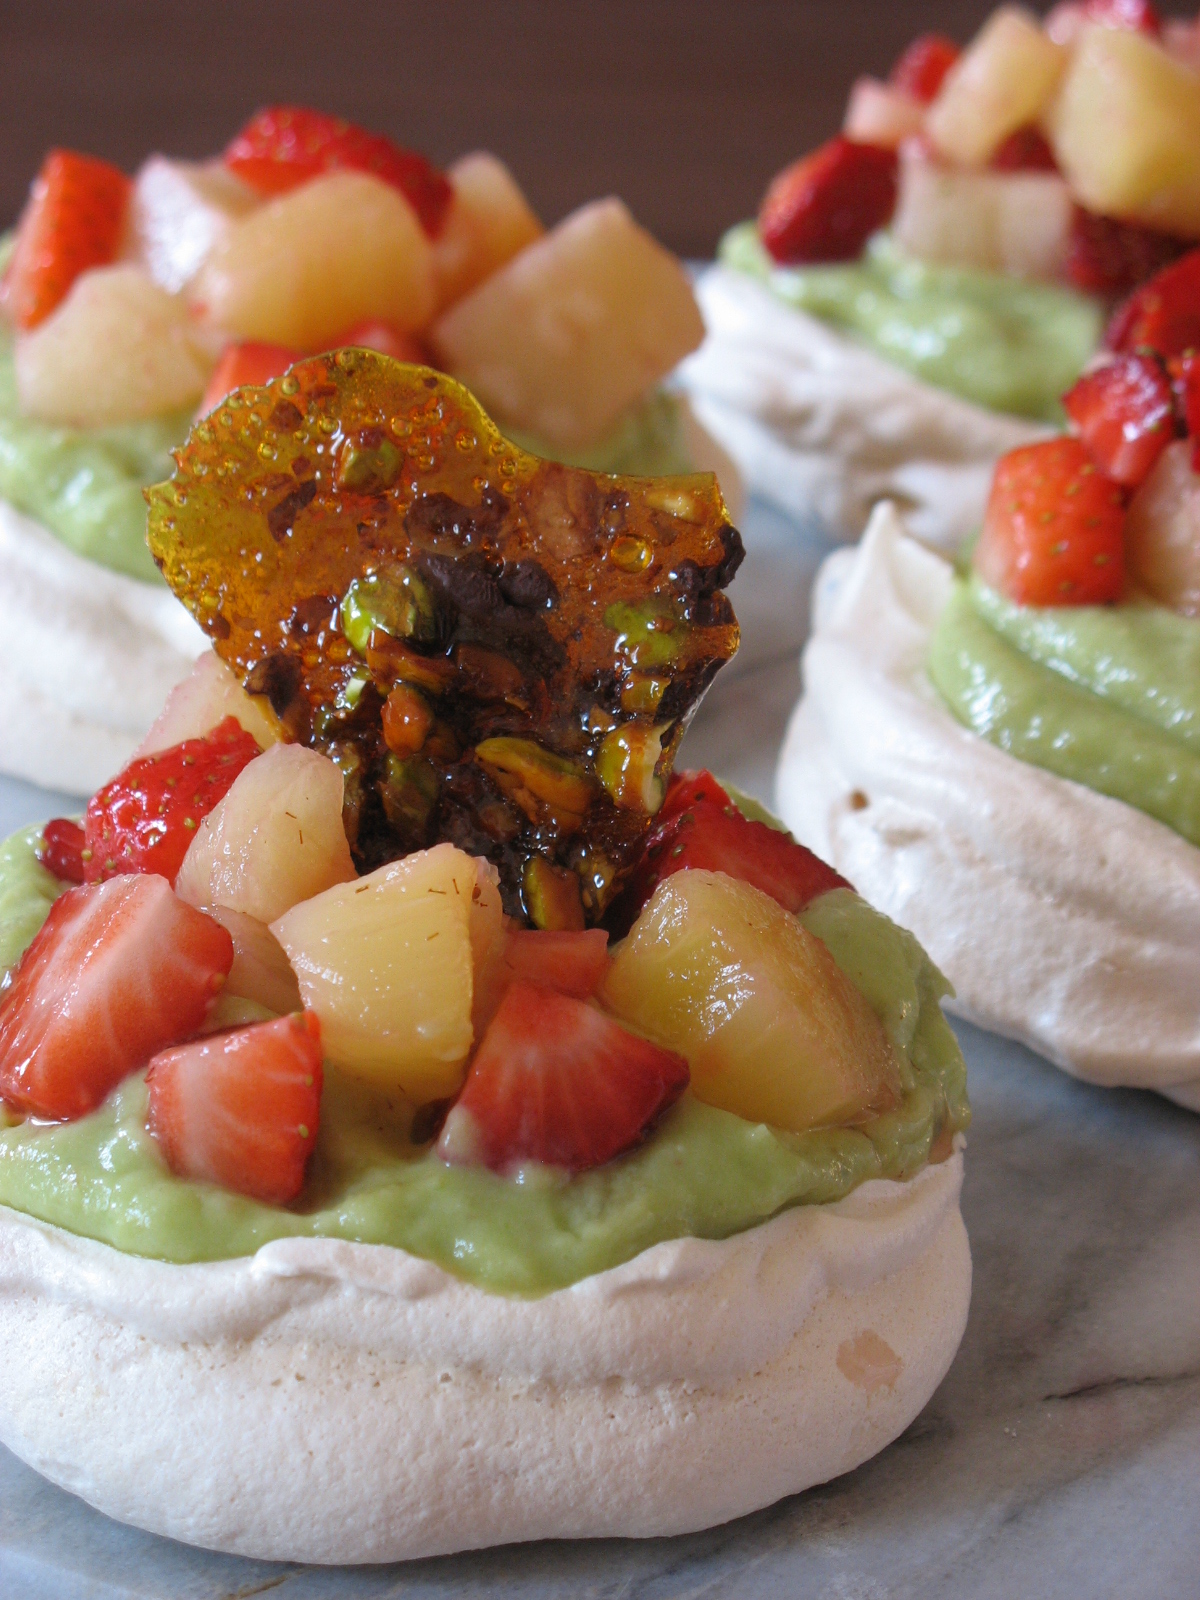
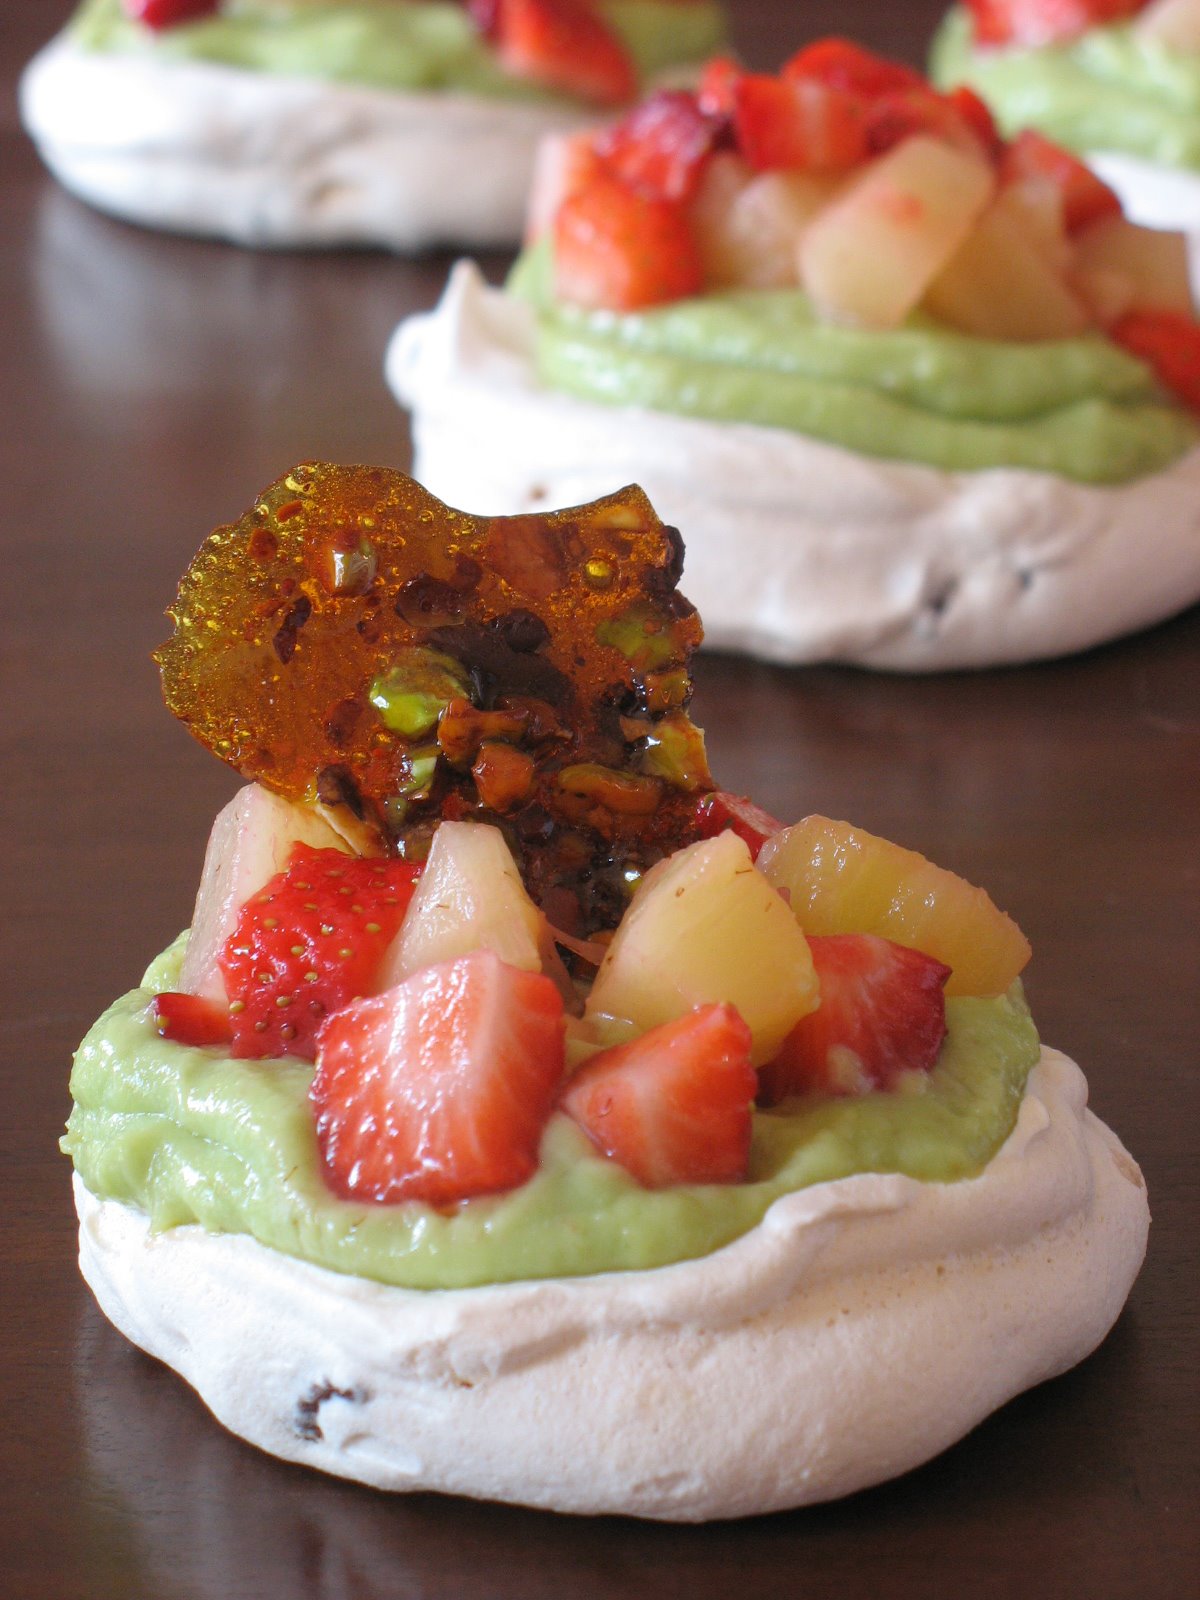
There is something about blogging that is quite exceptional. I don’t mean all the wonderful friendships, mail exchanges, meetings, packages and other benefits of creating strong bonds over the internet. There is something in the air it seems, whether we get inspired by the same author, recipe or share our discoveries of the “in” food item of the moment. It has been happening to me lately, I come home from the market with a fruit, type of chocolate or a load of yeast and flour. I turn on the computer, check out my favorite blogs, discover new ones through comments left here and elsewhere and find delicious pictures that incorporate exactly what I just brought back in my basket. What has put this sort of cosmic/kismet feeling over the top recently is when I just pulled out something from the oven, set it out to cool on the countertop, read a few blogs, waiting impatiently before things cool enough for me to take a bite, and found that someone has just posted about it…and I made it without even knowing. When it comes to seasonal produce I can understand but a specific item….makes you wonder what water bloggers are drinking…(insert Twilight Zone music here).

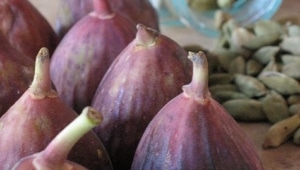
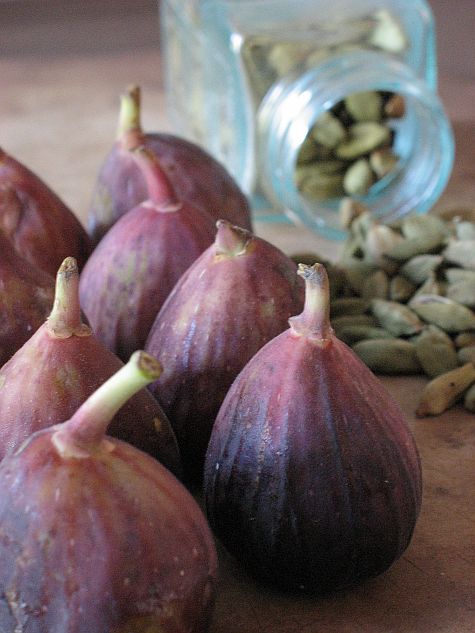
Let me illustrate that thought. I was slowly working my way through a giant bag of figs when my favorite Cream Puff, Ivonne announced she was hosting Sugar High Friday “The Beautiful Fig”…Uh, it’s not like she is my neighbor and she is trying to help me go through my loot, but in this case her post was received with both a sigh of relief , “Yes! Something I have, and plenty of it!” and excitement “Yes! I have another excuse to make something fancier than jam on toast!”.

I knew exactly what I wanted to bake. From the day I got Richard Leach’s book last year, I have been wanting to make every single dessert in it. Not only are the pictures exceptional, but the quality of his work is outstanding. I want to push it as to say that I equate him to my sugar daddy Pierre Herme: talented, innovative and funky. I have had my eye on one particular page in the book where one simple item, the Black Mission fig, becomes three impressive creations. Had I had the luxury of time last week, I know I would have tried to put my spin on them but I had to rely on my own creativity to capture the essence of the pages before me and come up with my own interpretation.

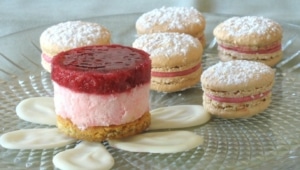
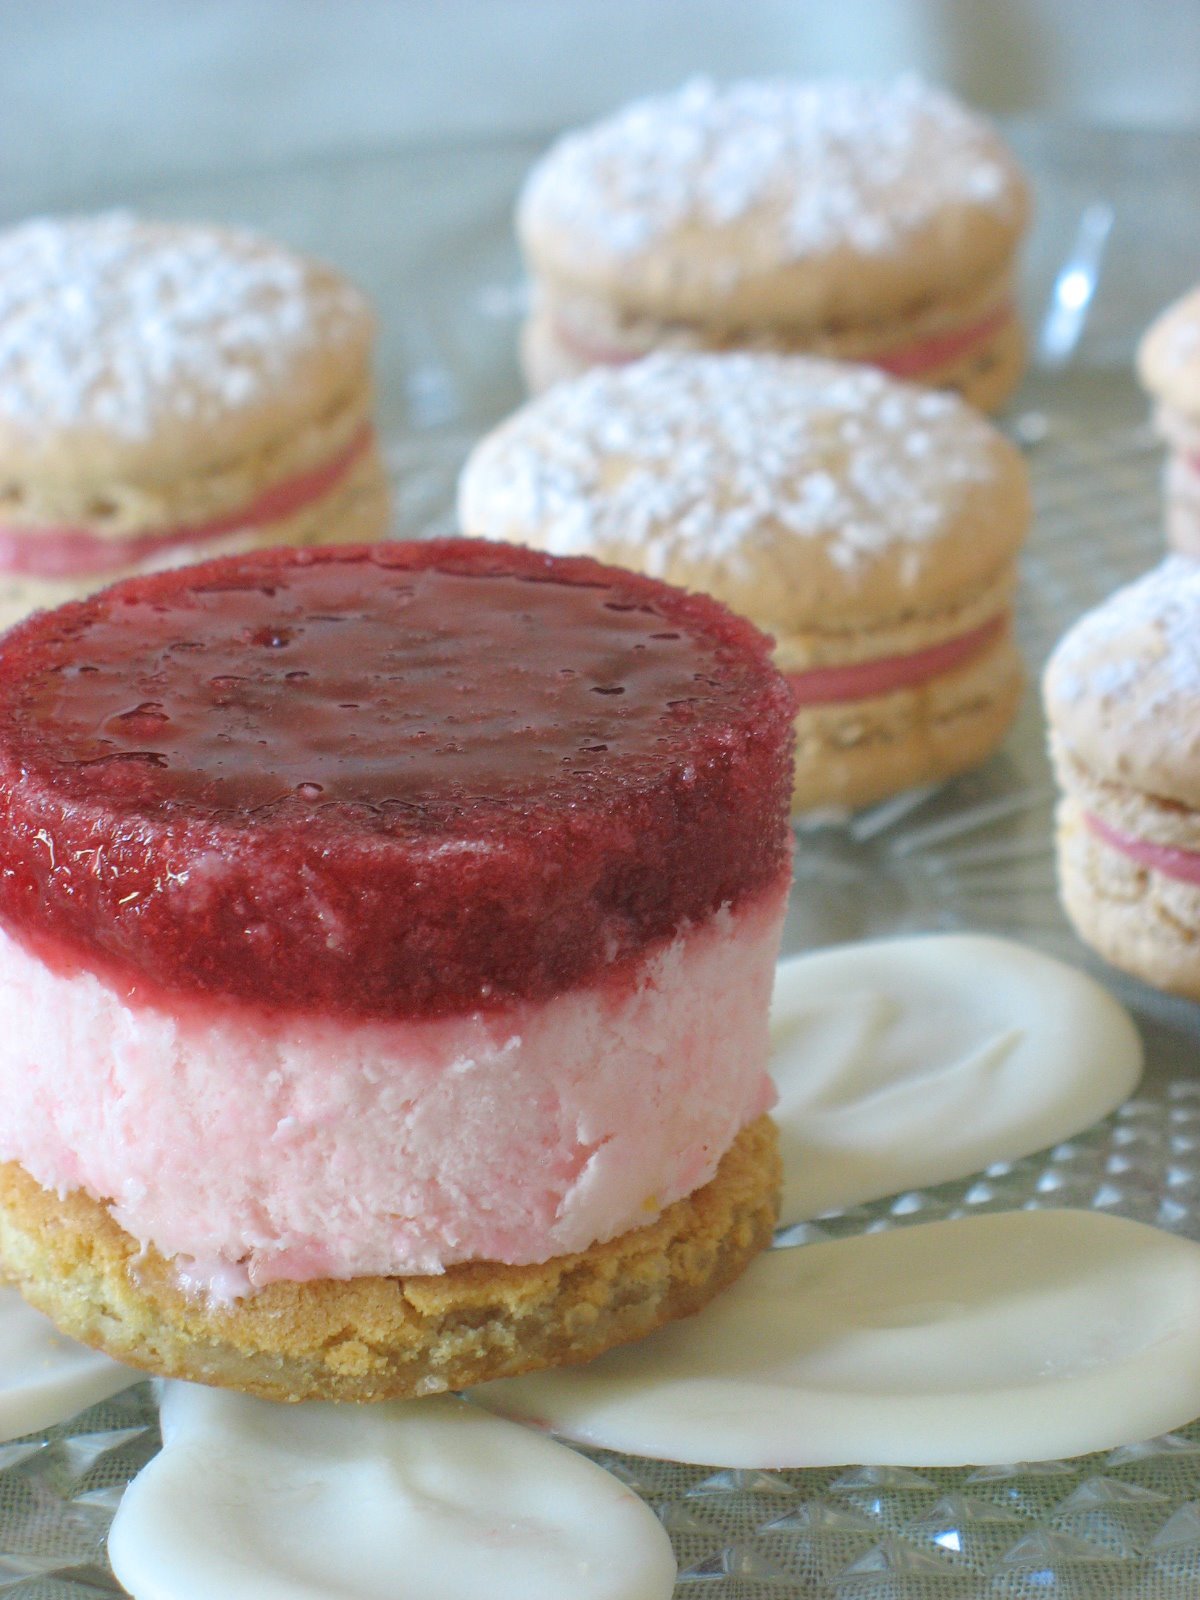
The goat cheese cake is so easy to make and so fragrant, I want to make it every single Sunday brunch. It would be fantastic with egg dishes such as omelettes and Benedict but also perfect served as is with a good drizzle of maple syrup. It has a nice crumb, made with both semolina and all purpose flours, and don’t be tempted to skip on the orange zest in it, it really enhances the flavor. The figs on top are simply sliced and drizzled with a little bit of local wild flower honey. Instead of paring the cake with fig sorbet and a fig flan as suggested by Leach, I went for something that would enhance the fresh figs instead of pulverizing them (nothing against sorbet) or cooking them. They were perfectly ripe and very tasty so I just made a little mascarpone cream and pomegranate and cardamom syrup and layered them in a “verrine”, and the spice instantly puts it in another dimension. A bite of cake, a bite of cream and we were in heaven. It may seem like a lot of work, but you can make things over several days as I did: the cake was made early in the week then cut and frozen, the pomegranate sauce keeps easily for a week and the verrine comes together in five minutes top. Eating it took even less time!

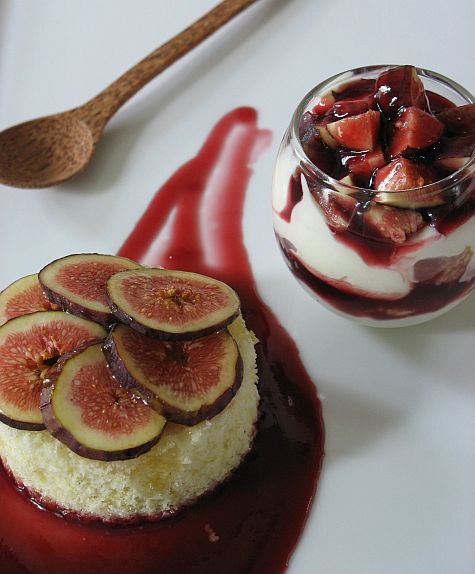
Goat Cheese and Fig Cake with Fig Mascarpone Verrine in Pomegranate Syrup:

For the Cake (serves 8)
1 cup all purpose flour
1 cup semolina flour
1 cup sugar
1 Tb baking powder
½ tsp. grated orange zest
½ tsp. salt
4 egg whites
½ cup milk
1 cup fresh goat cheese
1 cup unsalted butter, melted
6 to 8 Black Mission Figs, sliced
¼ cup honey (your choice)

Preheat oven to 300F.
Using an electric mixer fitted with a paddle attachment, combine flours, sugar, baking powder, orange zest and salt. In a small bowl, combine the egg whites, goat cheese and milk. Whisk until smooth, then add to the dry ingredients. Whisk in the melted butter. Pour the batter into a buttered and flour 9×9 inch baking pan. Bake for 15-20 minutes, until firm and lightly golden. Allow to cool. With a 4 inch cookie cutter, cut out 8 rounds, cover with fresh fig slices. Drizzle with the honey.

For the Pomegranate Cardamom Syrup:
In a saucepan set over medium heat, bring 4 cups of pomegranate juice to a boil with 3 whole cardamom pods, reduce heat and simmer until reduced by half. It will thicken as it reduces.

For the Fig and Mascarpone Verrine:
6-8 Black Mission figs, diced
1-11/2 cups pomegranate syrup
8 oz mascarpone cheese, at room temperature
½ cup heavy cream, kept cold
¼ cup sugar

Whip the heavy cream to soft peaks with the sugar and fold it in the mascarpone cheese.
In a 8 glasses, layer the cream, fresh figs, syrup twice, finishing with the figs and syrup. Refrigerate until ready to use.

To serve: pour a small pool of remaining pomegranate syrup on a large plate, set the goat cheese cake on top and serve it with the verrine on the side.

Ivonne, are you seduced yet?…

Fig Almond Tartelettes

Fig ALmond Tartelettes
A few many things prompted me to make this lovely "tartelette" seen in the picutures as well as a few others in the past couple of days. Last week I was given a good 10 pound basket filled to the rim with lovely figs from one of my clients' extremely prolific fig tree. "Yippee!" I scream as I love fresh figs. We started eating them fresh, the grilled with melting goat cheese, cut up in salad or with pork tenderloin. Then came the fig chutneys, fig jams, fig cakes and finaly these "Fig Almond Frangipane Tartelettes". It turns out that Sophie likes them too and B. will eat anything covered with sugar!

I was also trying to find a suitable local crop to make a dessert for Sugar High Friday hosted this month by Johanna of the Passionate Cook . It turns out that the earliest colonists from England and Barbadoes landing in South Carolina found a bounty of foods in their new land, including peaches, figs, muscadines, pumpkins, squash, game, fish, nuts, and corn. Fig trees are almost as widespread as pecan trees here (my pecans seems about ready to implode) and the tiny fruits they produce packs a punch of flavor and juice. When I think about it, I don’t recall ever buying a single fig that was not from Charleston since I moved here. The common figs we get may not be the most sought after variety but they work just great for everyday life.

I make this kind of tartlets (and sometimes bigger pie) often throughout the year using different seasonal fruits. I love it with pears,apples, peaches, and plums, but quite frankly I think any fruit tastes wonderful when paired with a fragrant almond frangipane cream.

Fig Almond Tartlets

Fig Almond Tartelettes, adapted from Bon Appetit, October 1998

Makes 3 4- inch tartelettes (enough for 6 or 3 big appetites)

For crust
1 cup all purpose flour
1 tablespoon sugar
1/8 teaspoon salt
1/2 cup (1 stick) chilled unsalted butter, cut into 1/2-inch pieces
2 tablespoons ice water
1/4 teaspoon vanilla extract

For filling
1/3 cup whole almonds (about 2 ounces)
1/3 cup sugar1 large egg
3 tablespoons unsalted butter, room temperature
4 teaspoons rum or brandy
12 ounces ripe figs, cut into halves
1/4 cup apricot marmelade

Make crust:
Preheat oven to 375°F. Combine first 3 ingredients in processor. Using on/off turns, cut in butter until mixture resembles coarse meal. Mix 2 tablespoons ice water and vanilla in small bowl. Pour water mixture over dough. Process until moist clumps form. Gather dough into ball; flatten into disk. Roll out on floured surface to 12-inch round. Cut 3 rounds about 5 inches big, fit into pie plate and trim excess dough. (or use shapes and molds you like) Using fork, pierce dough all over. Bake crust until pale golden, about 30 minutes (crust may shrink slightly). Cool on rack. Maintain oven temperature.

Make filling:
Finely grind almonds with sugar in processor. Add egg, butter and 2 teaspoons rum. Process until batter forms. Pour filling into crust. Arrange fig halves atop filling. Bake until figs are tender and filling is golden and set, about 25 minutes.
Melt jelly with remaining 2 teaspoons rum in heavy small saucepan over medium-low heat. Brush jelly mixture over figs. Cool tartelettes. Serve at room temperature.

Pour mes lecteurs francais: j’ai demande a mes parents de me rapporter de la feve tonka, mais je ne sais ou leur dire de s’en procurer. Ils sont du cote de Versailles-Rambouillet-Paris. Quelques suggestions seraient les bienvenues. Merci.

Frozen Honeycomb Mango Mousse & Pistachio Dacquoise

Mango Mousse Pistachio Dacquoise I was trying to think of a more elusive or more creative title but I always have a difficult time doing so with desserts that incorporate several elements from others I have made or admired through pastry shops front windows (my favorite past-time), but sometimes you have to call a cat a cat. Note for the future: if you are good at it, you are hired the day I publish a book!

The dessert came about when Mary from Alpineberry announced that "Tropical" would be this month Sugar High Friday theme. Every single month, no fail, I am stuck with the same problem: my thoughts start racing and it takes me forever to make up my mind. I never thought I would say this concerning desserts, but in this case abundance is not great! Most of the produce I find here is what I would consider tropical, with plenty of papayas, limes, kiwis of different kinds, cactus pears and so forth but for me the little French alien, I still consider them exotic in some sort of way. For the event I chose to focus on mangoes, pistachios and pineapple. I knew I wanted a pistachio dacquoise at the base and a mango mousse on top, but that sounded kind of basic, so I added a layer of pinneapple preserve (store bought I confess) in between. I started to think about different design elements that would make it more interesting to the eye when I came to plate it for guests. At the restaurant I had those really nice flexible molds made specifically to give a form to a mousse or frozen custard. But I was at home, ready to get started on my dessert…and no desire to head downtown to borrow one (too hot outside!). I did not have those but I had a few sheets of large bubble wrap that would do the trick in a pinch. The honeycomb design echoes the honey in the mousse and creates little pockets very useful to prop up a few cut fresh fruit for plating and decorating.

Dacquoise (dah-kwaz) refers to both the cake it is named after composed of layers of nut meringue and buttercream, as well as one of the layers of meringue. It is used at the base of many cakes in French pastries and provides a nice change from a pastry or shortbread crust. A dacquoise is very close in texture to a macaron, with some recipes adding a touch of flour or cornstarch to the batter. I already like a dessert where the base is a big giant layer of macaron and who better fitted to provide me with a great recipe than the master of macaron himself? My sugar daddy, Pierre Herme. The mousse is one that I developped over the years from different sources making it safe to adapt with all sorts of fruits. This time I replace some of the sugar with wildflower honey and added some freshly grated ginger to perk it up a bit. The dessert looks a lot more intricate than it is. You can prepare the dacquoise a couple of days ahead, make the mousse and layer the rest of the dessert the day before you plan to serve it.

Mango Mousse Pistachio Dacquoise
Honeycomb Mango Mousse & Pistachio Dacquoise:

Serves 8

For the dacquoise layer: (inspired from Herme’s Plaisirs Sucres)

70 gr. finely ground pistachios
75 gr. powdered sugar
25 gr. granulated sugar
3 egg whites

In a large bowl, mix togther the nuts and powdered sugar. Beat the egg whites to soft peaks. Slowly incorporate the granulated sugar with the machine running, until you get nice glossy peaks. Delicately fold in the nut mixture. Spread on a parchment line 8×8 baking dish and bake at 340F for about 35 minutes.

For the mousse layer:

2 ripe mangoes, peeled, cut up and pureed
1/2 cup water
1 envelope unflavoured gelatin
1/4 cup sugar
1/4 cup honey
1/2 tb fresh grated ginger
1 cup whipping cream, whipped

Sprinkle the gelatin over the water and let soften for about 10 minutes.
In a medium saucepan, combine the mango puree, sugar, ginger and honey. Heat until the sugar is dissolved. Remove from the heat and add the gelatin. Stir to dissolve and let cool to room temp, or until it starts to thicken a bit. Fold the whipped cream into the mango. Use it in the dessert assembly before it has time to thicken so it will be easier to pour.

Dessert Assembly:

Remove the dacquoise from the baking pan. Line the same pan with heavy duty plastic wrap. Cut a sheet of bubble wrap to fit and put it on top of the plastic, bubbles side up. Pour the mango mousse and freeze until set.
Spoon 1 cup pineapple preserves (or others of your choice) on top of the mango mousse. Press the sheet of dacquoise on top with a light pressure of your fingertips so all the elements adhere together. Freeze until ready to use.
To unmold, flip the pan over and remove the plastic and bubble wrap. Decorate and serve.

Mango Mousse Pistachio Dacquoise

Craving Grandma’s Apricot Tart

I have been craving my grandmother’s tart ever since I saw the first apricots at the store a few weeks ago. Well, actually I crave it all year long and while it is quite good with quality canned apricots, there is of course nothing like fresh, velvety and fragrant ones. We don’t really need a reason to indulge in our cravings. By definition, giving into them is giving into reckless abandon of our senses and indulging in what brings us comfort and joy, as temporary as it is.

When Jennifer announced this month Sugar High Friday, my brain started racing towards many a childhood favorites (and made me wonder if I did not live in a state of perpetual craving), before the only obvious dessert was Mamie Paulette’s apricot tart. It would also give me the opportunity to spend some time with my memories of watching her make the dough and filling countless times with the same love and care.

Then a few days ago, Ivonne wrote about her Nonna Pia and shared fond memories of her life and approach to cooking. I think that Paulette and Pia would have been great friends if given the chance. They both had six children and both knew how to turn the simplest ingredients into scrumptious dishes. I left Ivonne a comment mentionning Paulette’s apricot tart and she emailed me suggesting that I post about it and share my memories. She also threatened to bug me until I did…! Well, here it is my friend!

I have talked about my grandmother many times before, always mentionning her apple or apricot tarts and always making something else. Her tarts were so simple, yet so absolutely delicious that she knew to keep us happy by always having one ready. My grandparents' house has always been the place of gathering throughout the week and especially on sundays. Four out of six children ended up living within close proximity and thus started the sunday tradition of "coffee and tart" around three in the afternoon meaning if you cannot come for lunch, try to make it for dessert. Even as a teenager and young adult, I would always try to make it for tart…especially if a paper or thesis was calling my name!

There was something so soothing and comforting in seating down with her and my grandfather to sip coffee, talk about the family, the neighbors, their garden, and eat pie.

There is even a funny anedocte associated with her apricot tart. At some point her eyesight got worse and worse, and she often made two pies, freezing one in case she would be too tired one weekend to make a fresh one. We were all gathered at the dinner table one sunday evening and when dessert time came, she asked me to go fetch the tart warming up in the oven (you know, so that the ice cream on top melts faster!). I came back trying to hold the tears of laughers streaming down my face…she had mistakingly put a quiche in the oven and not the tart…. ! Everytime I make quiche or tart, I think about that day and immediately look up at the sky and whisper "Love you Grandma".

Apricot Tart

Serves 6-8 (I made individual one for pictures)

Crust:

1 1/4 cups all-purpose flour
1 1/2 Tbs sugar
1/2 cup chilled (1 stick) unsalted butter, cut in pieces
2 Tbs ice water
1 egg yolk, lightly beaten

Place flour and sugar in the bowl of a food processor, and process for a few seconds. Add butter, and process until the mixture resembles coarse crumbs. Add the ice water then the egg yolk, processing just until the dough holds together. Do not process for more than 30 seconds.
Turn the dough out onto a work surface. Place on a sheet of plastic wrap. Flatten, and form into a disc. Wrap, and refrigerate at least 1 hour before using.

Preheat oven to 350F and blind bake the tart shells: roll the dough out on a lightly floured surface, lay into tart shell, cover with parchement paper or foil, pour dry beans or pie weights on top and bake fro 15 minutes. Let cool before proceeding with the apricots.

Filling:

8 to 10 apricots, halved, pitts removed

1/2 cup milk

1/2 cup creme fraiche (sour cream can be substituted)

1/2 cup sugar

2 eggs

1/4 cup ground almonds

1/2 tsp. vanilla extract

1/2 tsp. almond extract

slivered almonds

Whisk the sugar and the eggs until pale. Slowly add the milk and creme fraiche and whick until combined. Add the extracts and ground almonds and whisk one more time. Slice the apricots, lay them in the bottom of the tart. Slowly pour the batter on top. Sprinkle some slivered almonds on top and bake until the custard is set and the tart is golden brown.

Floating Islands – Sugar High Friday 31

The first dessert that came to my mind when Tara of Seven Spoons announced the Sugar High Friday 31 theme Shades of White was this quintessential French bistro dessert: Iles Flottantes or Floating Islands.

The choice was obvious for me on many levels. The dessert itself is composed of pillowy soft white meringue set on a pool of soft almond cream colored vanilla bean speckled custard sauce, also known as creme anglaise.

The main reason however spuns from a conversation I had many years ago with my grandmother, Paulette. The village where my parents and grandparents reside now is the traditional French village where the church sits prominent in the middle of the town center, surrounded by local artisan shops, pastry shops, a couple of cafes and in our case located close to the "chateau". I disgress…
We are neighbors (literally) so one day we were going to get bread at the bakery we passed the church while a wedding was taking place. The bride and groom were just coming out and my grandmother reacted the way she always did in that case, she frowned and mumbled…She was a modern woman in many ways and was aware that most brides knew pre-marital sex, but as a true product of her generation it was inconceivable that the bride would wear white. Wedding white or pure white as she would say was a badge of honor (slightly tinted with envy I think) for women her age.
That particular day, I did not feel like letting her get in a bad mood over this so I decided to play with her and indulge her sweet tooth: "If not white, and definitely not red, then what shades of white would be allright to wear for a wedding dress?" We kept on walking while describing shades of pale almond creme anglaise taffeta, caramel speckled meringue petticoat, nutty beige creme dacquoise undergarnment (she surprised me with this one), soft pink marshmallow lipstick, champagne veil and vanilla creme shoes. Gosh, did we make ourselves hungry while getting to the shop! She stopped right in front of the bakery and exclaimed: "Iles Flottantes is a dessert fit for a bride, in all its shades of white and soft meringue!"

Floating Islands are indeed a staple dessert in French households and bistros/cafes. They are easy to make, do not require a whole lot of time and make for a show stopping presentation. They are so light and airy that it makes them the perfect dessert choice during the warmer months or at the end of multi-course dinner. The meringue is almost always drizzled with caramel, and out of respect for the traditional I give you the steps to do so, but when you don’t feel like messing around with hot sugar syrup, a simple topping of toasted nuts (I used pistachios) is perfectly fine. The meringues are poached into hot milk, which helps preserve their texture and form while you put everything together.

Floating Islands – "Iles Flottantes":

Serves 6

For the creme anglaise:

2 cups milk
1/2 cup sugar
4 egg yolks
1 whole vanilla bean, split or 1 1/2 tsp. vanilla extract

Heat the milk with the vanilla bean to boiling point. In the meantime, in a bowl whisk the sugar and egg yolks until thick and pale. Slowly pour in some milk to temper the yolks, whisk and pour the remaining milk. Stir. Pour the whole batter back in the saucepan and cook over medium-low heat until it coats the back of a wooden spoon.
Remove from heat, let cool to room temperature, cover with plastic wrap and refrigerate.

For the meringue islands:

2 cups milk
4 egg whites
1/4 sugar

Spread a clean kitchen towel on your counter near the stove and have a large slotted spoon nearby.
In a large saucepan, heat the milk to a simmer over low heat in a large saucepan.
Whip the egg whites to a soft meringue and slowlt incorporate the sugar, one tablespoon at a time until you get a stiff , satin like and glossy meringue.
Using an ice cream scoop ar a large spoon, form rounds of meringue. Gently lower them down into the milk, without overcrowding the pan. Poach the meringues one minute on each side. With the slotted spoon, remove them from the milk and lay them down on the kitchen towel.
When all are poached. Put them on sheet pan lined with baking paper and refrigerate one hour.

To assemble:

Divide the creme anglaise among 6 dishes, top with the meringue islands and drizzle some caramel on top or sprinkle with toasted nuts.

For the caramel: (optional and right before serving)

1/2 cup sugar
1/3 cup water

In a heavy saucepan, stir the sugar and water together and cook over medium heat until the sugar dissolves. Increase the heat and cook until the caramel gets golden brown. Remove from the pan and let it cool a little. Spoon over the meringues.

Lychee Rose Parfait and Orange Blossom Macarons

Lychee Rose Parfait Topped with Strawberry Sorbet, served with Orange Blossom Macarons filled with Blood Orange Curd.

I was truly excited by this month Sugar High Friday theme set out by Monisha and I have been playing with ideas in my mind ever since she wrote it was all about Flower Power for this 30th edition. I did not intend to wait until the last minute but I am in the middle of a round up myself and other baking activities so I apologize to my fellow South Carolinian for being among the last entries.

I knew I wanted something light and springy, something that reflect who I am when I think about desserts for dinner parties. I like light flavors, I like individual and miniature. I use orange blossom flower water on a (almost) daily basis. I am a serious ice cream fanatic. I eat fruits like they are going out of business. I love making macarons and I love citrus anything. Most importantly I always try to use flavors I do not tend to gravitate towards like rose extract. I bought a bottle a long time ago and I stare at it everyday….I am not too fond of it or at least I have not come up with a dessert that would allow me to appreciate it, until today…

I tried to get fresh lychees but here it is nearly impossible so I used canned ones and they did the job just as good. They are a little sweeter than fresh ones of course but the texture and final taste was the same. All the components can be (and were) made ahead of times and refrigerated so it gives you plenty of time to tend to more important activities.

Lychee Rose Parfait with Strawberry Sorbet:

Makes 8

Cookie Base:

3 cups all-purpose flour
1 teaspoon baking soda
1/2 teaspoon baking powder
3/4 cup butter, softened
1 cups white sugar
1 egg
1 teaspoon vanilla extract

Preheat oven to 375 degrees F (190 degrees C). In a small bowl, stir together flour, baking soda, and baking powder. Set aside.In a large bowl, cream together the butter and sugar until smooth. Beat in egg and vanilla. Gradually blend in the dry ingredients. Divide the dough in half and refrigerate. Roll out one half to 1/2 inch thick and put the sheet of dough on a parchment lined abking sheet. Bake8 to 10 minutes. Remove from the oven and let cool 2 minutes. While still warm cut out 8 rounds with a 3 inch cookie cutter. Set aside. Use the remaining half for regular cut out cookies if desired.

Strawberry Sorbet, adapted from Richard Leach:

3 cups fresh diced strawberries
1 1/2 cups sugar
1/2 cup wildflower honey
1 cup water
3 Tb lemon juice

Combine the ingredients in a blender and puree until smooth. Pass through a fine sieve then freeze in an ice cream machine according to manufacturer’s directions. Keep frozen until ready to use.

Lychee Rose Parfaits, adapted from Richard Leach:

1 14oz. can lychees
2 tsp. rose water extract (or to taste)
2 eggs, separated
6 Tb sugar
3/4 cup creme fraiche (can substitute sour cream)
1/4 heavy cream

Drain the lychees and keep or discard the juice. Puree in a food processor with the rose extract. Set aside.
In a bowl, combine the egg yolks and 2 Tb. of the sugar and whisk until pale and thick. In a separate bowl, whisk the egg whites until firm peaks are formed. Add the remaining 1/4 cup of sugar and whip for one more minte, until glossy. Whip the creme fraiche and heavy cream together until firm peaks are formed.
Fold the whites into the egg mixture. Add to the lychees. Lastly, fold in the cream mixture. Place the parfait in a piping bag.

Using 8 3 inch metal rings, place a sugar cookie at the bottom of each ring. Pipe the parfait mixture evenly between the 8 rings, leaving some space for the strawberry sorbet. Set in the freezer for 30 minutes or until firm. Fill the remainder of the tubes with the sorbet. Smooth the tops and keep in the freezer until ready to use.

Orange Blossom Macarons with Blood Orange Curd:

For the shells:

120 gr. egg whites, divided
35 gr. sugar
150 gr. finely ground almonds
150 gr. powdered sugar
1 Tb blood orange zest
For the boiling syrup:
150 gr. sugar and 50 gr. water

Sift the ground almonds and powdered sugar. Add the blood orange zest. In a stand mixer, whip 60 gr. egg whites to soft peaks, add 35 gr. sugar.
In the meantime, in a saucepan on high heat bring the water and sugar for the syrup to 230 F. on a candy thermometer.Slowly add the boiling syrup to the egg whites and continue to whip on medium – high speed until they are completely cooled and you have a shiny meringue (10-15 minutes).
Mix the remaining 60 gr. of egg whites and the sifted almond/sugar and carefully fold into the meringue.
Fill a pastry bag fitted with a plain tip with the mixture and pipe macarons about 3 inches in diameter on parchment paper lined baking sheet. You can let them sit at room temperature for 20 minutes if desired. This is often done to assure those little feet at the bottom but I found that I can skip this step with this recipe and still end up with the same result.
Bake at 320 for 15 minutes. Let cool.

Blood Orange Curd, adapted from Alice Medrich:

grated zest of 1 blood orange
2/3 cup strained blood orange juice
1/2 cup sugar
2 eggs

Combine the zest, sugar, juice in a saucepan, and bring to a simmer.
In a small bowl, beat the eggs until light.
Beat some of the orange mixture into the eggs to temper. Scrape the mixture back into the saucepan and cook stirring constantly until it thickens up, about 5 minutes.
Strain and refrigerate, covered with plastic wrap until ready to use.

Fill the macarons with about 1 Tb of the curd and refrigerate.

The final decorating step was to melt some white chocolate and form rose petals to set the parfaits on to them in a flower like manner.

I have to say I am acompletely in love with this dessert. The rose flavor is not too strong and it is really "ice cream for adults". Sophisticated, yet simple to make. All the steps are easy and let you set your own cooking pace.

Note: metal rings can be quite pricey so when it comes to assembling cold plated desserts like this one I use pvc pipe. Go the hardware store and select the diameter you need (I like having 2, 3, and 4 inch diameter rings around) and have one of their sales associate cut it for you. If you promise them a few brownies, they will do so without a problem.

Sugar High Friday 29: Cocoa Nibs Pavlovas

Well, there is more to these than just "pavlovas"…

I really thought I would have to sit this one out…The theme for this month’s Sugar High Friday was "Raw Chocolate" …. where am I going to find raw chocolate in my neck of the woods? There were the obvious choices like homemade chocolate including cocoa butter in the ingredient list, or cocoa nibs that I had successfully located a couple months back. I was feeling less than inspired. I kept looking at my pantry, at the cocoa nibs, at the fridge, and then inspiration came late friday night with these:

Cocoa Nib Pavlovas, Avocado Cream, Honeyed Strawberry and Pineapple, Cocoa Nib and Pistachio Praline….

Yep….just that…Really, I can’t be left alone… and before you turn your heads away, let me tell you that sweet avocado rocks! I wanted to keep up with the raw theme throughout this dessert so beside the cocoa nibs everything else is in its original form. I thought at first of filling the meringue disks with a citrus curd or a chocolate cream, but I wanted something soft and light that would let your mouth taste the cocoa nibs as well as the crunch of the praline.

I am not going to lie, I was a bit skeptical about having avocados on the sweet side, but I found tons of recipes out there for avocado dessert so it gave me the confidence to break away from my savory conceptions and get whipping. And you know what…it is amazingly good!

All the components can be made up to one day ahead. These were assembled and served saturday night for a dinner party. I did not tell people about the avocado part, everybody assumed it was pistachio custard until one guest asked me for the recipe and everybody stopped eating, raised their heads, looked at their dessert funny for a minute and digged in again to the sound of :"crunch…crunch…crunch…this is so surprising…this is so good…"

Cocoa Nibs Pavlovas, adapted from Eggbeater, via Simply Recipes:

Makes 12 shells, but I only used 6.

3 egg whites
3/4 cup sugar
2 1/4 tsp cornstarch
1/2 cup cocoa nibs

Preheat oven to 275.
Mix the sugar and corn starch and set aside. In a stand mixer fitted with the ballon whisk, start whipping the egg whites to soft peaks. Slowly add the sugar mixture in a slow steady stream, or one tablespoon at a time. Stop the mixer and with a spatula, fold in the cocoa nibs.
Line 2 sheet pans with parchment paper, and with a large spoon, mounds 12 meringue rounds. Bake at 275 for 40 minutes. Reduce heat to 250 and bake for another 20 minutes. At this point you can remove them from the oven, or turn the oven off and let them cool in the oven for a few hours. I let mine sit there overnight.

Avocado Cream, adapted from Avocado.org:

Serves 6

3 avocados, pitted, skin removed and cut into cubes
1/4 sugar, or to taste
1 cup heavy cream
juice of 1 lime

In a food processor, combine all the ingredients and puree until smooth. Refrigerate until ready to assemble.

Cocoa Nib and Pistachio Praline:

100 gr. sugar, divided
1/4 cocoa nib
1/4 shelled raw pistachios

Line a sheet pan with parchment paper and set aside.
In a heavy saucepan, melt 50 gr. sugar until light golden brown. Add the remaining 50 gr. sugar and stir until the sugar melt and the caramel is dark golden. Remove from the heat, quickly add the nuts and the nibs. Pour it onto the sheet pan and let cool completely. Break into pieces to decorate the meringues.

For the fruit I just cut up some strawberries and pineapple and drizzled them with some honey to taste.

Assemble the Pavlovas:
Do this just before serving.
Set one meringue disk on a plate. Scoop about 1/4 cup of the avocado cream. Spoon some fruit over the cream and add piece of praline to decorate.

This was perfect last night, as it was still over 80 degrees at 8pm, and it finished our dinner al fresco with style, simplicity and a very light feeling both in the stomach and the mouth.

Sugar High Friday 27: Chocolate By Brand

…or in my case "A Tale of Two Michels":

When I read about the chosen theme for this month SHF on David Lebovitz’s blog I let out a little sigh…chocolate? again? Unbelievable as it seems, even I, the chocolate lover, was starting to gravitate towards more fruit based desserts after my chocolate filled holidays. But I kept on reading because after all, once you fall for chocolate you just keep on reading and eating and baking,…. The idea for this month was to pick a brand, any brand of chocolate and cook/bake with it.

I have to admit that although I do not consider myself a chocolate snob, I tend to buy higher end chocolate bars and blocks rather than store bought for some of my baking. The results are incomparable, and so are the textures and flavors. I have bought evey brands out there I could find in hope that even a cheap bar could taste as good but most of the time I have been disappointed. If I am going to include chocolate in a cake I choose Callebaut or Schockinag. They melt well, the chocolate retains its flavor through high temperature baking and I still have connections to get some big slabs at a moderate price. I use Valhrona if I make ganaches, creams and custards because the flavor really comes through and your palate can really tastes the chocolate.

Everybody has a different opinion about what kind and what brand of chocolate tastes better to them. I believe that one has to try as many different kinds of choclate brands and cocoa percentages to know what appeals to them. There is no shame in proclaiming loud and clear your love for a particular kind, whether it be dark, milk or white (not really chocolate I know but good anyhow). I confess that I am a milk chocolate fanatic, and dark chocolate higher than 65% does not appeal to me. For some reason it coats the back of my throat and leaves a very acidic tastes on my tongue. I am always in search a good quality milk chocolate, not one over saturated with cream, but one that is one molecule removed from a very smooth dark chocolate.

While at the Grande Epicerie at Le Bon Marche, I was lucky enough to find 2 really interesting (to me) chocolate bars. In my pursuit to like darker chocolate I bought a bar from Michel Chaudun via Weiss chocolatier, 70% dark chocolate with cocoa nibs. The second one was a milk chocolate bar from Michel Cluizel, "1er Cru de Plantation ‘Mangaro’ Milk Chocolate ".

I had a nibble of each the other day, and then I stacked one square of each and popped them in my mouth…and then I repeated this last bit by stacking them on top of a shortbread cookie…and then I wished I had a dozen or so of them…! But they were not easy to eat like that, if only I could melt them and serve them in a little shortbread crust… The solution was very easy: a chocolate ganache tart, and because I would melt the milk chocolate with an equal amount of dark chocolate the cream would not overpower the object of my desire.

Thank you to the two Michel for allowing me to create what is to me the best chocolate ganache tart I have had so far.

If you want to make this, use what your tastebuds qualify to be the best chocolate. Tastes is as subjective as love so use what you enjoy best.

Chocolate Ganache Tart, adapted from my head and Doris Greenspan (crust).

For 3 (4 inch) tarts

Crust:
1/2 stick butter
3/4 cups flour
1/4 cup powder sugar
1Tb cocoa powder

In a food processor, pulse all the crust ingredients. Empty in a bowl and knead until the dough comes together. The butter will warm up when in contact with your hands and will allow you to form the dough unto small disks. Wrap in plastic and refrigerate while you prepare the ganache.

Ganache filling:
5 oz dark chocolate
5 oz milk chocolate
1/2 cup + 2 Tb. heavy cream

Heat the cream over medium heat. When hot, remove from the stove and throw in the chocolates, let stand for a minute. Gently stir to incorporate all the chocolate. Let stand at room temperature while you prepare the tartlett crusts.

For the tart shells:
I used 4 inch round tartlet molds but you can use smaller ones if desired, I got 3 filled tart with the quantity of chocolate I had melted. That point is really make and bake as you go.
Remove the dough from the fridge and roll out between two sheets of plastic wrap. Fit the dough into the tartket molds, prick with a fork and refrigerate while you heat up the oven to 350 degrees. Pre bake until done. Let the shells cool completely.
Remove from the molds and fill with the ganache. Refrigerate until the ganache is completely set.

For the decor, I melted 1/2 cup of sugar woth 2 Tb of water until golden brown and spoon shapes and lines onto parchment paper. I let the caramel cooled completely,cut out stands and branches and stuck them in the tart.
Et Voila!

Ok, this was a rare splurge, combining 2 great names into one little tart, but hey it felt really good and the world around me almost stopped for a few minutes!