It’s no secret that I love tarts. Obviously with a nickname like Tartelette. Oh you thought it was just the name of this site didn’t you? Well, not entirely. My family gave me the moniker of Tartelette when my age was still in the single digit category. I love tarts. Sweet or savory. Square or round. Rectangular or triangular (have yet to make that one!). The sky is the limit when you make a tart. I just happen to like them all…
And it really bugs me that I can’t register the domain "tartelette" but have to put "my" in front because someone grabbed it already (and is just sitting on it). This is not "my tartelette" ya’ll, it’s yours, it’s everybody’s. It’s a place to come satisfy all your senses, your eyes, your tastebuds, your brain. Read a little, smile a lot. I don’t know. I hope it feels as much of an open invitation to come sit at my table as I hope to convey.
That’s probably why we love to have friends come visit. Stay for a while or just in passing. We live in such a gorgeous city. We love to walk the old cobblestone streets with them, have dinner on the patio or go to the dock to get some crabs for dinner. You can’t help being in a good mood with all this sun year round and beauty of the city. We may not have all the stores and convenience of a big city but we are truly spoiled by the richness of the history and the spirit of the people.
I think Tami felt that when she visited us a couple of weeks ago. She came to relax after some grueling days at work and we had also made plans to contribute on a project together. I’d say our friends have varied personalities and lives but one common trait is that they all love food and they all love to eat good food. So you can bet that in the midst of working hard and playing harder, Tami and I made sure to eat fresh and satisfying foods to keep us going.
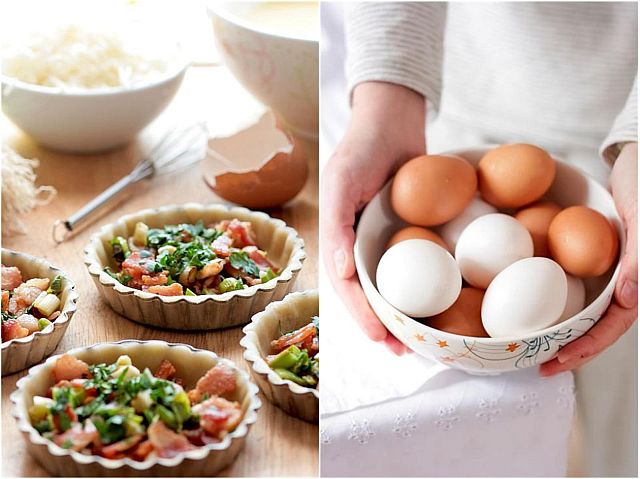
She came at the right time too! I had just made a couple of batches of gluten free puff pastry, to find the combination of flours we liked best and to make sure that the results were consistent each time. I had plenty of leftover dough but no real desire for anything sweet. I ended up blind baking and freezing three tart shells instead. At least, if I did not use them right then and there, I’d have them ready to whip up a quick quiche or tart for a light lunch or an impromptu gathering.
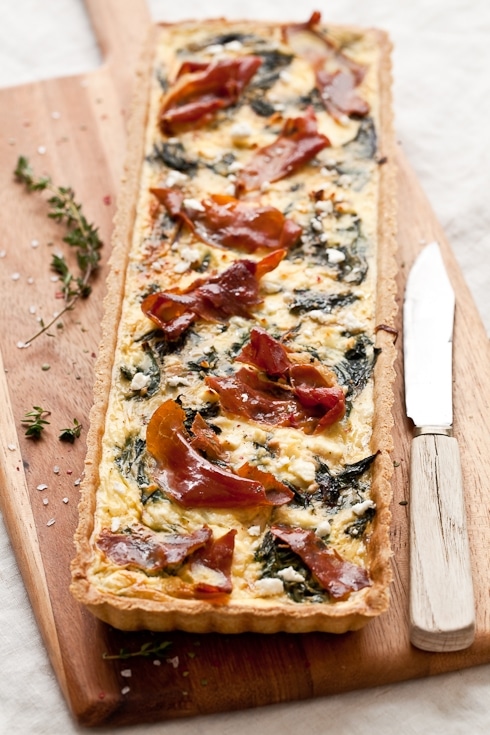
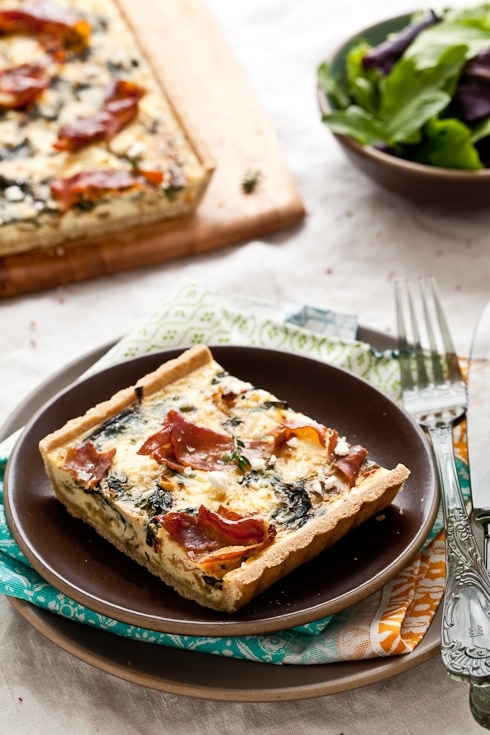
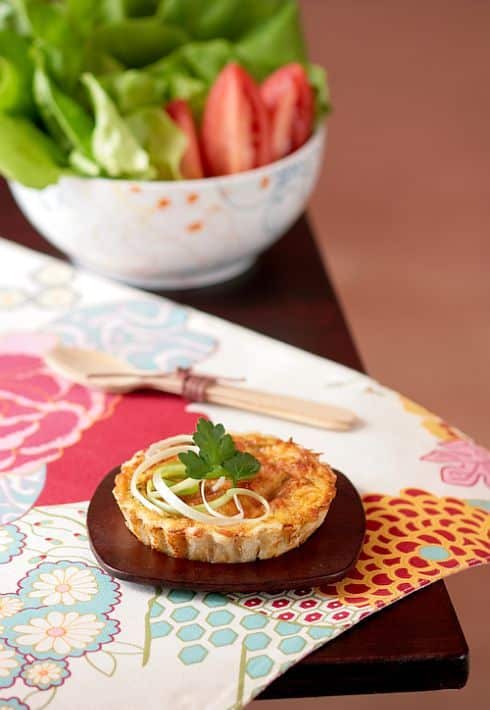
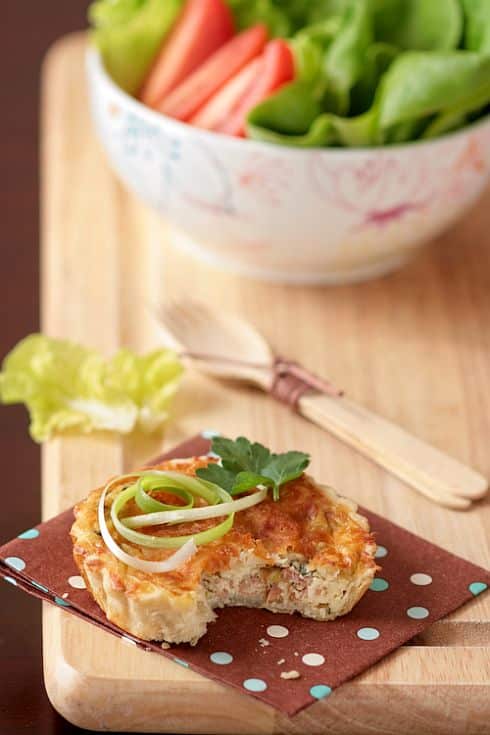
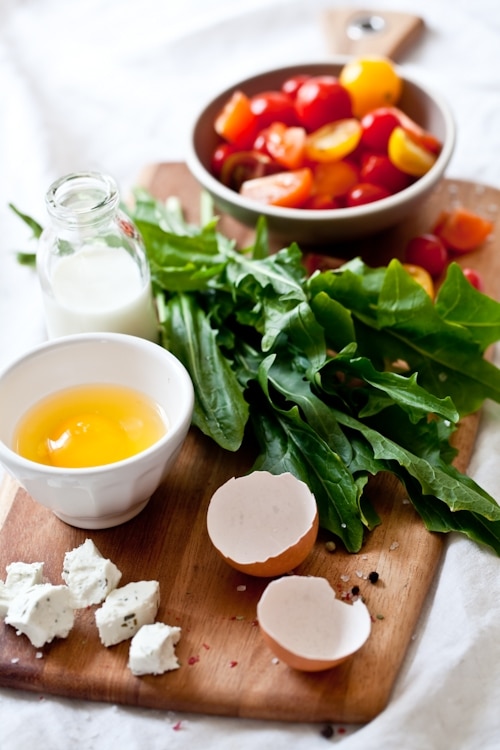
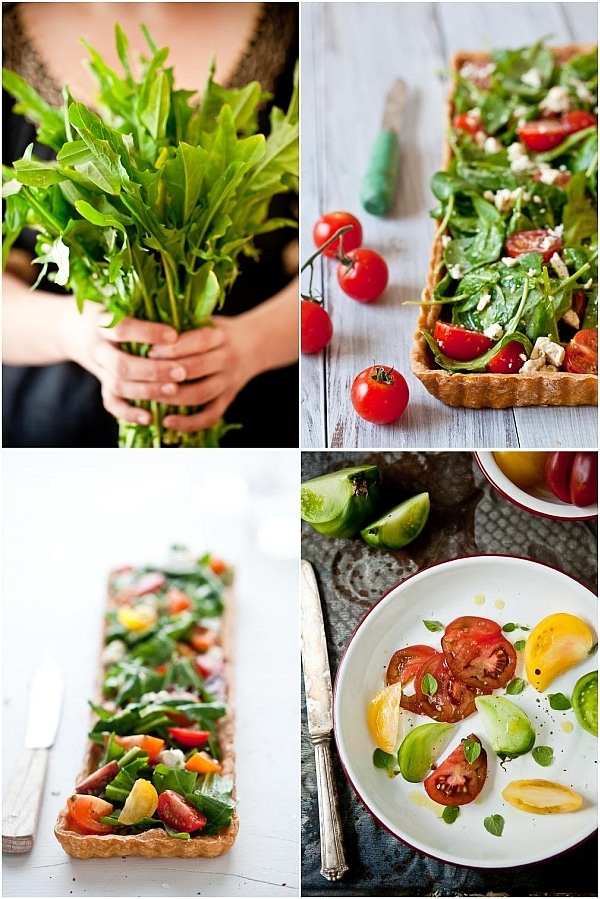
Tami and I shared a tart filled with a light custard filling and topped with fresh dandelion greens (she’s hand modeling for me too!, heirloom tomatoes and goat cheese. We devoured it. Almost all of it. I saved a couple of slices for B. and he wanted more. He made me promise to make more. Soon. So I did.
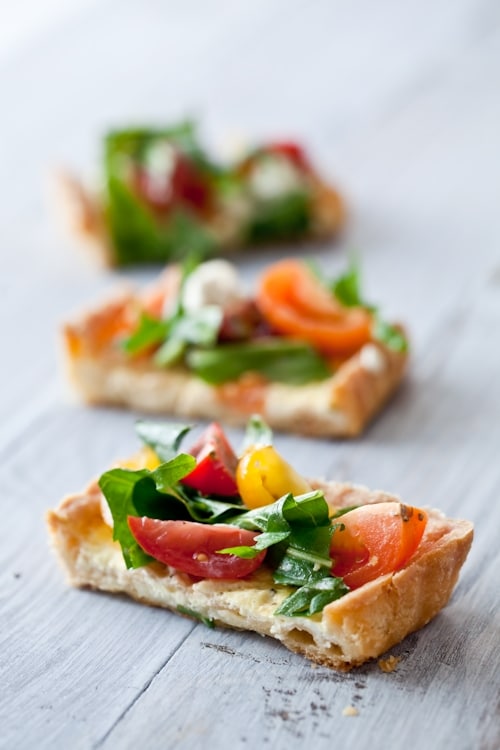
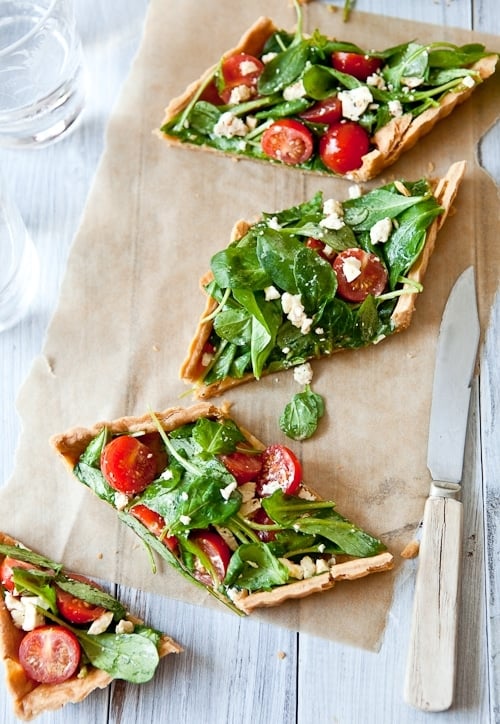
The second one I made shortly after was filled with a simple salad of arugula, goat cheese and cherry tomatoes tossed in a simple vinaigrette. Score once again. I literally could have eaten it all by myself but the pleasure of sharing with Bill just to see his face light up as mine did was priceless. Gosh it was good! The world goes rounder with tarts. That is all…
Check out Shauna’s Rough Puff Pastry that she just posted here. Such determination…
Props:
Someone asked me where I found the wooden spoon shown with these cakes. It’s a picnic set that my mom got on Sprout Home but Anthropologie announced today they now carried them (price gauging them too).
– vintage knives: etsy & antique store
– enamel plate & Bowl: Pottery Barn
– cutting board: World Market
– glasses: Pier 1 (on sale for $1)
Tomatoes, Goat Cheese and Dandelion Greens Tart:
Serves 4
For the crust:
– 1/2 a recipe for gluten free puff pastry
Filling:
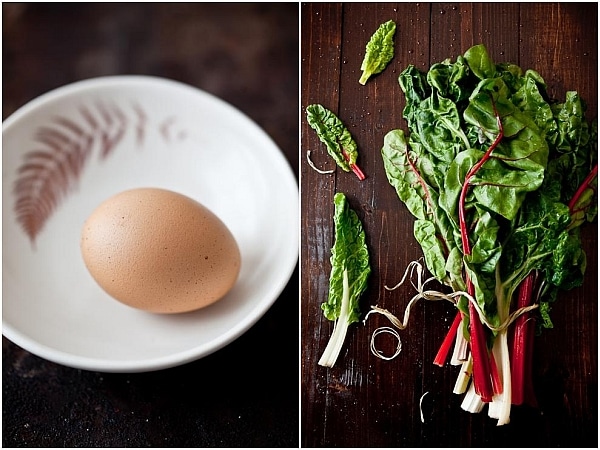
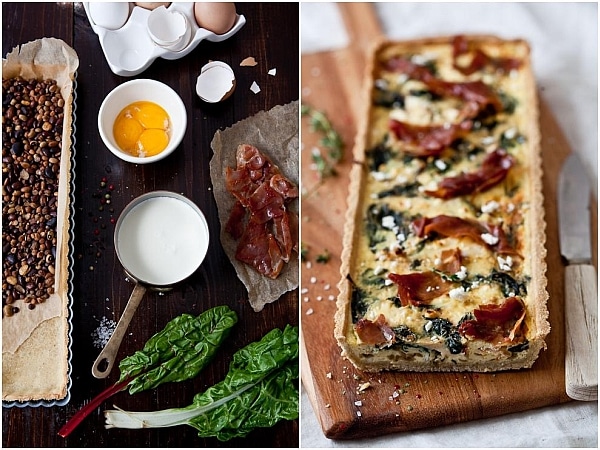
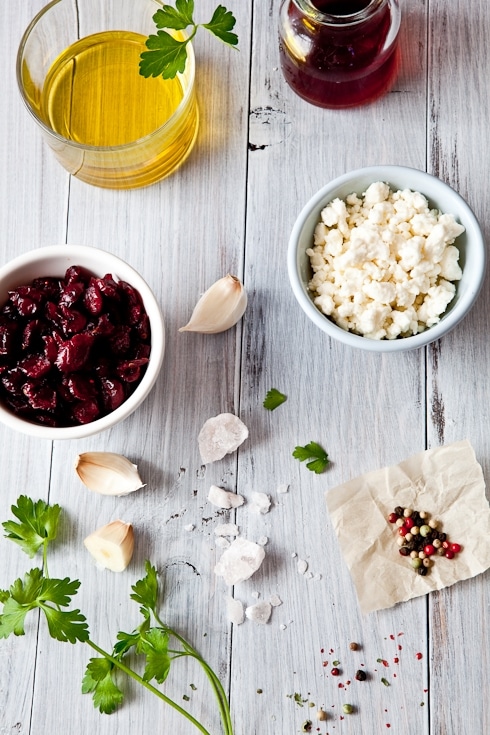
1 egg
3/4 cup whole milk
salt and pepper to taste
1/2 teaspoon Dijon mustard
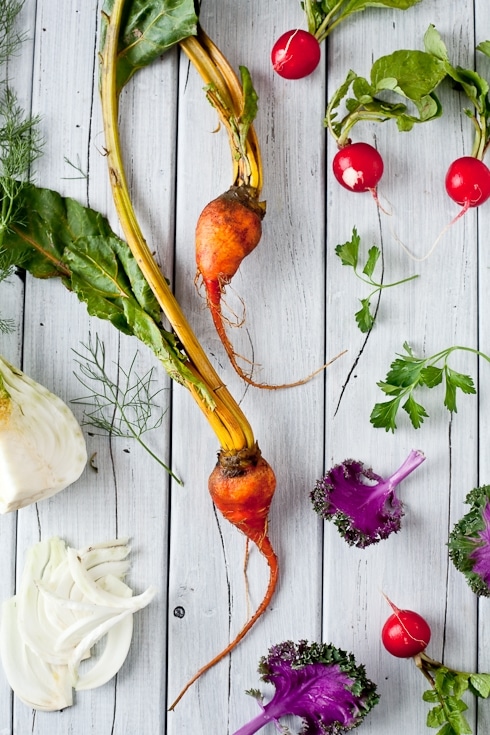
1 cup heirloom tomatoes, halved
2 cups chopped dandelion greens (or other strong greens)
3/4 cup goat cheese, crumbled
2 tablespoons to 1/4 cup vinaigrette (depends how soaked you like your salad)
Prepare the crust:
Preheat oven to 350F.
On a lightly floured board, roll out the dough to 1/4-inch thick and line it into a 9 or 10-inch round tart pan or rectangular, etc… Place the tart on a baking sheet and line it with a piece of parchment paper on top and fill with dried beans or ceramic weights. Bake for 15 minutes. Let cool.
For the filling:
In a medium bowl, whisk together the egg and the milk until well combined. Add the salt, pepper and mustard and whisk to incorporate. Pour the filling inside the shell and bake for 10-12 minutes. Let cool completely.
Mix all the tomatoes, greens and goat cheese in a large bowl. Toss with as little or as much vinaigrette as you like and spoon the salad on top of the tart. It’s ready! C’est pret!
Arugula, Tomatoes and Goat Cheese Tart:
Serves 4
For the crust:
1/2 recipe gluten free puff pastry
For the filling:
2 cups arugula
1 cup cherry tomatoes, halved
3/4 cup goat cheese, crumbled
2 tablespoons to 1/4 cup vinaigrette (same as above)
Prepare the crust:
Follow the step in the previous tart recipe.
Prepare the filling:
Toss all the ingredients together as you would a salad and spread on top of the cooled tart shell.