Dear Breakfast,
I have tried. Really I have. I just can’t seem to get you. Or you aren’t that captivating enough to me. Not after that many years trying. I am willing to sacrifice more time getting to get you though. Really, I am. Even the little time I have left these days in the morning is not without a thought or two for you. Unfortunately it’s been the extent of our relationship lately. "The thought of you". Well, until I made these Tamarind Coffee Cupcakes. Now it’s all about "the very thought of them".
You and I are comfortable with each other. We’re not bored and we’re not indifferent but we just can’t seem to get wild and crazy about each other either. Let’s recap a little here. We tried early on to build a solid foundation with a cup of coffee and a piece of toast. Until I got burned out on the toast with butter and jam, dunked in my coffee because I wanted that just about 10 more times before heading out the door.
So we decided to make it bit more structured and add an egg and piece of bacon to that toast. Oh. Beautiful mornings ensued. Definitely. Until I got lazy in our relationship and refused to do this much clean up before work. You would not compromise and a full break-up followed. Months without a nibble. Until a roomate made a piping hot bowl of oatmeal topped with a splash of honey and a handful of roasted hazelnuts.
I wanted to marry you then. We did have a long engagement. It became clear though that I do have a "coeur d’artichaut", even for you. It just was not enough. So we made pancakes with oatmeal and honey and nuts. Then waffles. And crepes. More pancakes. Eventually I started forgetting the toasted nuts. The honey too. Then one day I woke up and hit the snooze button and gave you the silent treatment. Sorry.

I went back to the eggs. Soft boiled. Poached. Sunny side up. You name it. I had it. It was almost indecent. Then I had a smoothie period. A green juice period. A funky smoked fish and German bread period. A bowl of fruit, sprinkle of flax seed period. Virtuous is not me. That also went out the window. I cheat with mid-morning snack. A tomato with sea salt. A handful of nuts, etc… You see?
It’s not you. It’s me. I’m not just fickle. I am a gourmande. Of life. Of food. Of emotions. If I didn’t have to watch for certain health issues, I’d have croissant, pains au chocolat, chaussons aux pommes and other French delicacies every day for breakfast. And I would not get bored. All that butter. But if I did, I’d rapidly wear them on my derriere. So the Frenchies and I have a Sunday rendez-vous instead.
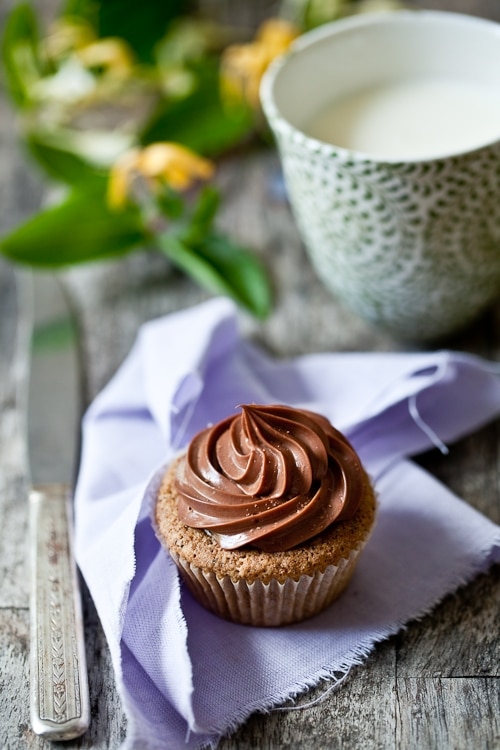
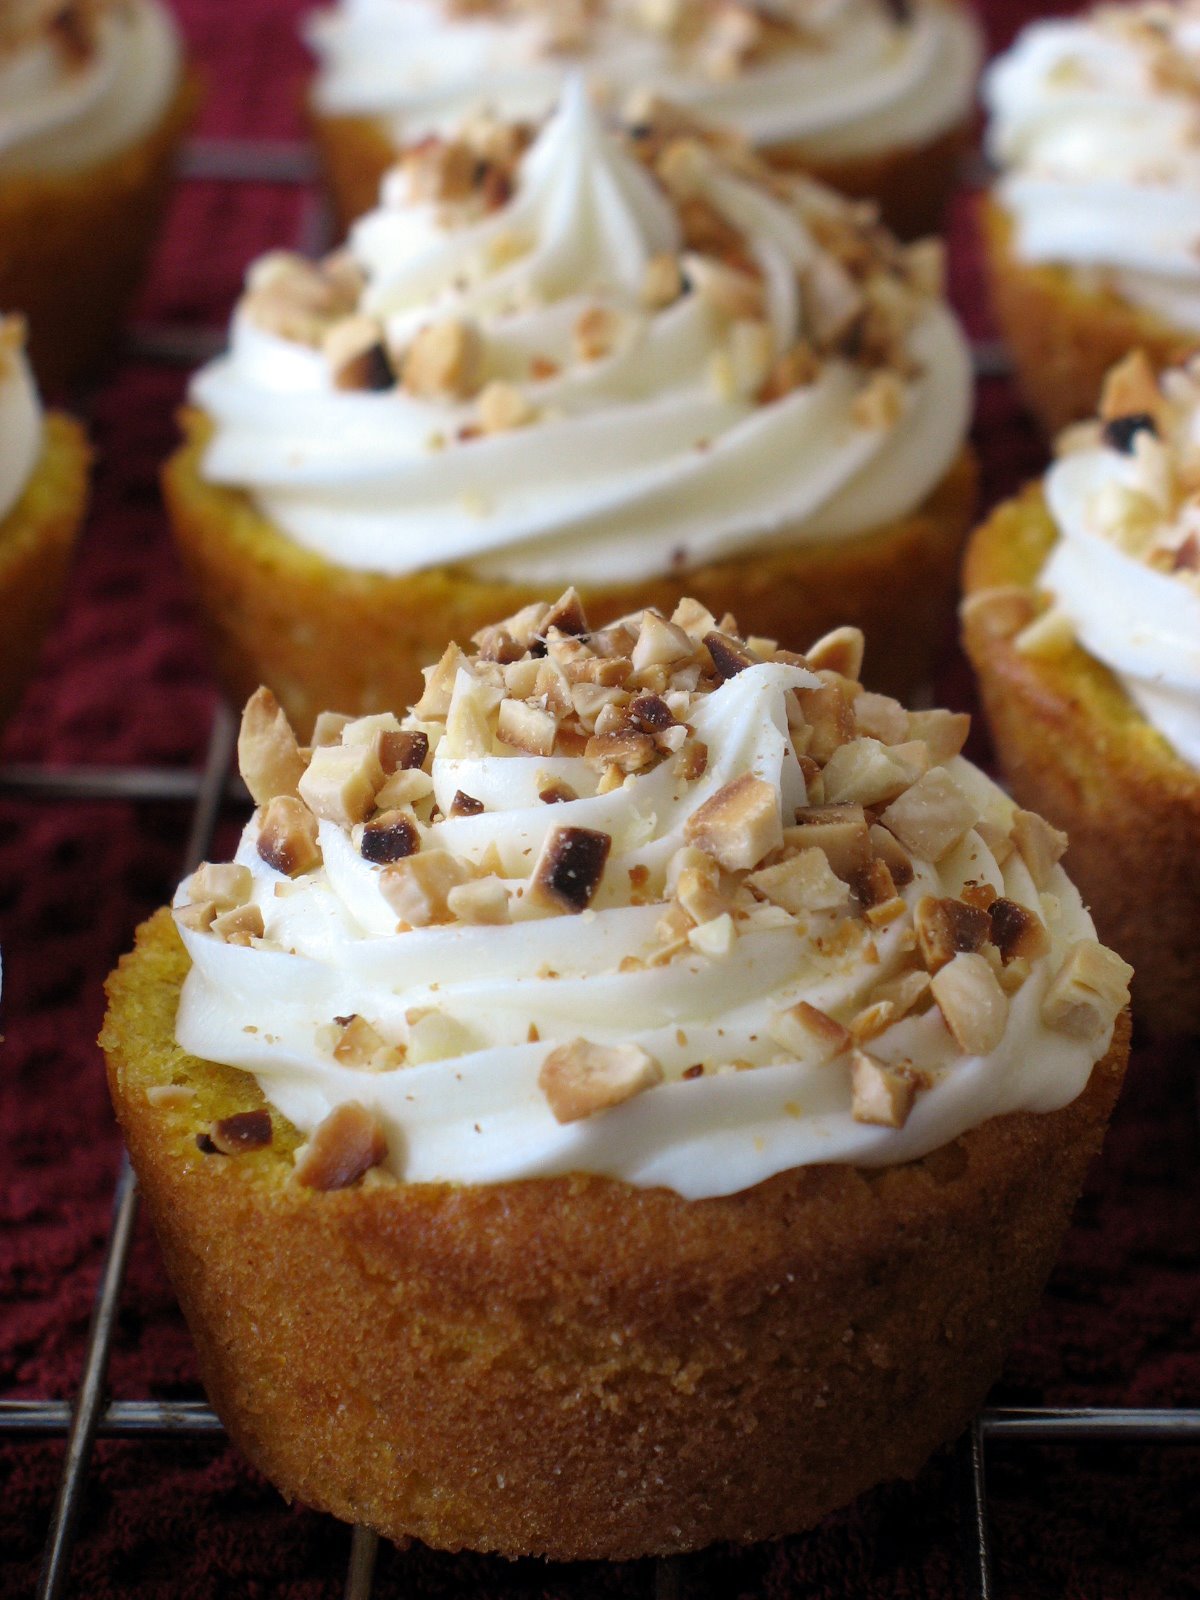
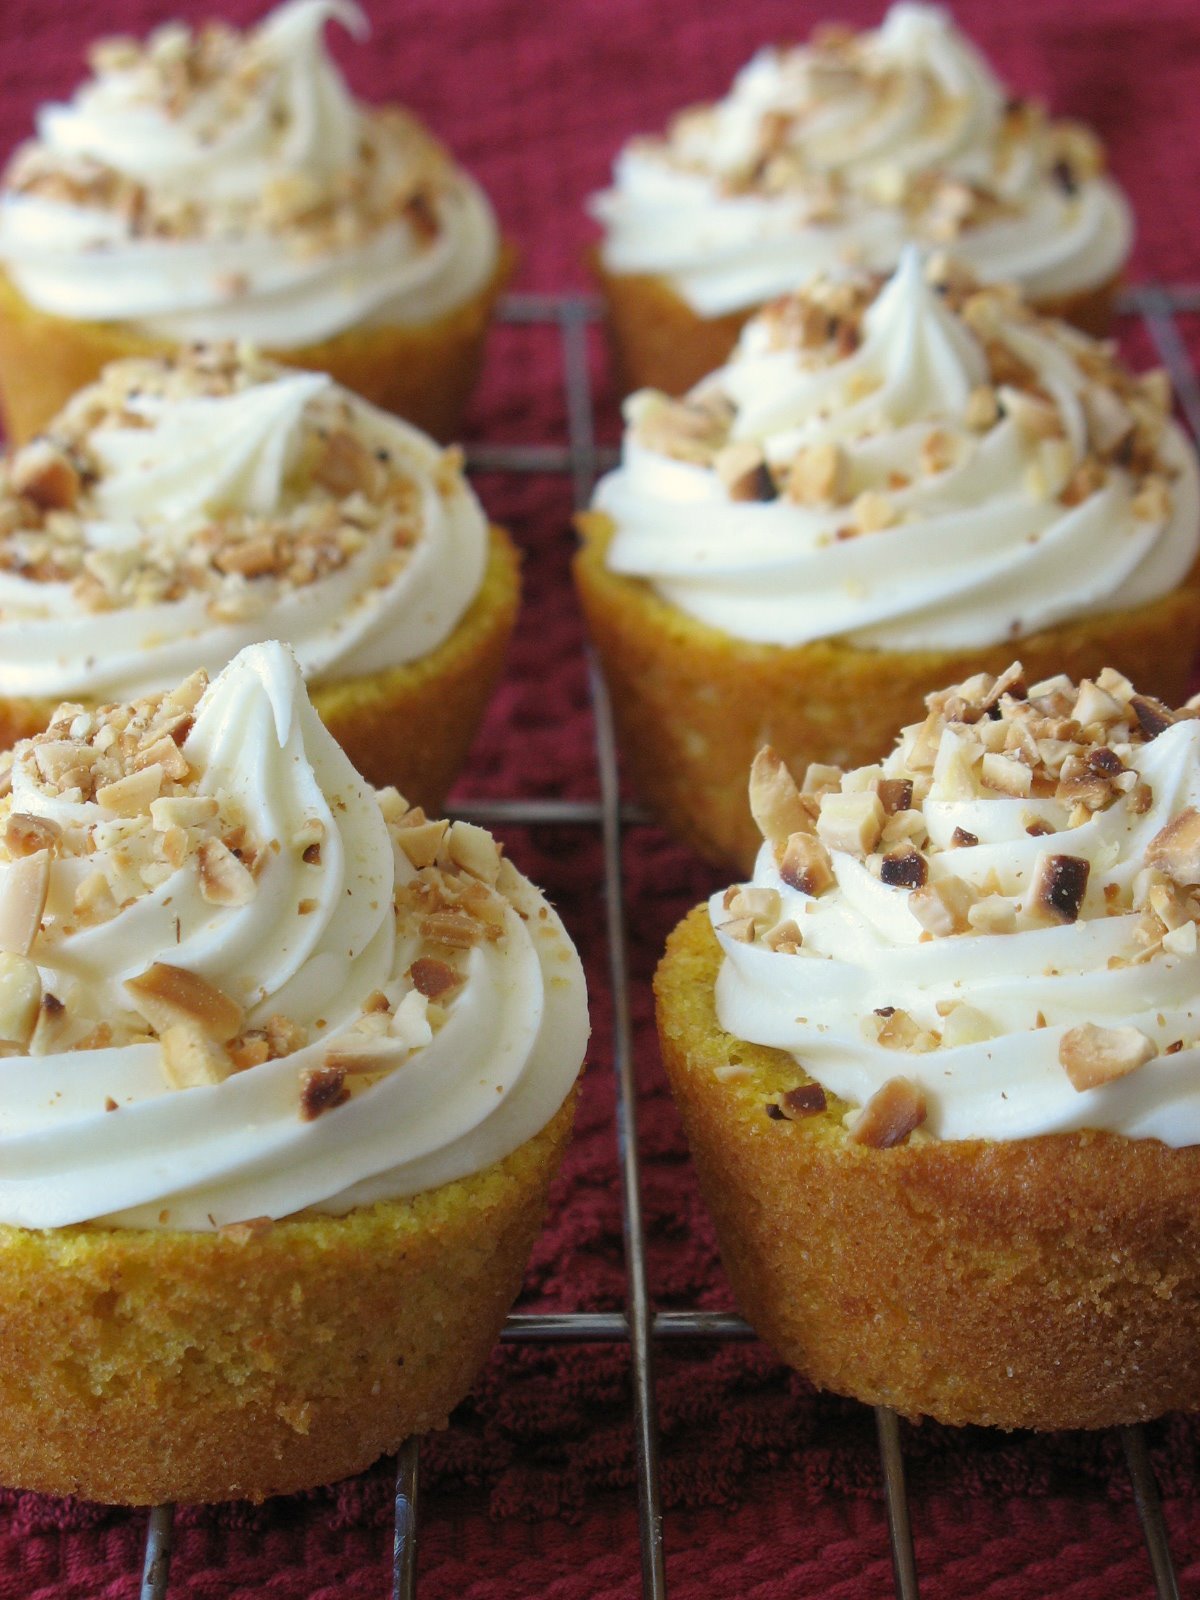
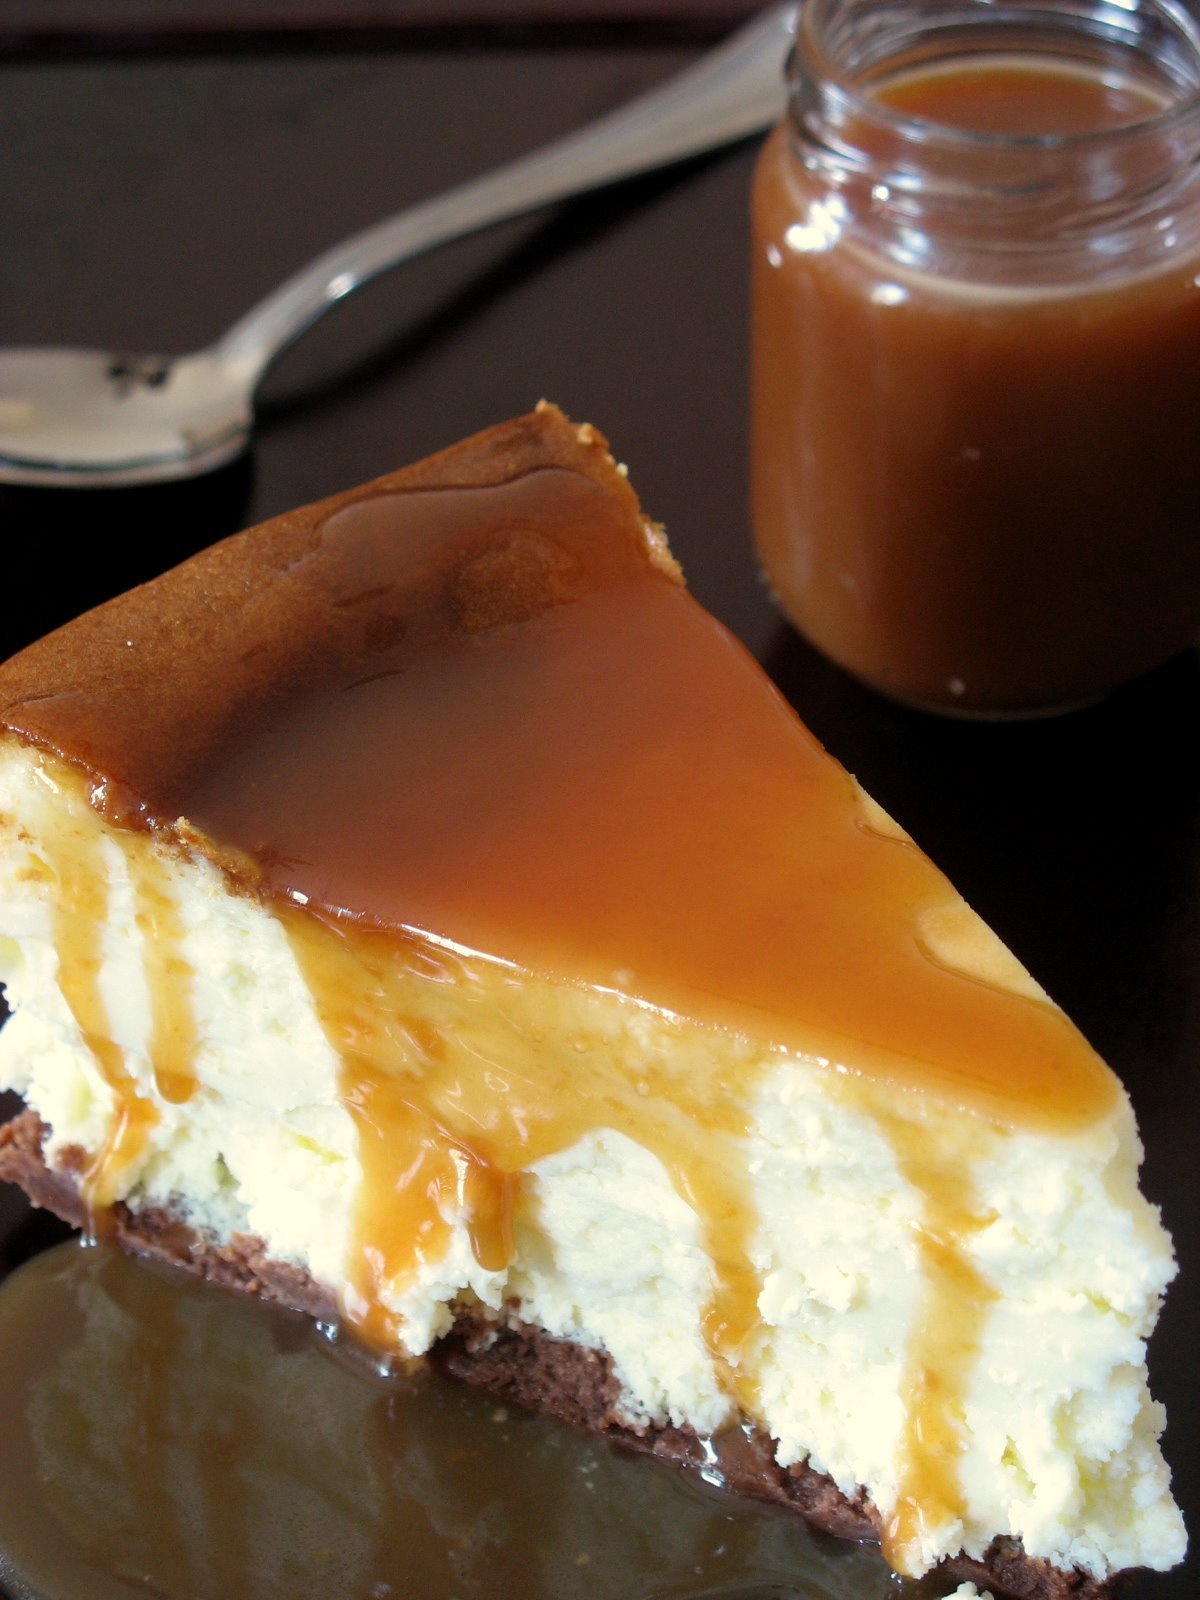
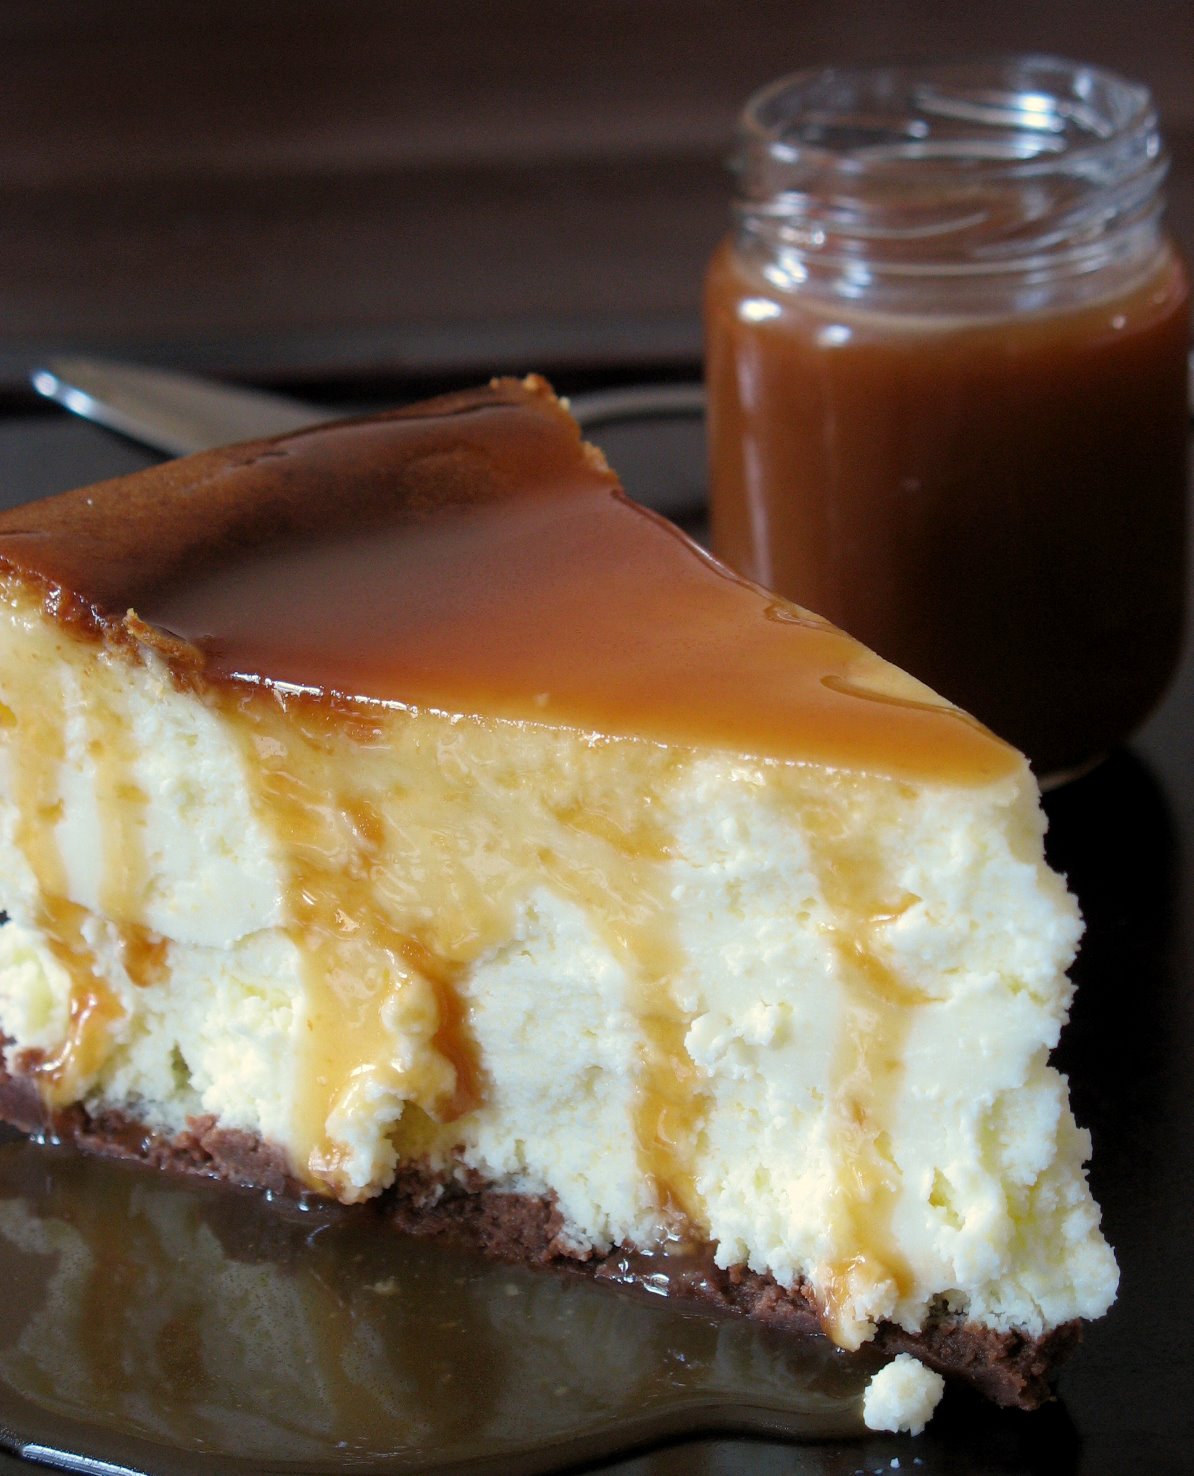
I was about ready to give up on the whole thing and remain a breakfast spinster until Dan Lepard posted these Tamarind Coffee Cupcakes. The coffee makes them incredibly versatile while the tamarind provides the perfect hint to wake up your tastebuds. In the morning I have one without frosting on my way up to the studio and in the afternoon a dollop of cream cheese-chocolate frosting is just a reminder that a sweet pause and a cup of tea is just what the doctor ordered during a long day on the job.
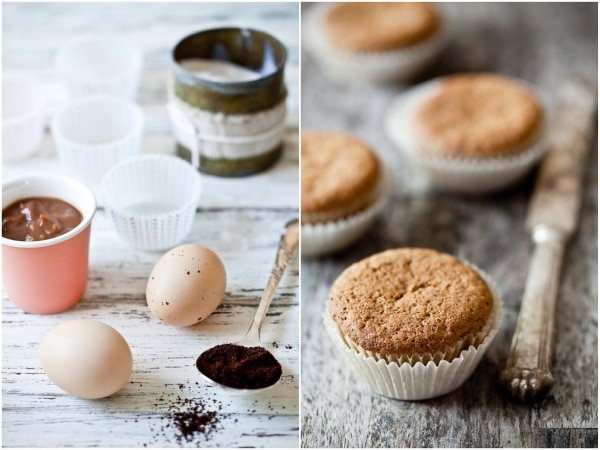
I used a mix of superfine sweet rice flour (info previously here and here), cornstarch as we don’t like tapioca flour but you can substitute either or according to your preference and millet flour. I did half butter and half coconut oil and used raw honey which intensifies the coffee in the cupcakes and brings out the chocolate when frosted.
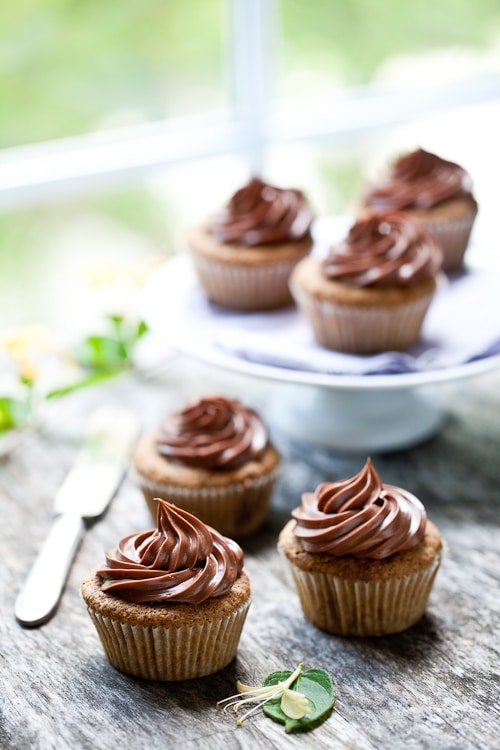
Even B. agrees that this kind of love affair is also to his benefit. Indeed, I can’t possibly eat all 12 cupcakes in one sitting so I must share with him. We might finally find our groove you and I, dear Breakfast.
Yours truly,
Helene.
Tamarind Coffee Cupcakes With Chocolate Cream Cheese Frosting, adapted from Dan Lepard.
Makes 12
For the cupcakes:
55g unsalted butter, at room temperature
55gr extra virgin coconut oil
1/3 cup (110gr)honey or light brown sugar
1 tablespoon ground coffee
1/4 cup tamarind paste
2 large eggs
1/2 cup plus 2 tablespoons (100 gr) superfine sweet rice flour
1/4 cup (50 gr) millet flour
1/4 cup (50 gr) cornstarch (or use tapioca flour)
1 teaspoon baking soda
pinch of salt
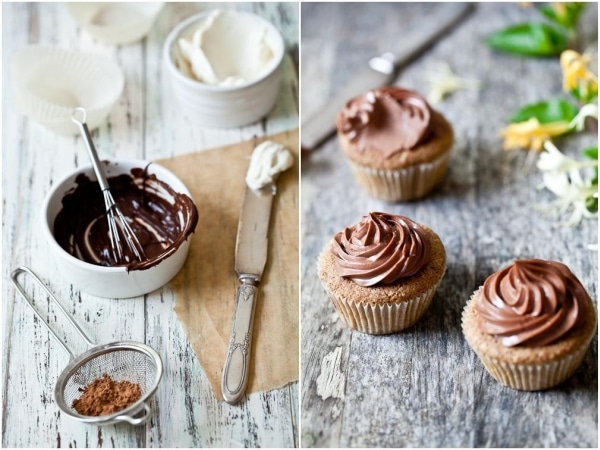
For the frosting:
1 block (8 oz) cream cheese, at room temperature
3/4 cup (170gr) semisweet chocolate, melted and slightly cooled
Prepare the cupcakes:
Preheat the oven to 350F. Place 12 muffin liners inside a muffin pan and lightly brush with melted butter (or cooking spray).
In an electric mixer, whip the butter, coconut oil and honey until fluffy at medium speed, 2-3 minutes. Reduce the speed to low and add the tamarind and coffee. Still on low, add the eggs, one at time and scraping the bowl after each addition. In a separate bowl, mix together the flours, cornstarch, baking soda and salt and slowly fold this in with the butter – tamarind mixture until the mixture is smooth. Divide evenly among the muffin liners and bake 20-25 minutes. Let cool completely before frosting or enjoy warm without.
Prepare the frosting:
In a large bowl, whisk together the cream cheese and semisweet chocolate until smooth. Fill a pastry bag with the mixture and pipe on top of each cupcake.
———————————————————————————–
Petits gateaux au tamarin et glacage au cream cheese chocolat:
Pour 12 petits gateaux
55 gr beurre, non sale, a temperature ambiante
55 gr d’huile de noix de coco, a temperature ambiante
110 gr de miel
1 cs de cafe moulu
70 gr de pulpe de tamarin
2 oeufs
100gr de farine de riz
50 gr de maizena
50 gr de farine de millet
1 cc de bicarbonate de soude
une pincee de sel
Pour le glacage:
210 gr de fromage frais, type Philadelphia, a temperature ambiante
170 gr chocolat (pas trop corse), fondu et legerement refroidi
Prechauffer le four a 175C. Aligner 12 caissettes a muffins dans une plaque a muffin et beurrer legerement l’interieur (pinceau et beurre fondu).
Dans un grand bol, mixer le beurre, l’huile de noix de coco et le miel jusqu’a ce que le melange soit leger, 2 a 3 minutes. Ajouter le cafe et le tamarin et ensuite les oeufs a un a jusqu’a obtention d’une pate homogene. Ajouter les farines, la maizena, le bicarbonate de soude et le sel et battre jusqu’a ce que le melange soit lisse.
Repartir dans les caisettes et faire cuire 20 a 25 minutes.
Pour le glacage:
Battre dans un grand bol le cream cheese et chocolate fondu jusqu’a obtenir un melange homogene. Le mettre dans un poche a douille et en glacer les petits gateaux une fois que ces derniers sont refroidis.
———————————————————————————–
This post is syndicated on BlogHer. Click here.


