Finally edited the last part of my trip to Portland a few weeks ago. I get lost in my memories of Portland every time I look at this last set. The day was jam packed with fun adventures…it kept my camera busy and happy.
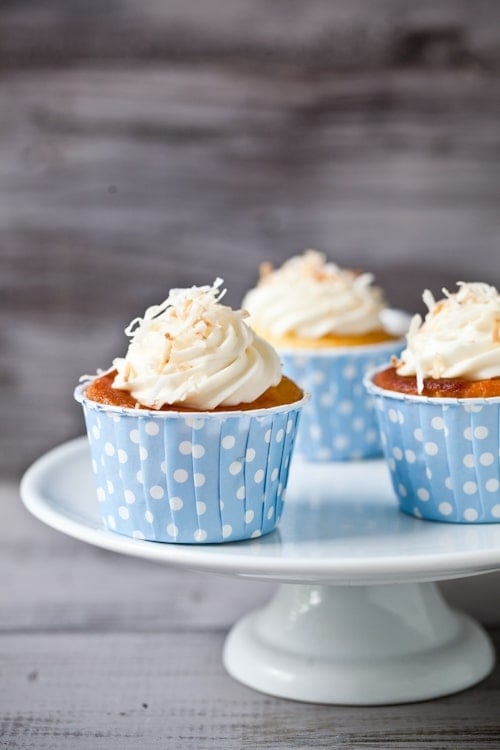
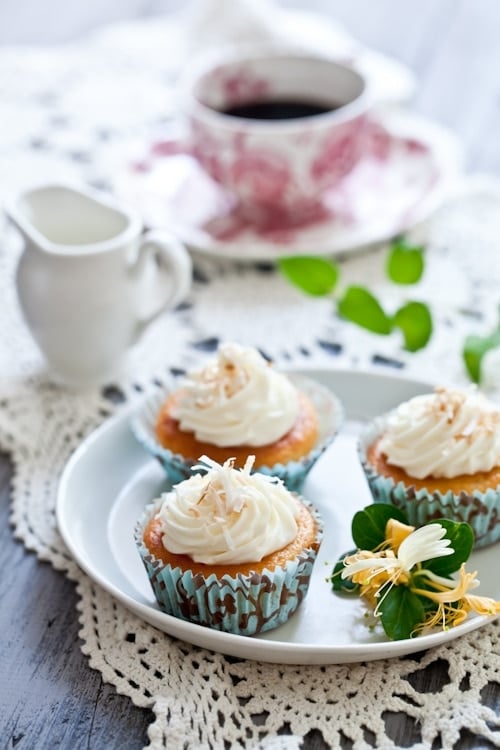
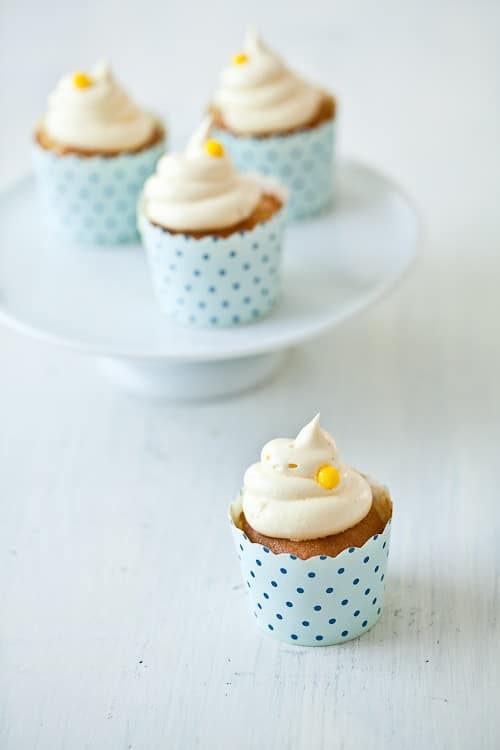
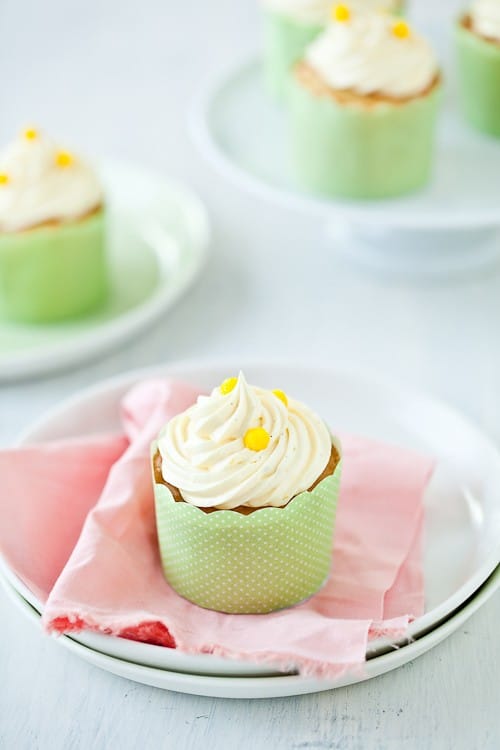
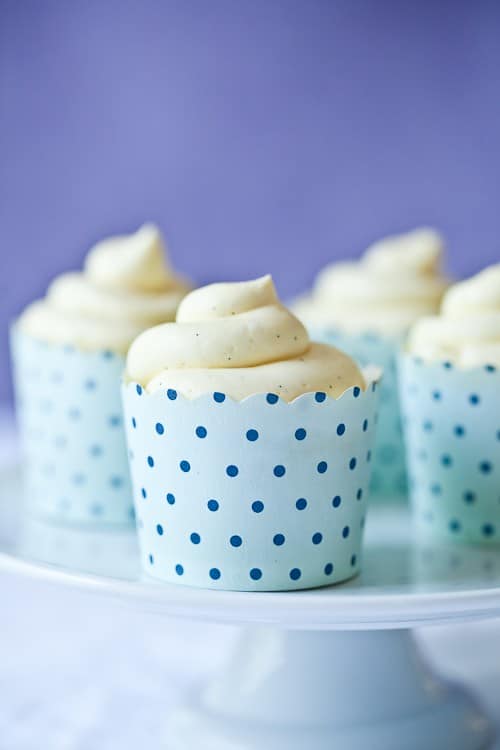
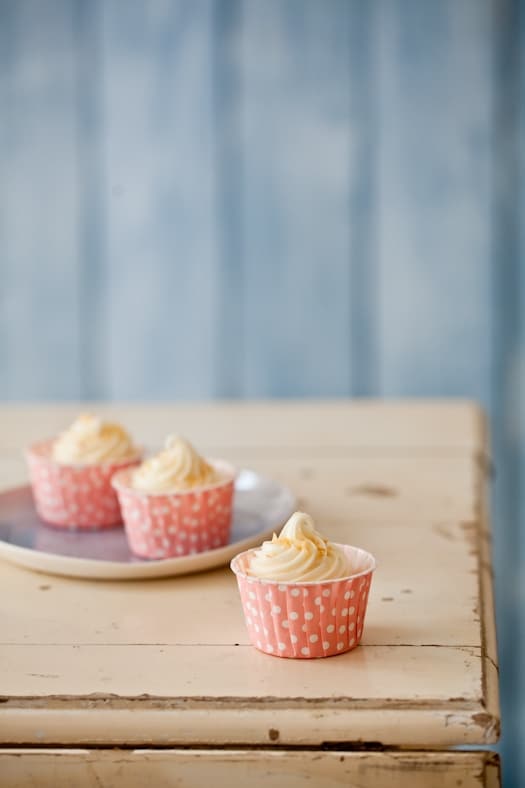
I ended my trip on the same note it started, taking Sunday as an extra day to chill before getting back to work. A day spent with friends, visiting more of Portland, free of schedule. More time to spend with Tami, Nicole and Andrew to go about town. One pit stop at The Meadow salt and chocolate shop inspired the Lemon Salt Lemon Cupcakes pictured above.
Before I start waxing poetic about the shop and the salts, let’s (re)visit that last part of the Full On Oregon trip. Kuddos again to Travel Oregon for the incredible trip. I can’t wait to go back with Bill or my family.
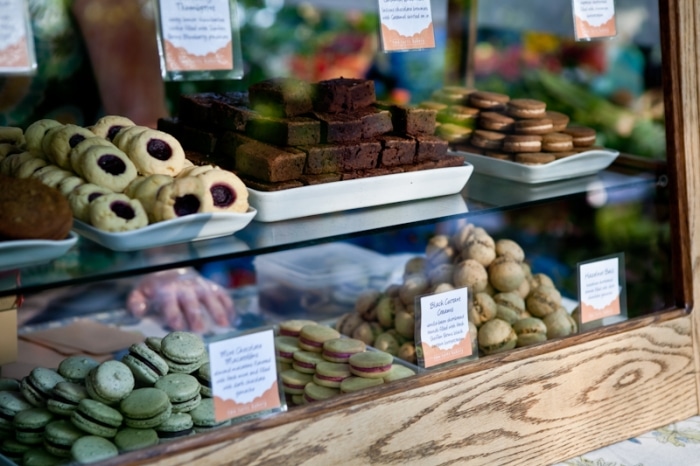
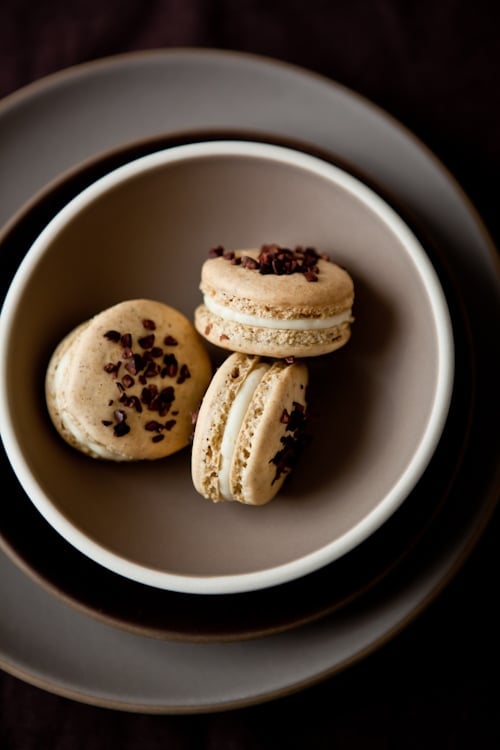
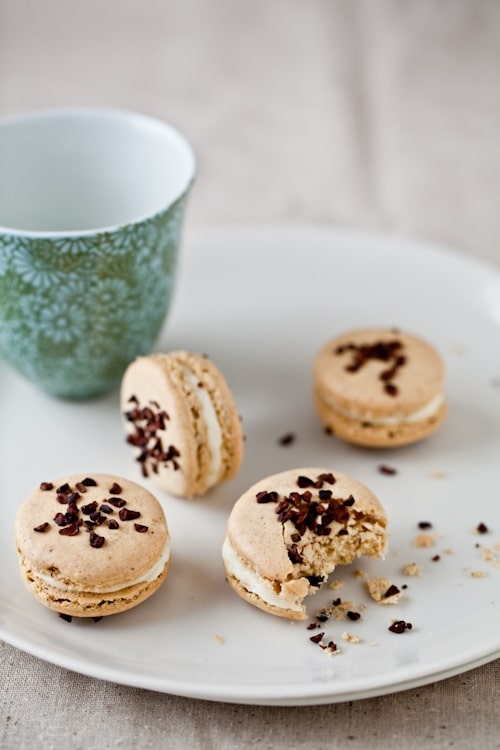
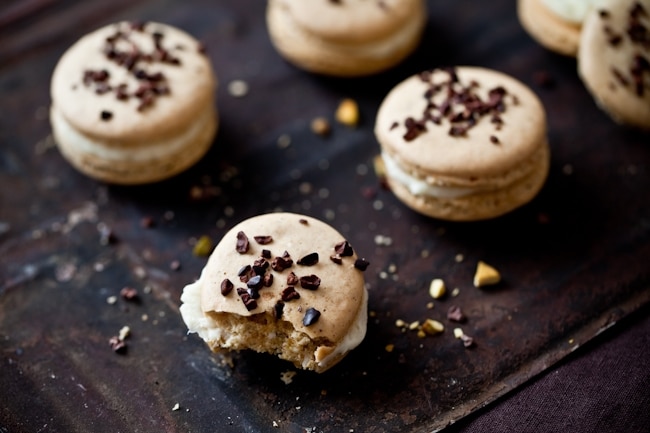
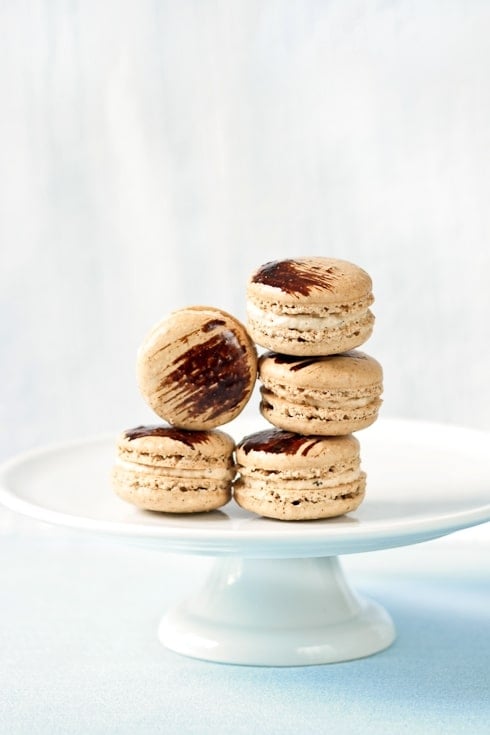
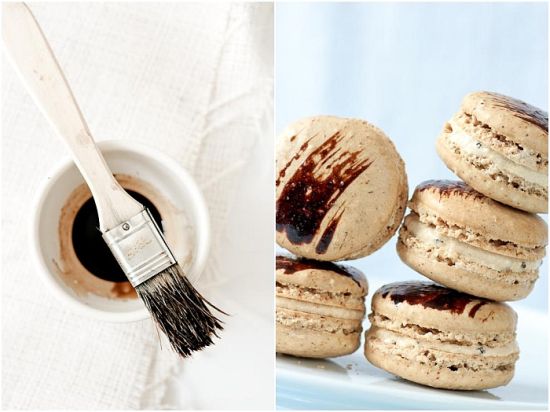
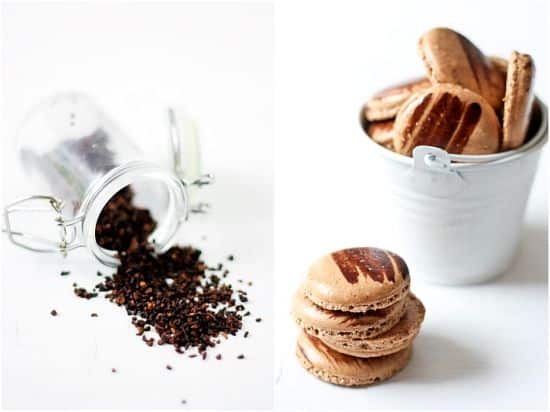
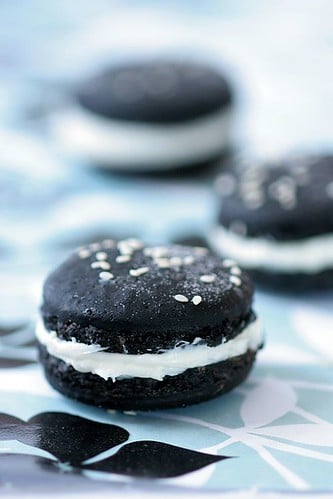
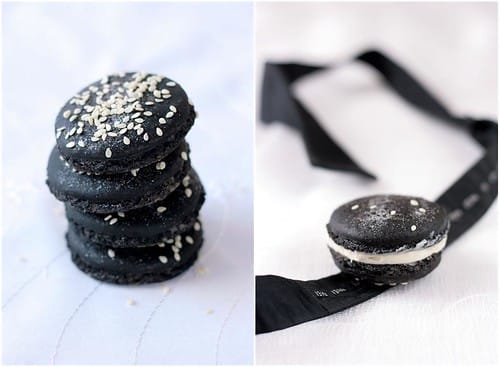
We started bright and early at one of the farmers market. A mix of food vendors, fresh produce and flower stalls as far as the eye can see…Desserts and small bites from the dinner appeared behind a case and I was tempted to get more macarons and brownie bites…
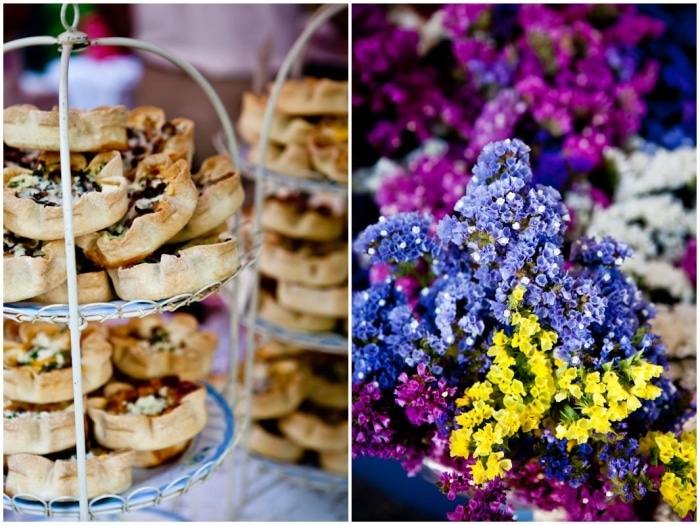
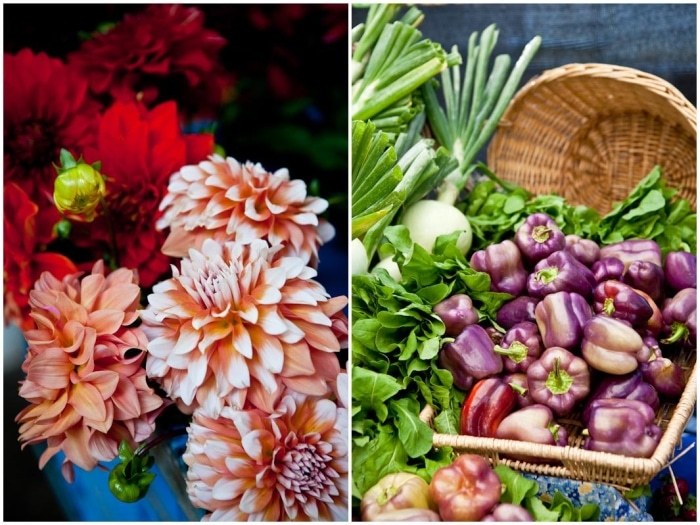
Gorgeous displays of pastries from various bakeries in town as well as what seemed to look like an ever ending sea of flowers strewn about the market.
I must say that seeing one of Portland farmers market made me very proud of our own. Although smaller, we are equally serious about quality and diversity of produce, farmers and artisans.
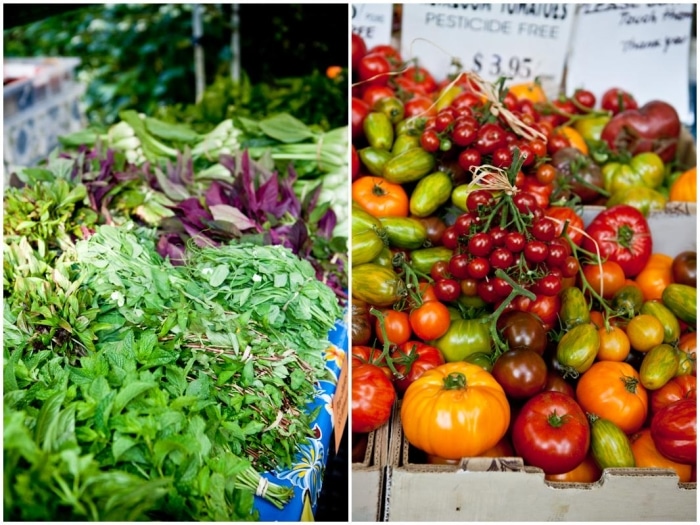
A display of various kinds of mints and basil as well as other Asian staples. Heirloom tomato season was in full force and they were popping at just about every corner.
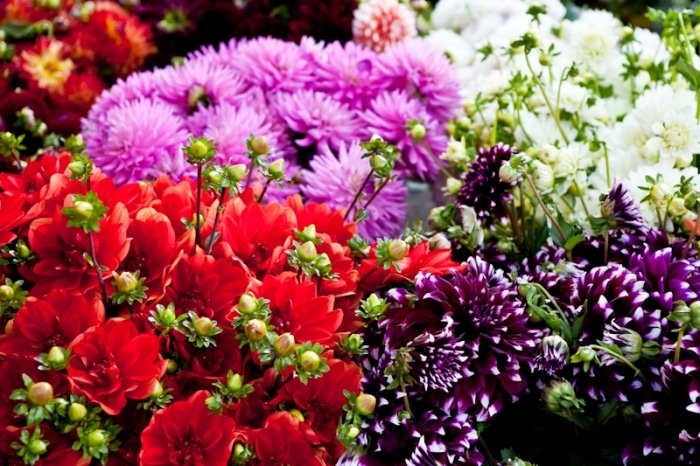
Flowers as far as the eye can see…
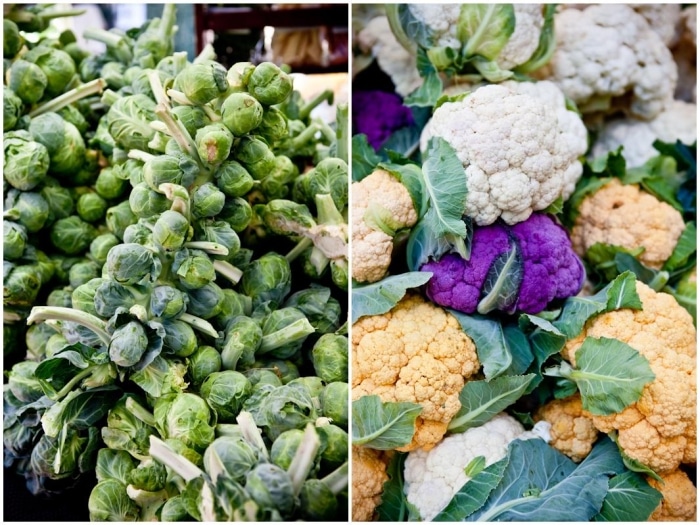
Bouquets of Brussel sprouts and colorful cauliflowers.
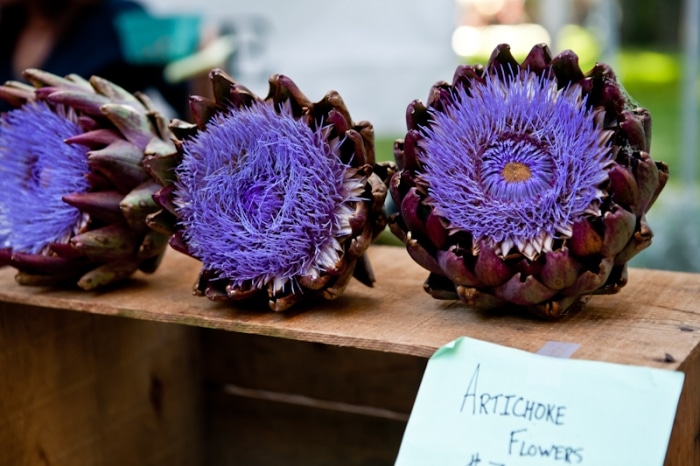
Artichoke flowers…mesmerizing color.
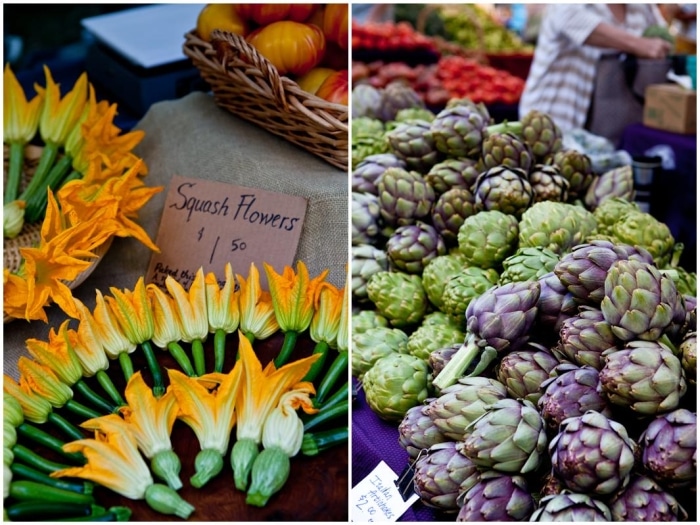
Gorgeous produce everywhere. I am telling you, my finger was glued to my shutter button!
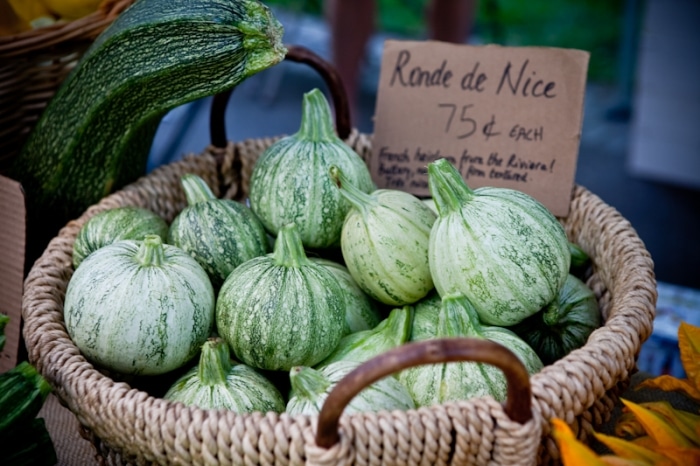
My favorites… Ronde de Nice zucchini are perfect for "Petits Farcis" like my grandma used to make. Recipe here.
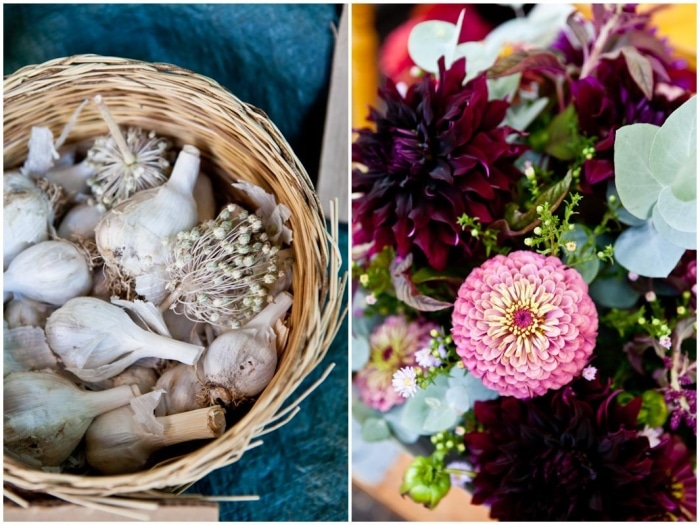
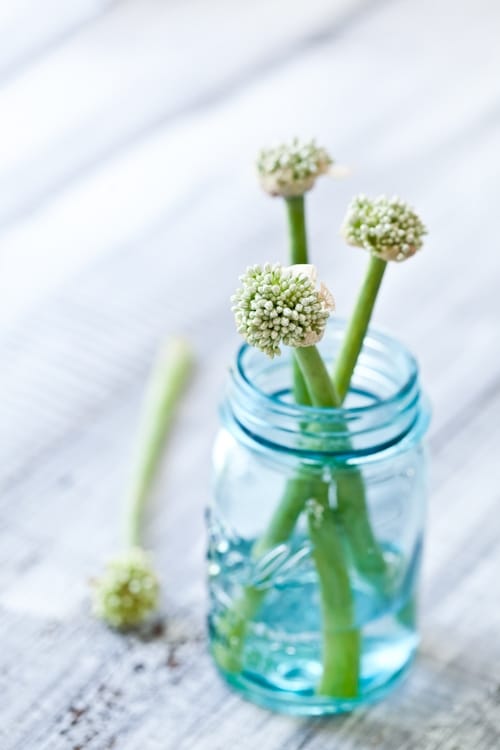
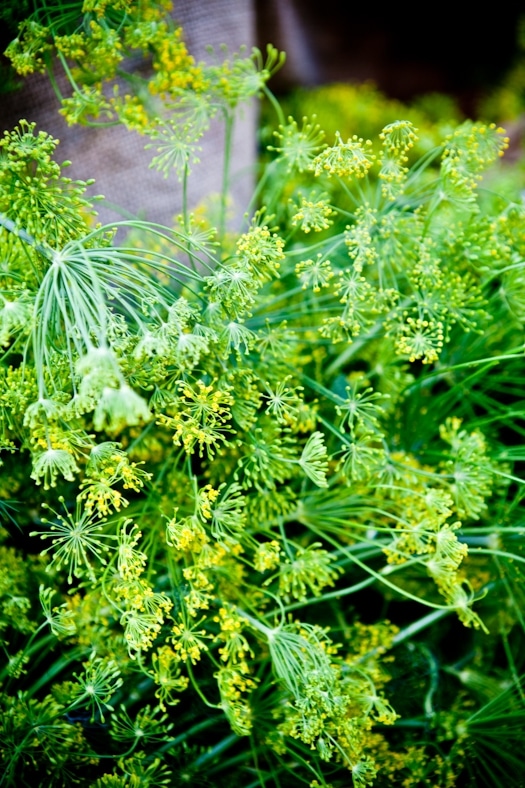
Garlic, garlic flowers and more gorgeous flowers…
After a thorough tour of the market, we actually had to stop and shop for the items we would use during the first workshop of the day on preserving and canning. As you can tell, it was not a complicated task to find everything we would need!
Jennifer from Sassafras Southern Kitchen led our workshop on canning and preserving. We set up at KitchenCru, a community kitchen and culinary incubator which is about 24/7 so that various business can cook and package their products safely when their schedules allow it.
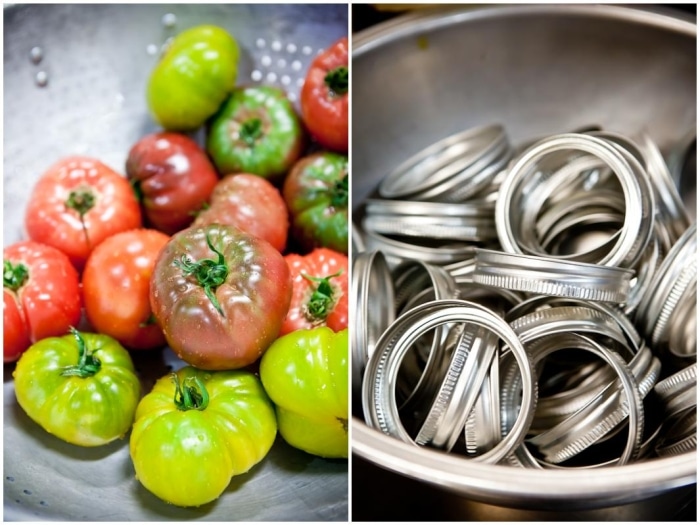
We used all the gorgeous heirloom tomatoes we had picked up earlier at the market and set up various station of chopping and canning for the next three hours.
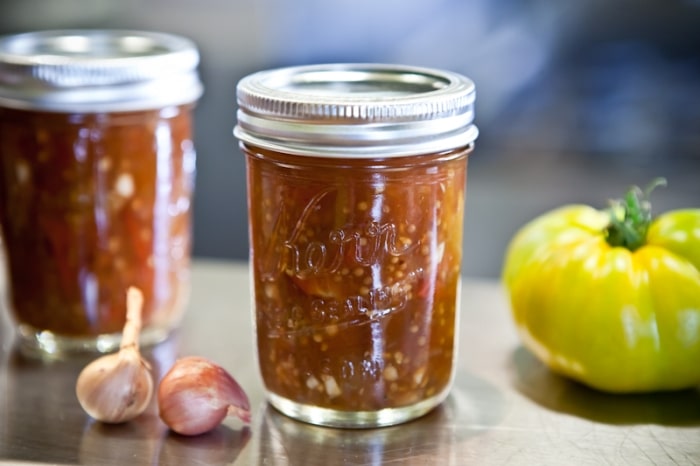
The final product was Sassafras Southern Kitchen signature tomato relish. A little sweet, a little vinegary and simply delicious. I made it twice since I came back from Portland and we are just slathering it on everything. Will post the recipe soon!
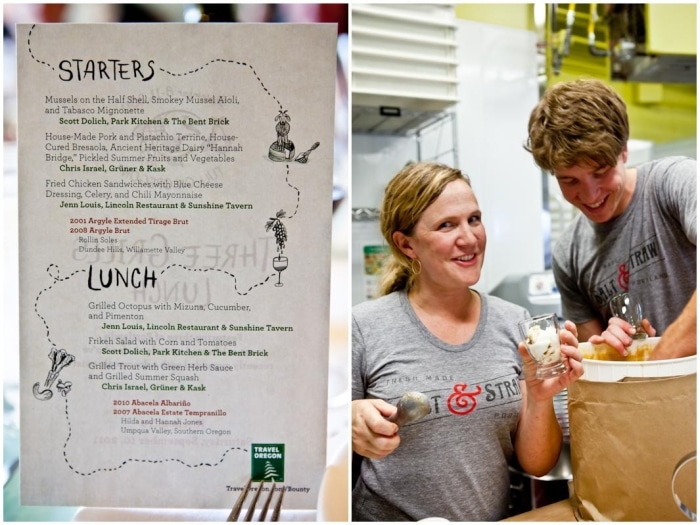
Lunch was served right in the dining area of KitchenCru space and catered by three award winning chefs in Portland. Again, we did not lack great food exquisitely prepared. The meal was topped up in the most delicious way by Salt and Straw Salted Caramel ice cream. This team is young but they are already creating some big buzz around them. Justifiably so.
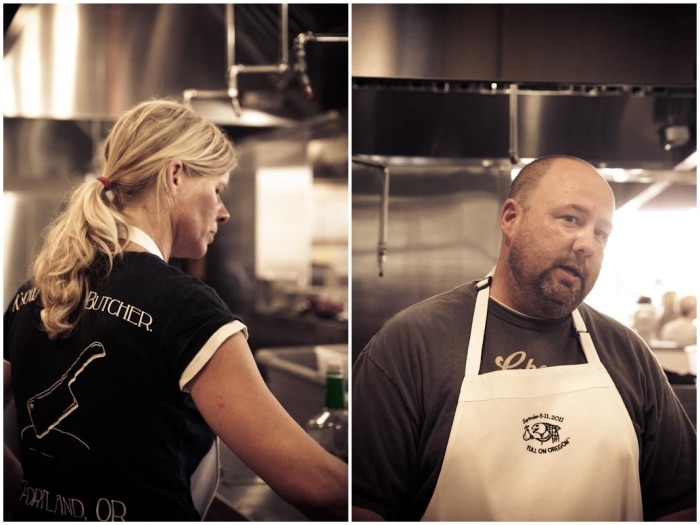
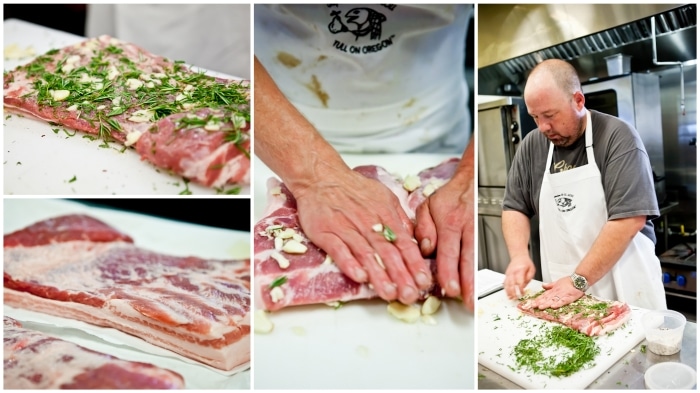
My afternoon session was all about charcuterie. My choice. I know, I could have gone with chocolate or ice cream making but I wanted to do something completely different and challenge my camera eye, my perspective and well….I do love charcuterie. Plain and simple.
Our class was led by Paula Markus and Eric Finley of Chop Butchery and Charcuterie. The enthusiasm and care they have for their business was contagious and evident in the quality of their products and the meats they use to keep such standards courtesy of Mt Shadow Natural Meats.
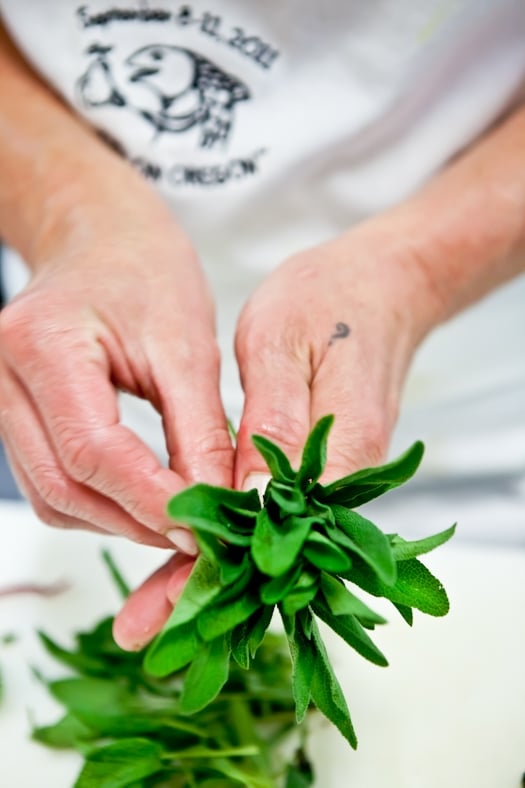
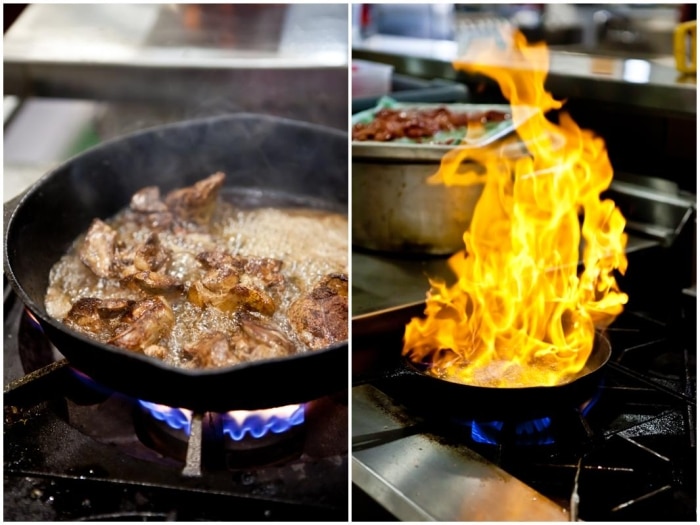
We started by making chicken liver bourbon mousse, then moved on to starting pancetta (it needs months to cure) and gathering herbs and seasonings for it.
Both Paula and Eric tagged team throughout the afternoon to take us through the various products and processes of their operation. They also had a whole hog brought in and took us through the various cuts and how they’d be used. Learning where you food comes from…
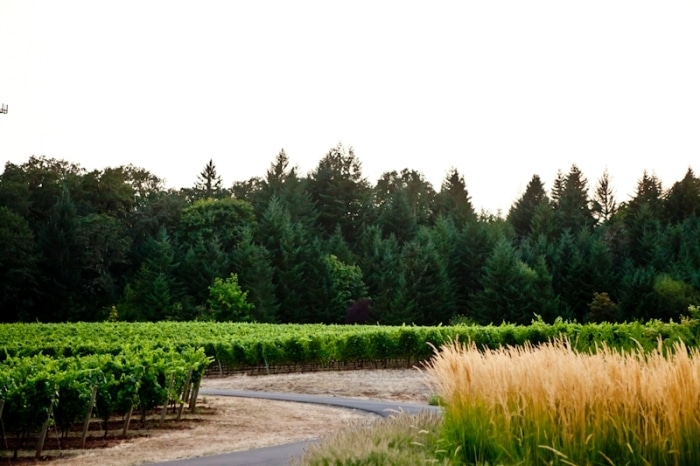
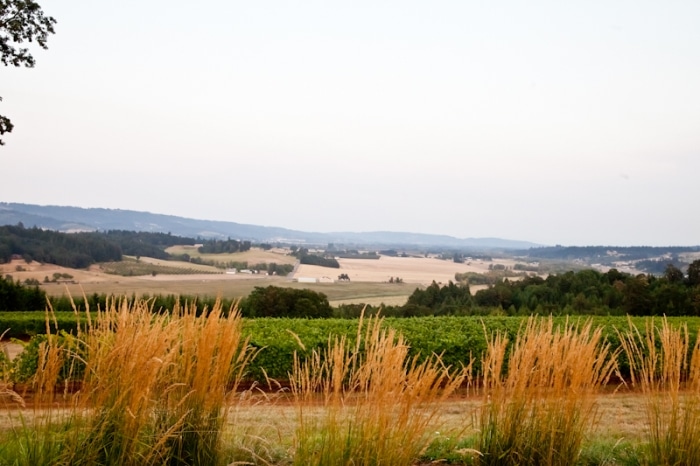
After our session and a quick refresher at the hotel, we boarded a bus, direction the Willamette Valley wine country for the Full On Oregon culmination dinner at Penner-Ash Wine Cellars. The surroundings were gorgeous and we got here right as the sun was setting and the Golden Hour was setting a wonderful cozy glow on everything.

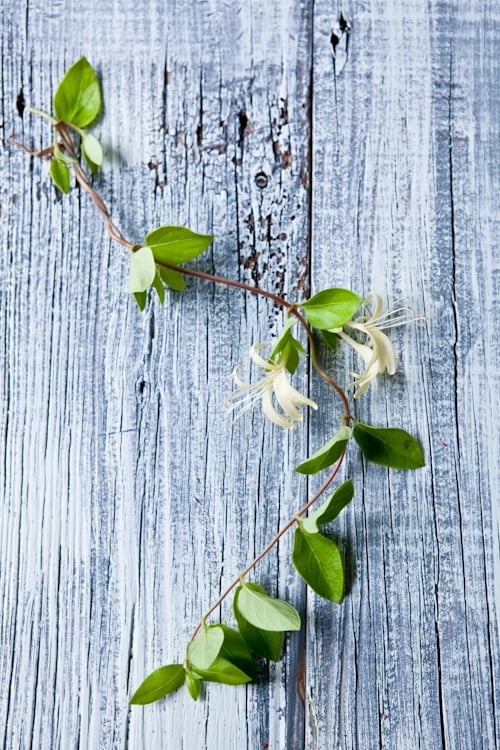
More flowers everywhere and even more surprises at every turn in the garden. More on that later.
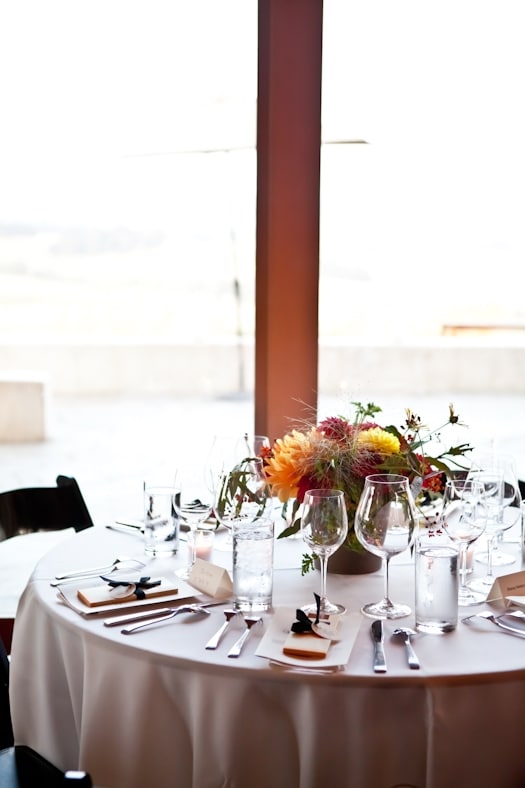
The dining room was beautifully set and each table was adorned with more flowers and a tablet of local Xocolatl de David chocolate bar was given to each attendee. I regretted that we did not get a tour of the property or the operation. It would have been nice to hear about their vision and products.
The dinner was executed by local chef Vitaly Paley and his staff and each dish was paired with different wines. Although all exquisite in their own way, dishes and wines, I must say my sensory palette was overwhelmed. So much so that I can’t tell you who was what and where.
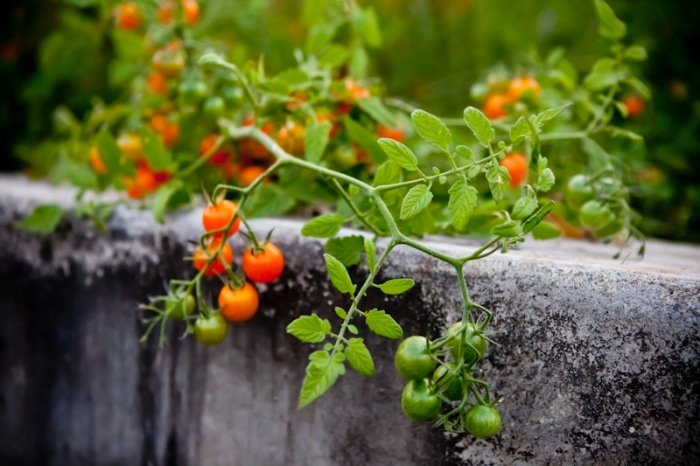
One of the surprises waiting for me at the corner of the patio where we were enjoying hors d’oeuvres and wine was the small garden patch brimming with gorgeous fresh produce. Tomatoes galore of course but so much more…
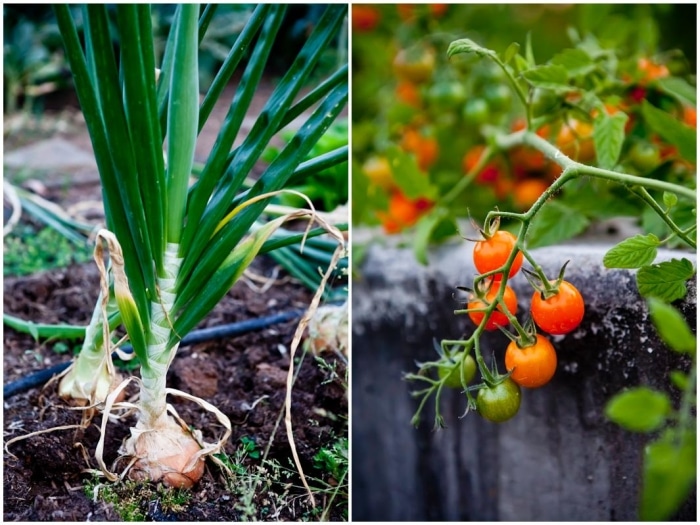
Onions…and more tomatoes….
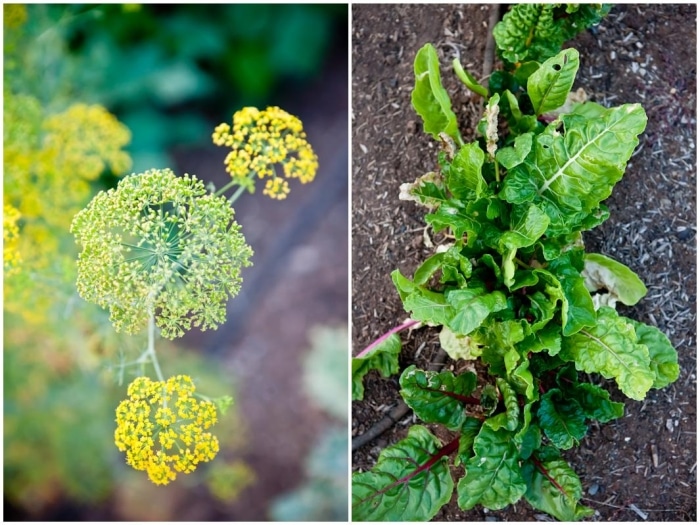
Swiss chards and blooms.
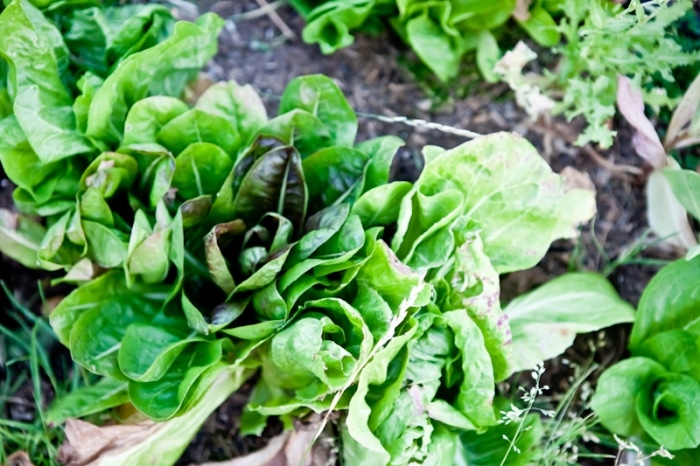
Lettuces…

Yes…I know. More tomatoes. But admit these are gorgeous. I just wanted to cut one open, sprinkle it with salt and eat it right there and then.
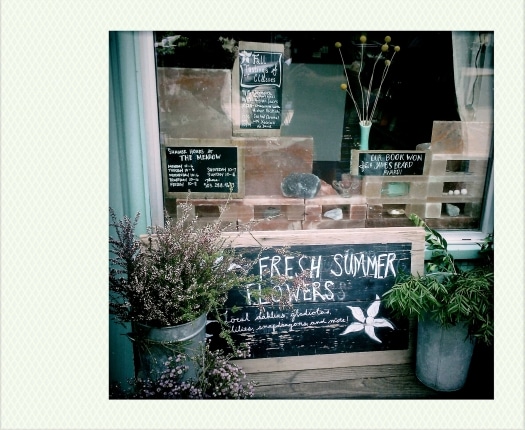
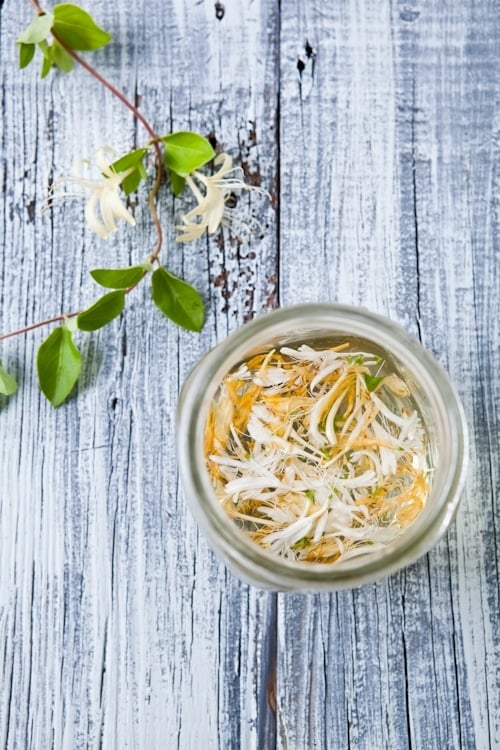
Speaking of salt…After this official closing dinner party on all the events of the Full On Oregon trip, I had decided to leave Portland on a red eye flight Sunday night. It was leaving me more time to hang out with Tami, Nicole and Andrew. We started with a little bite a food truck in town and met up with Andrew at The Meadow. The famous salt shop…and wow…were we in for a treat!
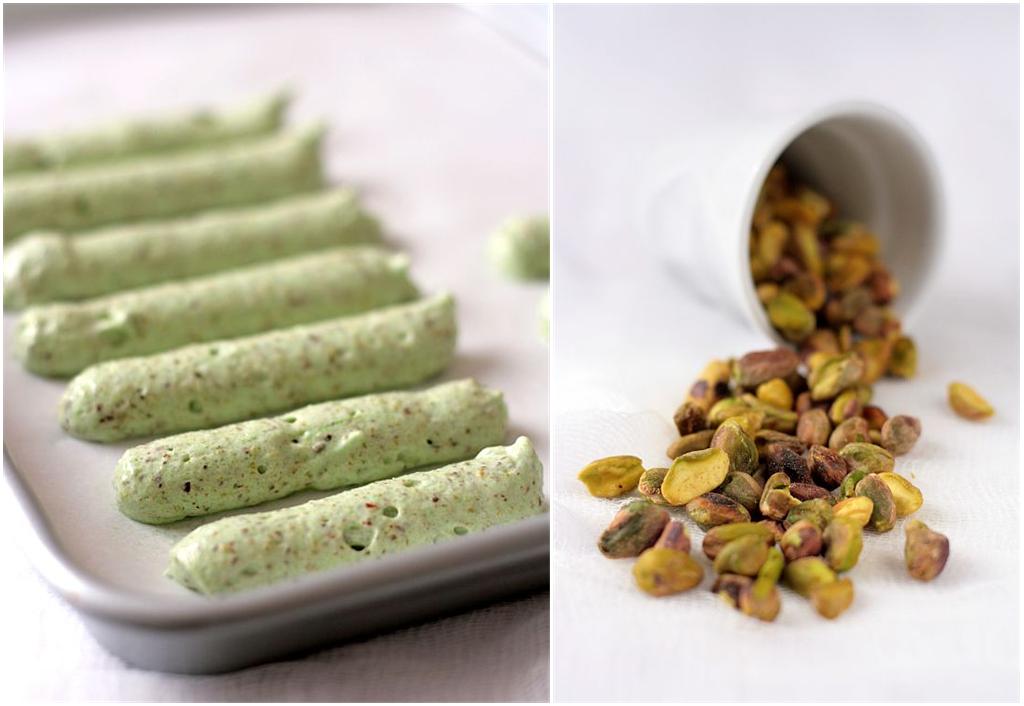
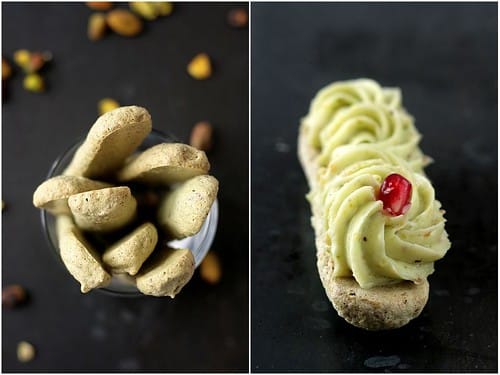
I picked up a few salt including a really fragrant lemon salt that immediately made me think of a sweet/salty concoction. The vision of lemon cupcakes with lemon salt was already dancing in my head…
We also took some time to walk through the Japanese Gardens before saying our goodbyes, eyes full of wonderful sights and bellies repast with delicious meals. My heart was just making jumps of appreciation and gratefulness for knowing so many nice and genuine folks.
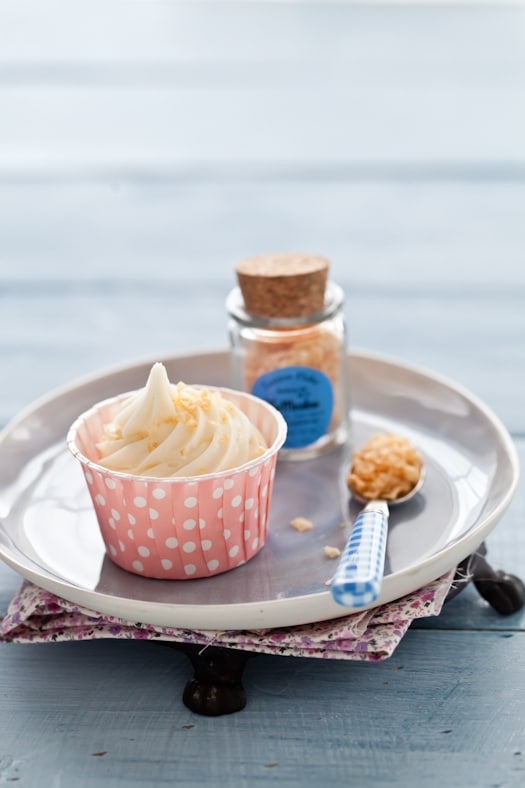
Lemon Salt Lemon Cupcakes:
Notes: I used The Meadow lemon salt to top the cupcakes with and I realize it’s not accessible everywhere. One easy substitute is to rub some lemon extract with coarse sea salt and sprinkle it on the cupcakes. Another option is to just use a very light sprinkle of high quality sea salt on top. The salt and sweet combination is really tasty.
Makes 12
For the cupcakes:
Ingredients:
1 stick unsalted butter, at room temperature
1 cup sugar
3 large eggs
1½ cups Jeanne’s gluten free all-purpose flour
1 teaspoon baking powder
½ teaspoon salt
½ cup buttermilk
zest and juice of one lemon
Directions:
Preheat the oven to 350F and position a rack in the middle.
In the bowl of an electric mixer fitted with the paddle attachment, beat the butter and sugar until smooth and airy. Add the eggs, one at a time, beating well in between each addition. In a medium bowl, combine the flour, baking powder, and salt. Lower the speed of the mixer and add the flour mixture and milk alternatively to the butter/eggs mixture, beginning and ending with flour mixture. Add the zest and lemon juice ad beat until smooth. Fill cupcake tins about 2/3 full. Bake for 20 minutes until a cake tester inserted near the center comes out free of raw batter. Let cool completely before frosting.
For the buttercream:
3 egg yolks
1/2 cup sugar
1/4 cup water + 1 tablespoon lemon juice
1 1/2 sticks unsalted butter, at room temperature
zest of a lemon
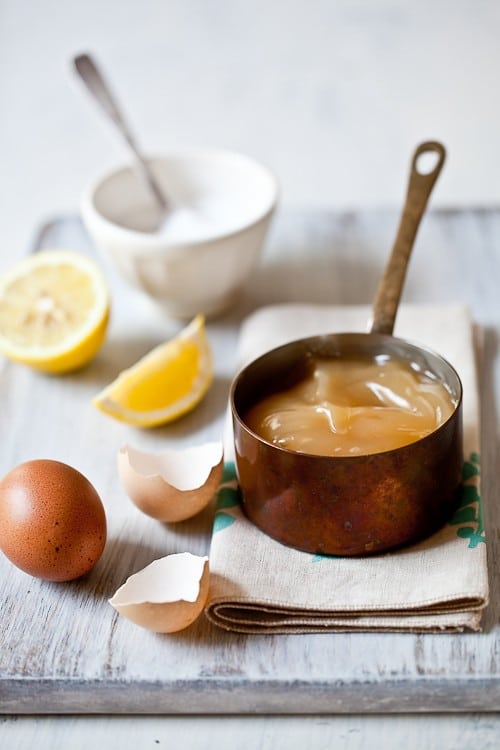
Prepare the buttercream:
Place the yolks in a stand mixer, fitted with the whisk attachment.
Bring the sugar, water and lemon juice to 238F (on a candy thermometer) in a medium saucepan set over high heat. Slowly pour the hot syrup over the egg yolks and continue to whisk until cold. Change to the paddle attachment and beat in the butter, one tablespoon at a time. Add the lemon zest and continue to beat for a few seconds until completely smooth.
Assemble:
Pipe the buttercream on the cupcakes and top with a few flakes of lemon salt or coarse sea salt.