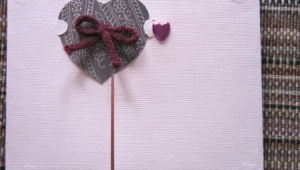
This is the second edition of this postcard exchange organized by the lovely and talented Meeta. It is extremely difficult to find a Valentine related postcard and since I make my own greeting cards, I decided to create this one for….sorry can’t say…! Let’s just say it has to travel some miles and a few ponds….!
Life has a way of getting in the middle of one’s best laid plans and I apologize if it took me a while to blog about it, the card was actually sent last week.
Seeing my desserts through a lens, becoming the "director of photography" of my own baking ( and I say that in the lightest way possible, wink!)…I would have never thought I would enjoy it so much, live it so much and want to learn from professional food photographers. That’s why I have always refrained from answering readers' questions about food photography, (vast and subjective topic) but when Leemei from My Cooking Hut asked if I’d be interested to write about my experiences as a food blogger-photographer, I figured it was a sign I needed to sit down and do so.
We all blog differently, we all photograph differently and we all think about it differently, but in the end we all try to do something that is enjoyable and fulfilling for where we are at that moment in our life. Since some of you asked, I hope that you will take this guest post as it is: an account of my experiences and doings in "dessert photography" and not as a "photo 101". I leave that for the books and the pros, who will always be my source of inspiration.
Click for the photography guest post. Thank you Leemei for the opportunity!
That would be rude to leave you without a dessert and a recipe wouldn’t it? My photo subjects for the guest post were chocolate buttermilk cupcakes with cream cheese buttercream. No intense bubbling sugar or multi layer dessert. I know how to kick back and relax too!! Actually I live surrounded by cupcake fiends so once in a while, it feels good to let loose whilst in the middle of baking and photographing for the book. There is something really satisfying in a simple chocolate cupcake, whether it be unwrapping that mini cake or adding sprinkles to it. Something so essential and basic when you are solitary writing and baking, that it brings you back to reality in just a few bites. Especially when your little nephew asks "Auntie Helen, can you make me chocolate cupcakes with snow frosting and plenty of sprinkles on top?"….Ah the simple things are good….
Buttermilk Chocolate Cupcakes:
Makes about 18-20 depending on the size.
4 oz fine-quality semisweet chocolate
1 cups hot brewed coffee
2 ½ cups unbleached all-purpose flour
1 ½ cups unsweetened cocoa powder (not Dutch process)
2 tsp baking soda
¾ tsp baking powder
1/2 tsp salt
3 large eggs
1 1/2 cups sugar
¾ cup canola oil
1 ½ cups buttermilk
1 tsp pure vanilla extract
Preheat oven to 300 degrees. Lightly coat the inside of your cupcake wrappers with cooking spray. In a bowl, combine the chocolate and the hot coffee and let stand, stirring occasionally until the chocolate is melted and the mixture is smooth, about 5 minutes. Sift together the flour, cocoa powder, baking soda, baking powder, and salt. Set aside. With your electric mixer, beat together the eggs and sugar until pale and thick (about 5 minutes). Slowly add the oil, buttermilk, vanilla, and the previously melted chocolate mixture to eggs/sugar mixture. Beat until well incorporated. Add the flour mixture in 3 increments and beat until smooth. Divide the batter among your cupcake liners and bake for about 25 minutes or until a knife or toothpick inserted in the middle comes out clean.
For the cream cheese buttercream:
1 1/2 sticks (170 gr) butter at room temperature
4 oz (120gr) cream cheese, softened
3 egg whites
1/2 cup (100gr) sugar
2 Tb water
1 tsp vanilla extract or vanilla paste or 1/2 vanilla bean split open and seeded.
In the bowl of stand mixer, whip the egg whites until they have soft peaks. In the meantime, combine 2 Tb water with the sugar to a boil in a heavy saucepan and bring the syrup to 250F. Slowly add the sugar syrup to the egg whites. If you use hand beaters, this is even easier and there is less hot syrup splatter on the side of your bowl and in the whisk attachment of the stand mixer. Continue to whip until the meringue is completely cooled. Slowly add the butter, one tablespoon at a time. The mass might curdle but no panic, continue to whip until it all comes together. Add the cream cheese, the same way, a little at a time until everything is smooth. Whisk in the vanilla extract, or paste or bean. Keep it in the fridge up to 4 days or in the freezer for up to a month.
The second part of my interview with Anita for the release of her book "Field Guide To Cookies" is up in the latest edition of Desserts Magazine! Watch out now….it’s a whole issue of just cookies! Perfect for this month of gift giving. No, I don’t get a cent for promoting the magazine, I just get excited when I see quality work and passion shared for food and baking in particular. Sharing….it’s all about sharing. Now…go get Anita’s book ok?!!!
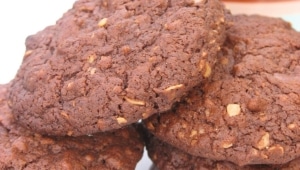
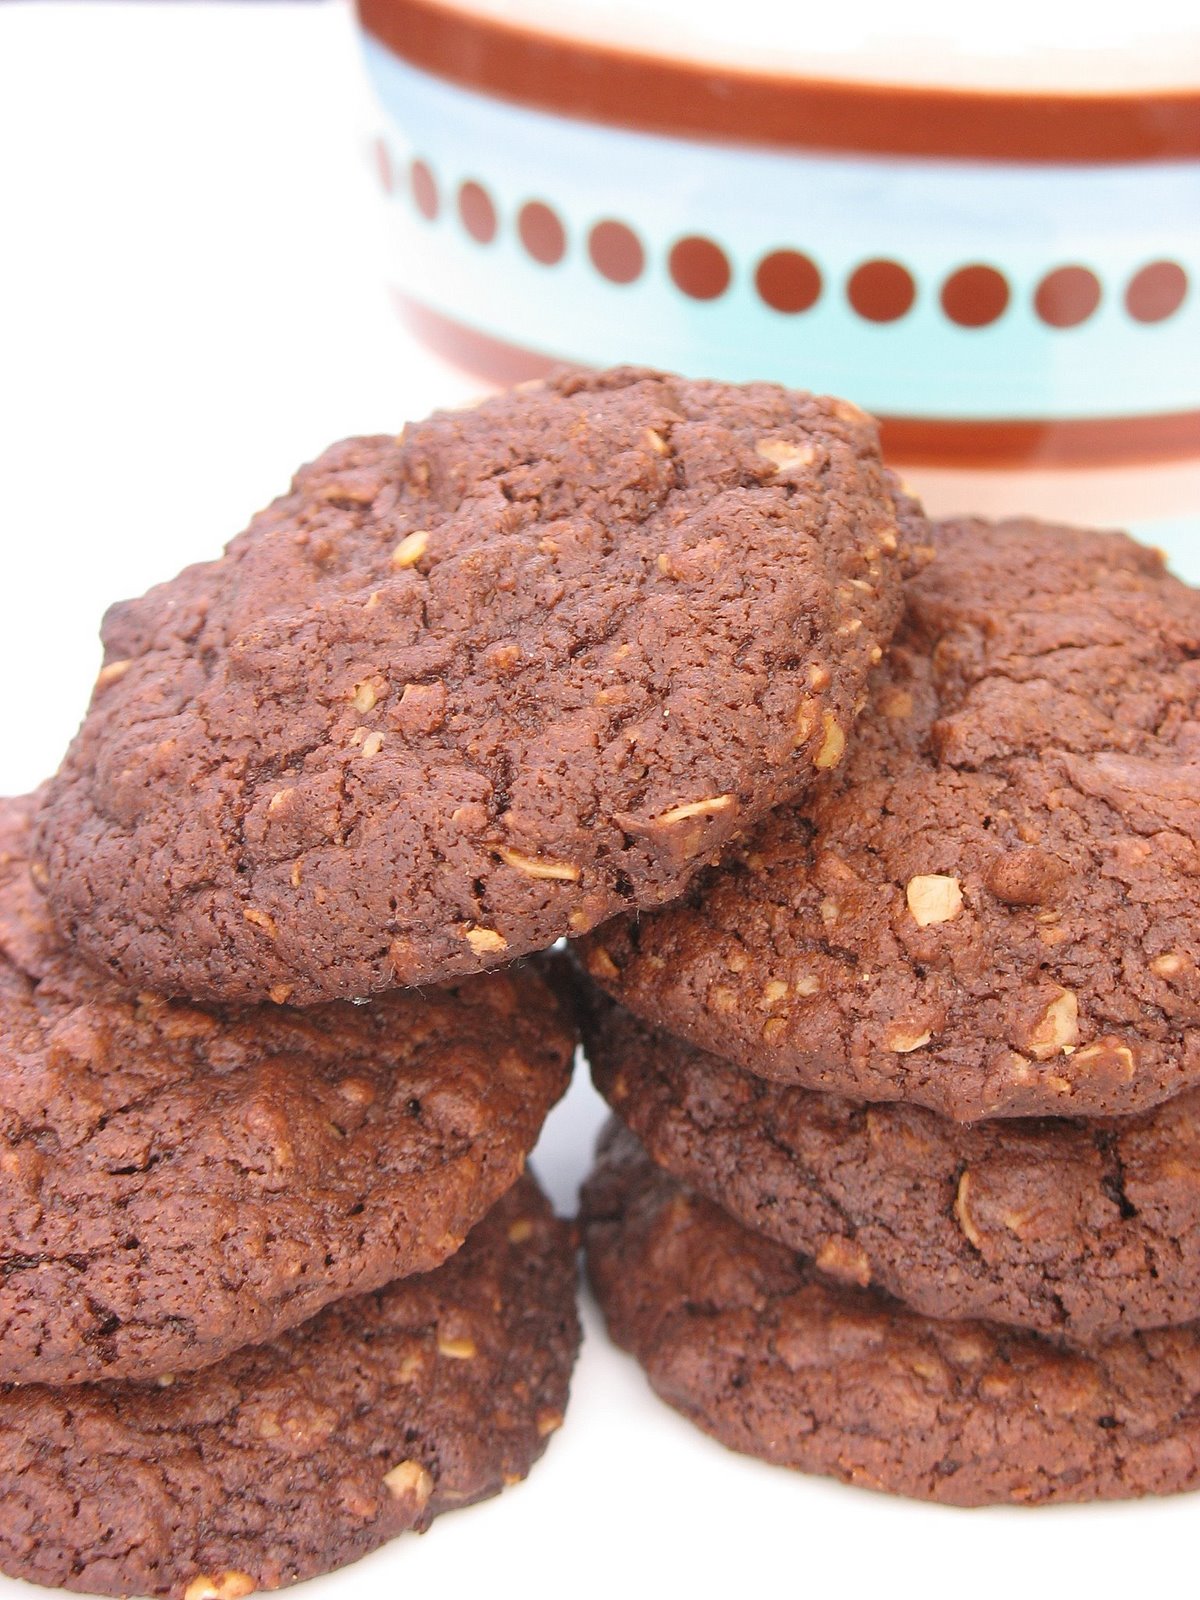
Having parted with the croissants after such a busy- frenzy -packed folding-rolling weekend (say 3 times fast), I needed something simple to bake and nibble on around the house. I brought back many books from France but I have not had the chance to sit down and really read them through so I picked up Dorie one more time because I was sure to find something homy and for which I would have all the ingredients on hand. So far her recipes have not failed me so my hopes were high and I have to say that one more time, she did not disappoint.
She describes these as "deeply and unswervingly chocolaty-closer to the chocolatiness of a brownie than of a cookie(…) a bit crips at the surface and oatmeal-and-brown-sugar chewy through and through." Could not have said it better. These are delicious and great for a chocoholic!
Chocolate Oatmeal Drops, adapted from Dorie Greenspan, "Baking, From My Home to Yours":
Makes about 50 cookies
1 1/2 cups all purpose flour
1/2 cup cocoa powder
1/2 tsp. baking soda
1/2 tsp. ground cinnamon
2 sticks (8oz) butter
1 Tb. water
1 1/2 cups packed light brown sugar
9 oz. bittersweet chocolate, coarsely chopped
2 large eggs
1 1/2 cups old fashioned oats
Preheat oven to 350.
Sift together the flour, cocoa, baking soda and cinnamon.
Set a heatproof bowl over a pan of simmering water. Put the butter in the bowl and add the water, then the brown sugar and the chocolate. Melt on low heat, stirring occasionally. Don’t let the ingredients get too hot, the mixture will remain grainy.
Remove from the heat and whisk in the eggs, one at a time. Whisk in the dry ingredients, then the oats. Do not stir too much.
Drop by tablespoonfuls on parchement paper lined baking sheet and bake for about 12 minutes.
Remove from oven and let cool to room temp. The soft center will harden once the cookies are out of the oven.
I strongly remember uttering these words one cold morning while spending Christmas at home… Let me give you the lowdown: a couple of months ago, as I was exchanging emails with Lisa, she mentionned that she, Yvonne, Peabody and Brilynn were going to make Biscotti and apost about it on the same day. Would I like to join in? Never the one to refuse an invitation, especially when it involved baking, I jumped on the offer, especially after I read about their firstcollaboration. It was fun, I had a good time and of course ate too many… Could not wait for the next cross baking post but figured that it would have to wait until after the holidays.
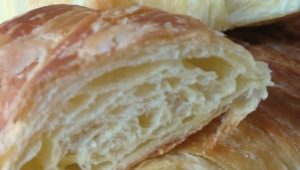
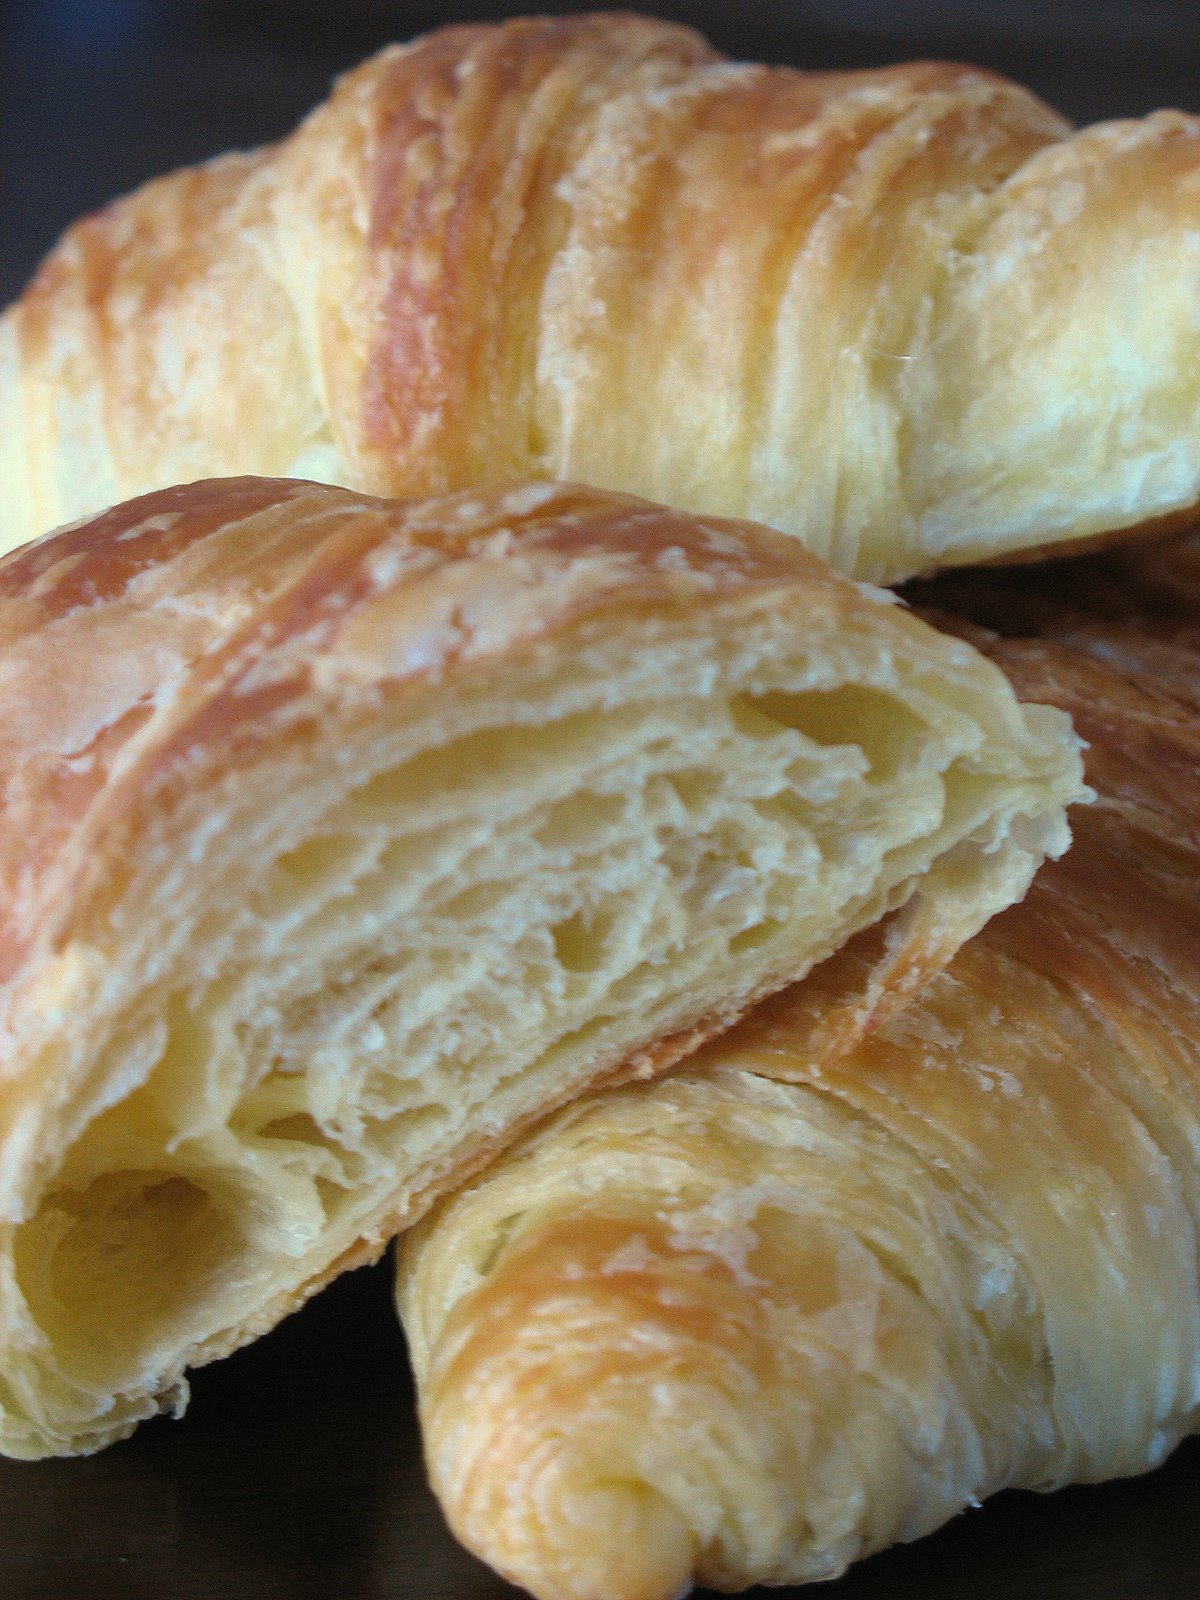
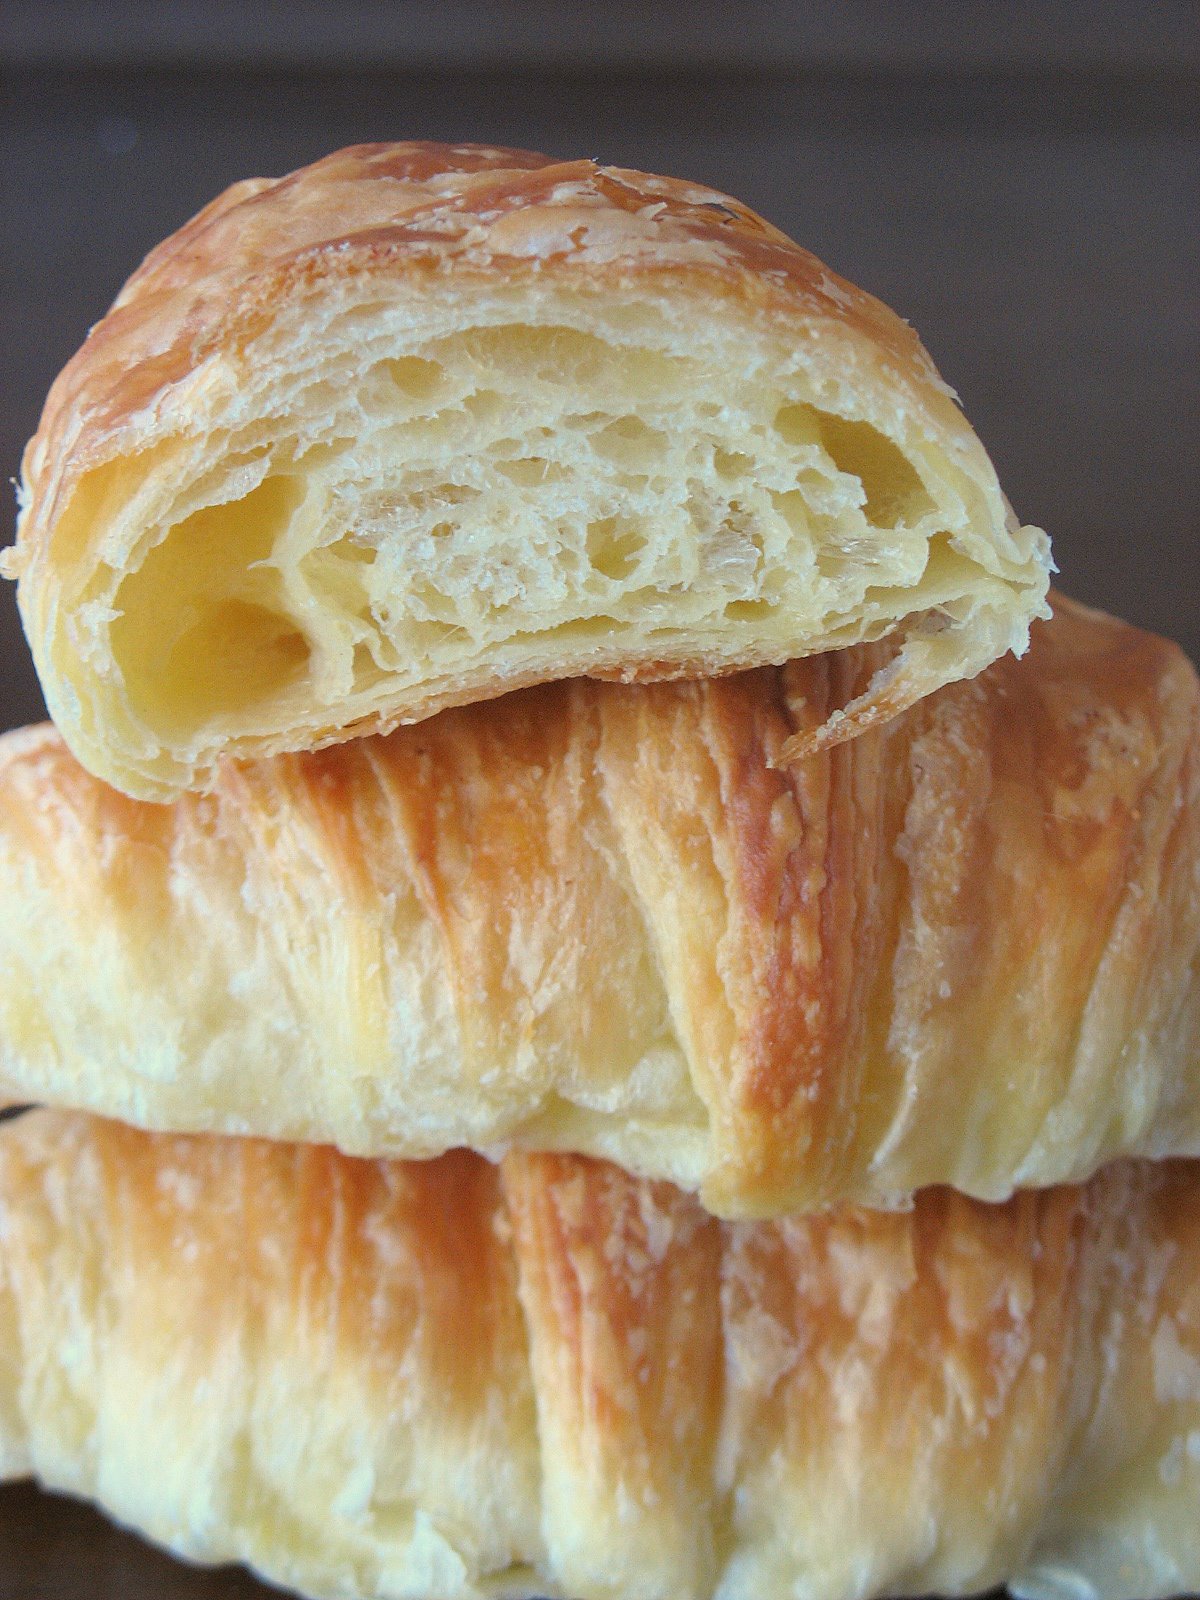
Imagine my surprise when Brilynn emailed her interest in croissants…I did not mean to sound blase or anything but I thought "clearly, she must not have made any or it’s been a while…" and then I put the whole thing out of my mind, well, not really as I was myself on a croissant tasting tour of France!!
I made croissants before….I made kilometers and kilometers of them before…and I have learned to hate to love them….sums it up doesn’t it ladies? I have learned to know what to do with my dough on certain days depending on the weather, I have learned to get butter and dough to the appropriate temperature, to fold, laminate, cut, fold, roll, etc…and each time I love and hate the process. Here is a sample of the conversations held with myself in my head (yep, croissants will do that to you!): did I proof the yeast right? Is this room too drafty? is the butter too warm? maybe it’s the dough. Let it rest. Do I square-fold or rectangle-fold that butter? how many turns is that? dang! They look really big. Remember to egg wash….
When you work in a bakery, there are usually two people making croissants, one folds and turns, one cuts and shapes. Your baking schedule allows you to start the dough early one day and make other pastries and desserts while you fold and turn your dough several times.
At home, you got time to read, clean or relax and if you mess up you won’t have a 6 feet tall Executive Watchdog yell at you unless you are married to one and he is extremely hungry.
Back to the present. When I got home, we all had agreed on croissants (hey I am game for anything, just meant I would have to run a few extra miles), our group now also included Quellia and Veronica. I was really excited about baking with this group as we all come from various countries, different cultural and culinary backgrounds, different moments in life, better-halved or not, with/without children, different jobs, occupations and hobbies. and I knew as I have often learned in a pastry kitchen that it would mean 7 different interpretations, readings and outcomes of the same recipe and that was really great… we had found the essence of baking and cooking, our Holy Grail.
I have relied on the same 2-3 same croissant recipes over the years so I was excited to try this new one from Tartine, and I bow to Veronica’s computer for posting the recipe! The main differences for me was the use of a pre-ferment and a rectangular fold. I had planned to get on the same train as everyone else and start on Friday but my plans got derailed….I thought that over the years my husband had come to understand that when the words "making croissants" are spoken that means "you are on your own Bubbah"…well , my timetable got a little shaken as B. committed us to a dinner with our bestfriends (would not want to miss it) and half the neighborhood ended up in my living room on Sunday afternoon. Talk about making me nervous…I mixed the dough saturday morning, add the butter and gave it a first turn saturday before dinner. Gave it 2 more turns early Sunday and had to wait for the evening to roll, cut and shape. I have learned that too many turns does not necesseraly gives a better croissant so I stopped at 3 turns, but I am glad to see that 4 worked for some of us.
I have to admit that I only strayed in one thing: I used the old square fold (image courtesy of Le Petrin)to incorporate my butter and give the first turn. Why? Old chef taught me that way, I succeeded making them ever since and it became half old habit – half superstition.
As I was the last one the start, I received the blunt of everbody’s fears, excitement, questions, and success as I woke up Sunday morning to 57 emails!!! As the day progressed, pictures starting trickling in and I was cheering "allright!" "you go girl" "oh man!" A sisterhood of croissants, all these women devoting their love of baking to pounds and pounds of butter and flour…with success! Don’t you wish ya’ll were our neighbors?!!
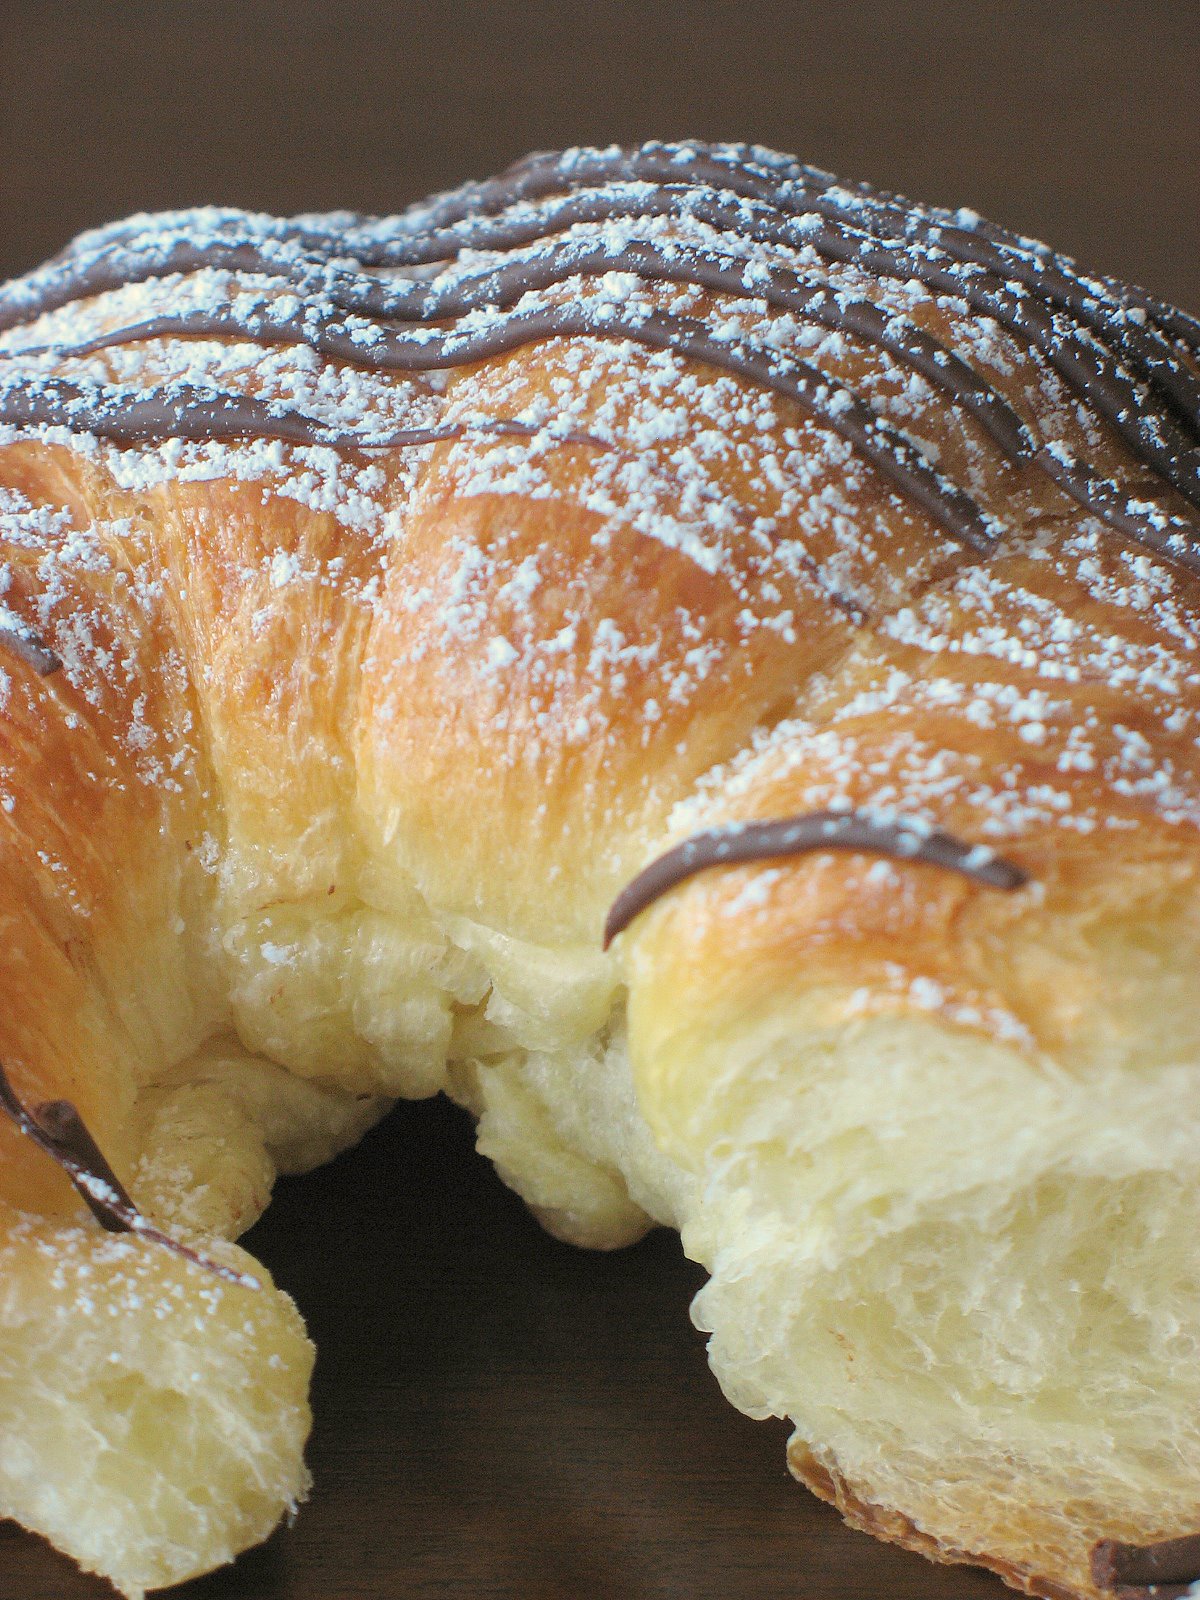
In the end I rolled half the dough for regular small croissants, 1/4 for chocolate ones and I froze the remaining quarter for Marzipan filled one for later. The chocolate ones did not turn up as flaky and moist as I would have wanted, this maybe due to the fact that I waited a while after the last turn and the weather changed on me. I am going to wait a few weeks….I love my arteries too much. If you make them, do not schedule any blood work the week after and deliver them to your neighbors walking not driving, your thighs will thank you!
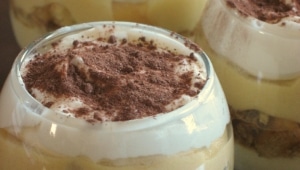
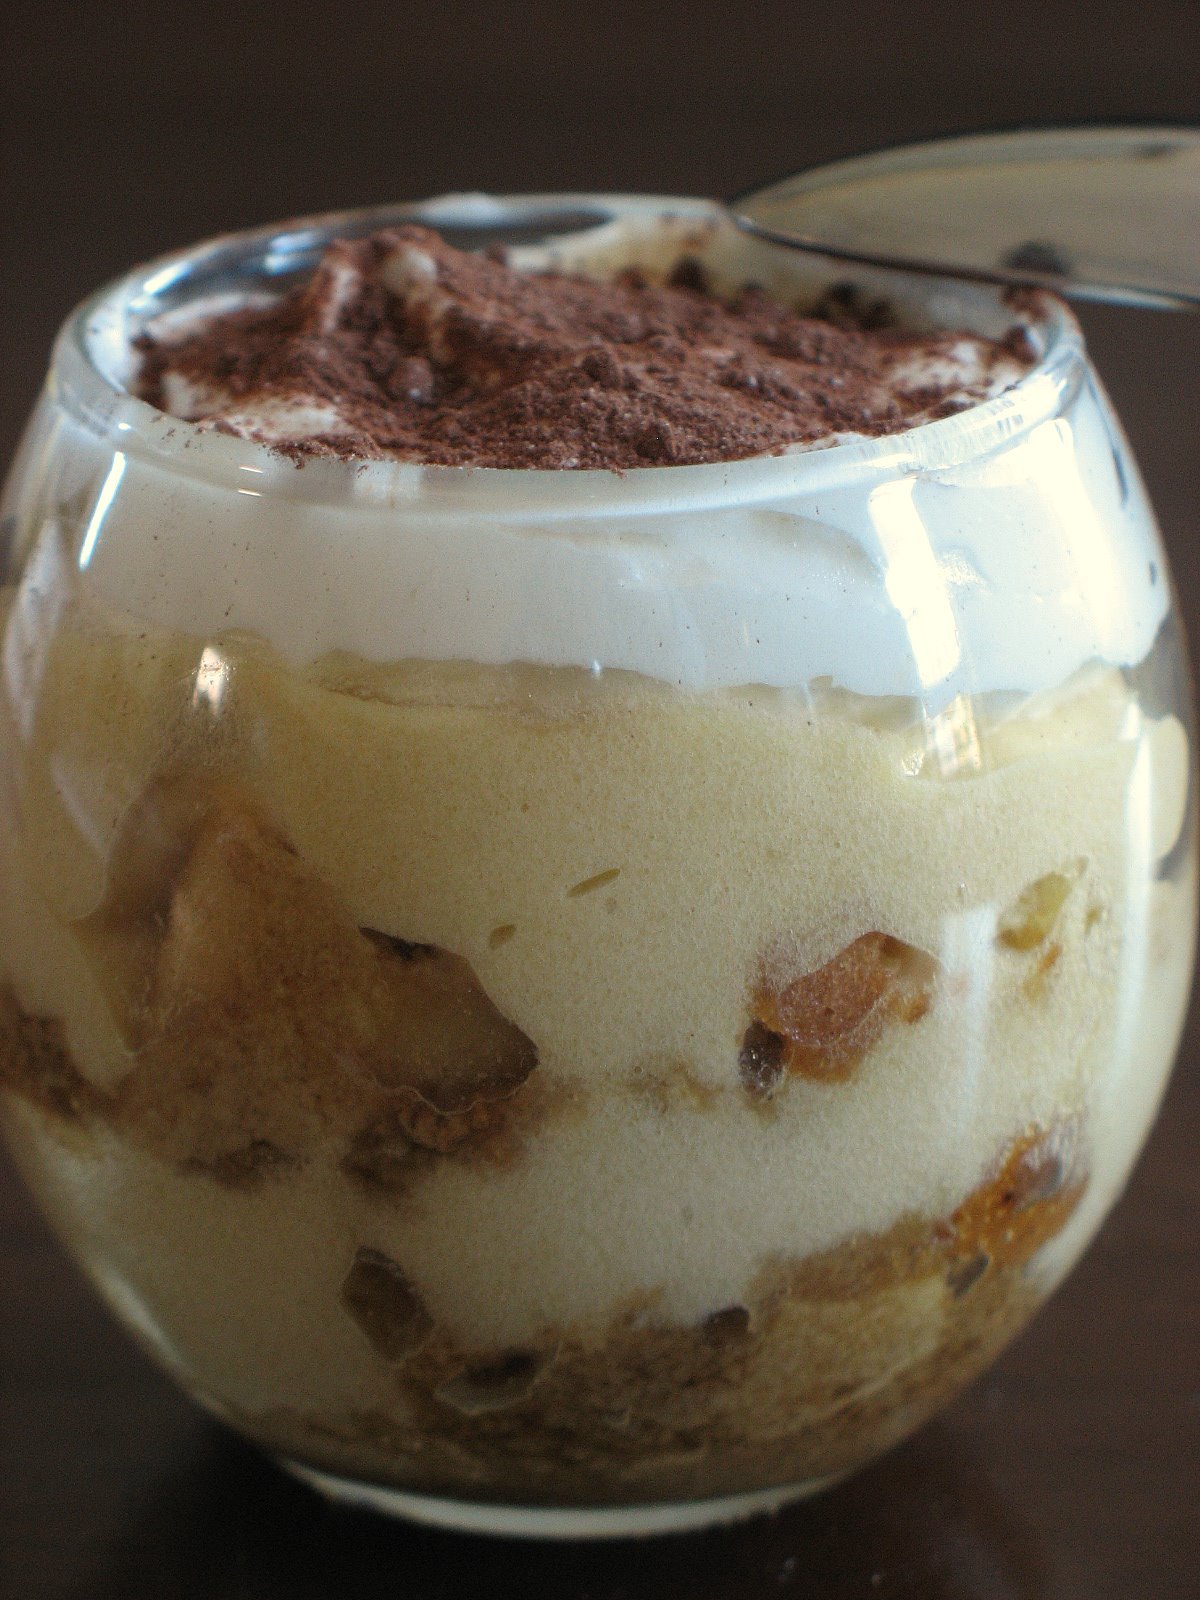
I am having a renewed interest for Italian desserts and a sudden craving for Tiramisu. Since I don’t seem to own that many Italian related cookbooks I dug up this recipe online. I think I must have looked at over 100 Tiramisus and as I often say: "my eyes were burning, my gums were hurting and my stomach was grawling from all that sugar"! , but now my taste buds are dancing!
Like many among us, I will always remember the first time I had (good) Tiramisu. My parents had taken my brother and I on a little excursion to Italy. We were staying in the Alps so it was a quick hop and we stop in a small village and entered the first restaurant we found open. I believe that I am the only one in the family to remember the whole thing but it was truly my first foodie experience. Everything we were served that afternoon was made fresh by the chef. He was alone in the kitchen, cooking us freah trays of antipasti, freah ravioli, salads and desserts. My father loves Tiramisu and never fails to order one at Italian restaurant he visits,(no joke), so you can bet that he was not going to pass on the opportunity to sample another!
I will always remember the look of satisfaction in his eyes after taking the first bite, that nod of his head toward my plate to tell me I could go ahead I would not be disappointed. My excitement was building up, my first grown up dessert! So classic in its black and white attire, so full of promises with its creamy interior. That particular Tiramisu set the standard for my expectations of a good Tiramisu: a subtle balance of espresso, brandy, cheese, cream and cookie.
You will find many different ways to make Tiramisu and I have yet to be sure of the "authentic" one. Some conain eggs, some whipped cream, some start with a sabayon/zabaglione, some use thin European ladyfingers, some prefer Savoiardi cookies. One thing for sure: use only the best mascarpone cheese you can find. I really hesitated between Mario and Tyler for this recipe. I tried not to be influenced by the reviewers. I really wanted to make Mario’s version, his being if Italian descent and all, but in the end Tyler’s won…and no not because he is a cutie (and Lisa won’t disagree with me…!), but because it did not seem as dry. I am sure I’ll eventually try Mario’s and compare. This one is a kepper, flavorful, creamy, dense, complex.
Cream together egg yolks and sugar in a heatproof bowl set over a pot of simmering water. Add 1/3 cup of the brandy and continue to whisk until mixture is thick and doubled in volume. Remove from heat. Stir in the mascarpone until completely blended.
In a chilled bowl, whip the heavy cream to soft peaks. Fold the whipped cream into the mascarpone mixture, to lighten.
In a small saucepan, combine espresso, chocolate, rum, vanilla, and remaining 2 tablespoons brandy. Heat gently, and stir to dissolve the chocolate. Then, chill the mixture to cool it down, about 15 minutes.
Divide the broken cookies pieces in the glasses and spoon enough of the coffee mixture to soak them. Spread 1/2 the mascarpone cream evenly with a spatula on top of the cookies. Repeat with a second layer of cookies, more coffee and remaining mascarpone cream. Whip the remaining 1/2 cup of heavy cream to soft peaks. Top each glass with some whiped cream. Sprinkle top with cocoa powder. Refrigerate for 2 hours before serving.
I think I could have way too many of these in one sitting. They are delicious! I am 8 again!
I hope I have not missed the deadline…I might have by a few hours… I am talking about my first participation in "Hay, Hay, it’s Donna Day", a monthly event hosted this time by Running With Tweezers.
The theme this month gave me the possibility to make one of my to-go desserts when only a few ingredients are on hand and I want to impress guests with a minimum of fuss. Really, once you get over the fear of the whole "Oh My, Souffles…", there is nothing easier to do. If you know how to whip eggs to a stiff foam, then you’re set.
I like the fact that souffles carry that mystic aura around them but I wish novice cooks were not that afraid about making them. It is truly fun to see a little puddle of egg whites foam up in the oven and then quickly turn its ugly head by deflating on you the moment you start breathing a sigh of relief because you succeeded. Souffles are deceiving like that, yet comforting, like resting your head on a pillow. I love digging my spoon into one, releasing that cloud of aromas and flavors. I love that they feel so light on my tongue with a glass of wine. I love that I feel no guilt if I have one (or 2) for dessert and I love the thousands of possible flavors you can spend a lifetime exploring in just one dessert.
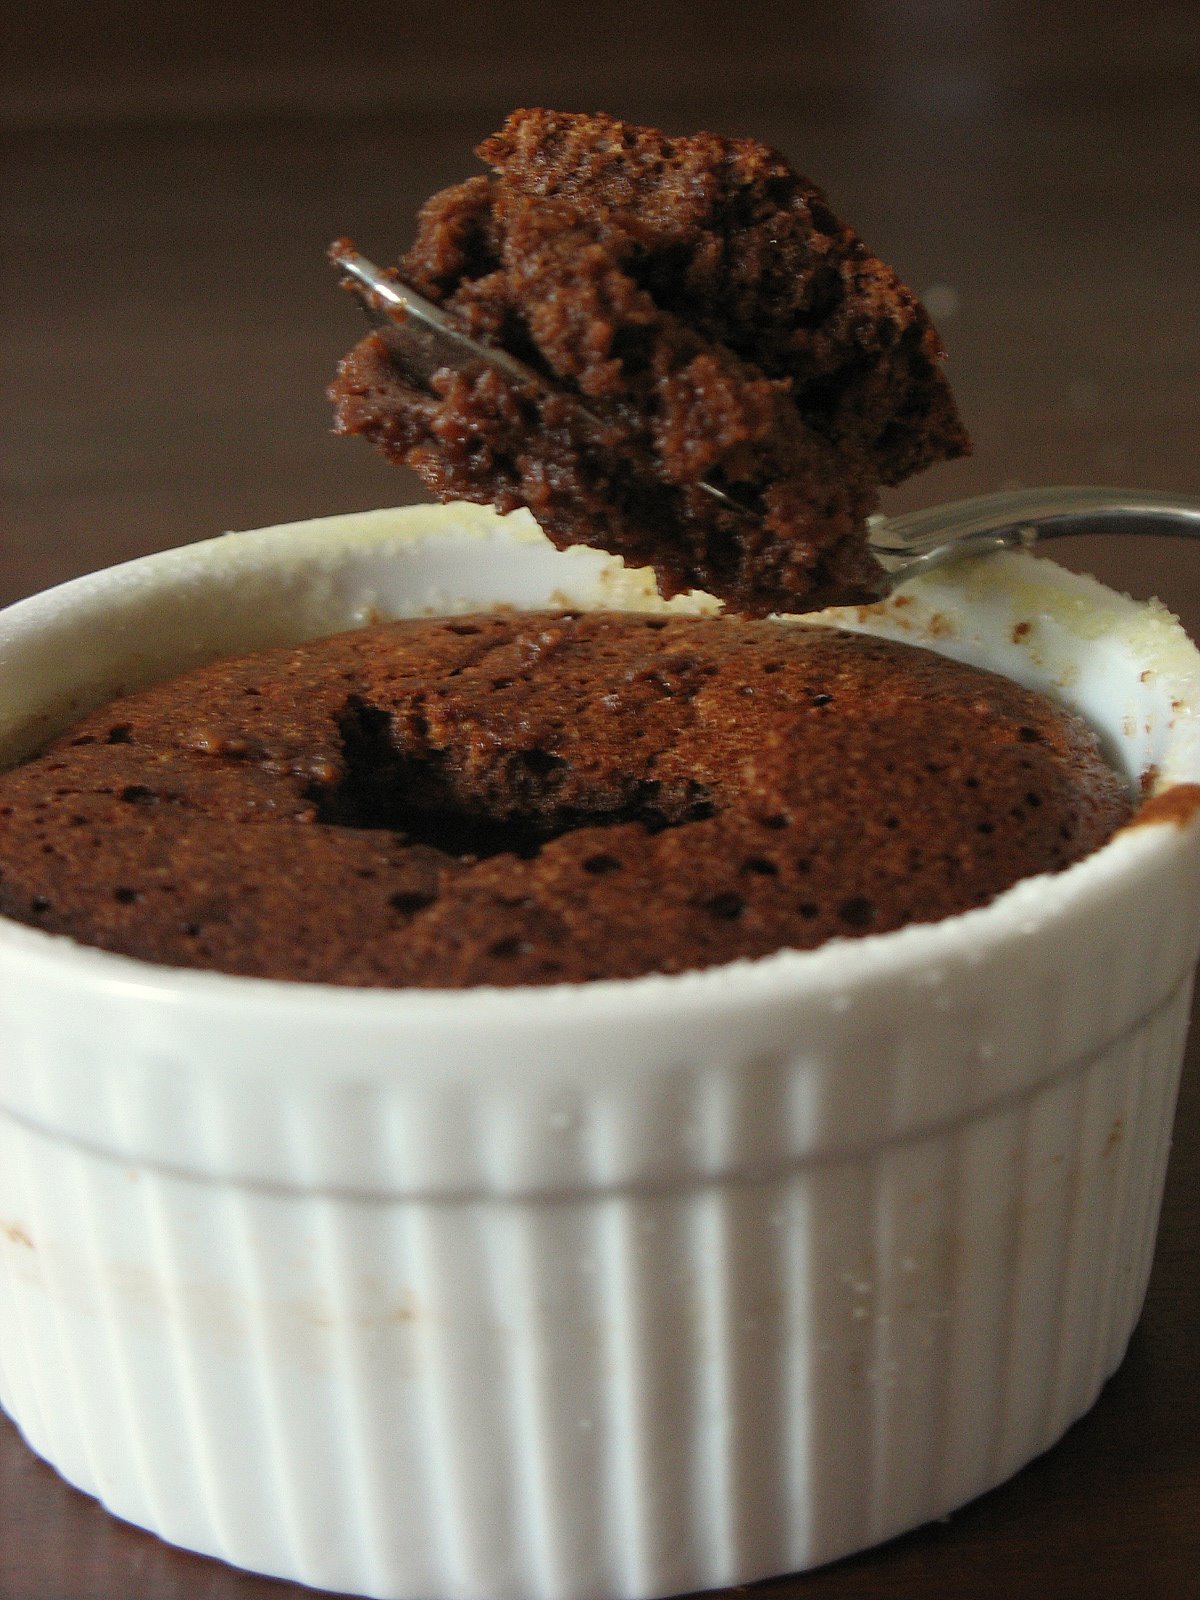
I was pressed for time but did not want to miss the chance of baking one of my favorites, a chocolate Kahlua souffles. Obviously the alcohol can be changed at your heart’s content but coffee and chocolate are definetely a good pair.
Melt the butter in a saucepan. Remove from the heat and add the flour. Stir until smooth. Place the milk and chocolate pieces in a saucepan and heat until the chocolate melts.
Pour onto the butter and flour mixture, return to low heat and stir until the mixture thickens a bit. Remove from the heat. Add the sugar, liqueur and egg yolks, and mix well.
Whisk the two egg whites until stiff and gently fold into the chocolate mixture. Turn into 4 greased ramekin dishes. Cover and place in a roasting tin with 1-inch (2.5 cm) water.
Bake at 190C/375F/gas mark 5 for 40-50 minutes. Serve immediately.
Wait a minute! These don’t look souffle-ish…! Well, this is an actual picture of a souffle in the deflating phase…seriously! The reason? Batteries put in the wrong way in the camera and the following 40 seconds delay in the picture shot which gave enough time for that little marvel to show it’s ugly side…oh well, it is still delicious.
I can never resist a sweet blogging event and when Cheryl of Cupcake Bakeshop and Garrett of Vanilla Garlic announced a CupcakeRound Up event, my mind started salivating….Oh yeah, by now it is not my mouth anymore…!
I have had less time these past few days to be as creative as I would like to (more personal training clients, crafts projects to finish up…) but I did not want to miss the opportunity to show up with something of my own at this event.
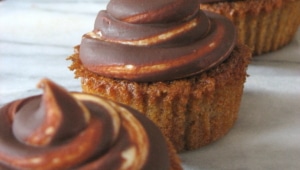
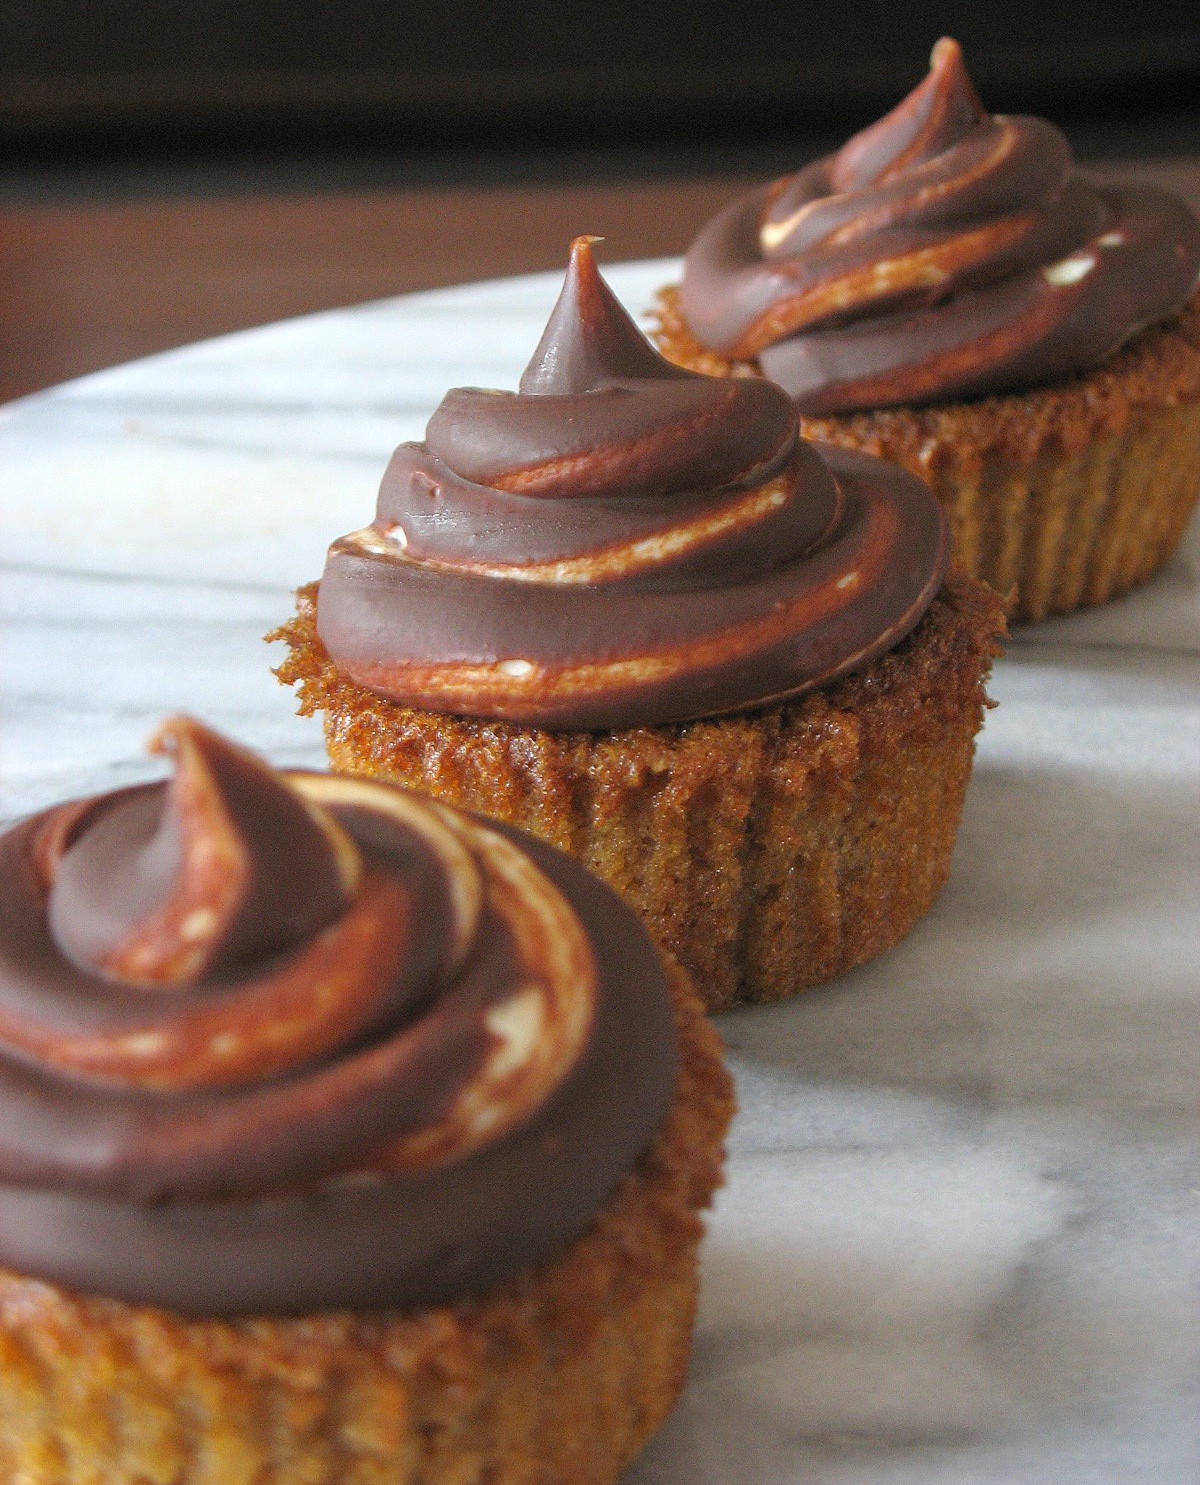
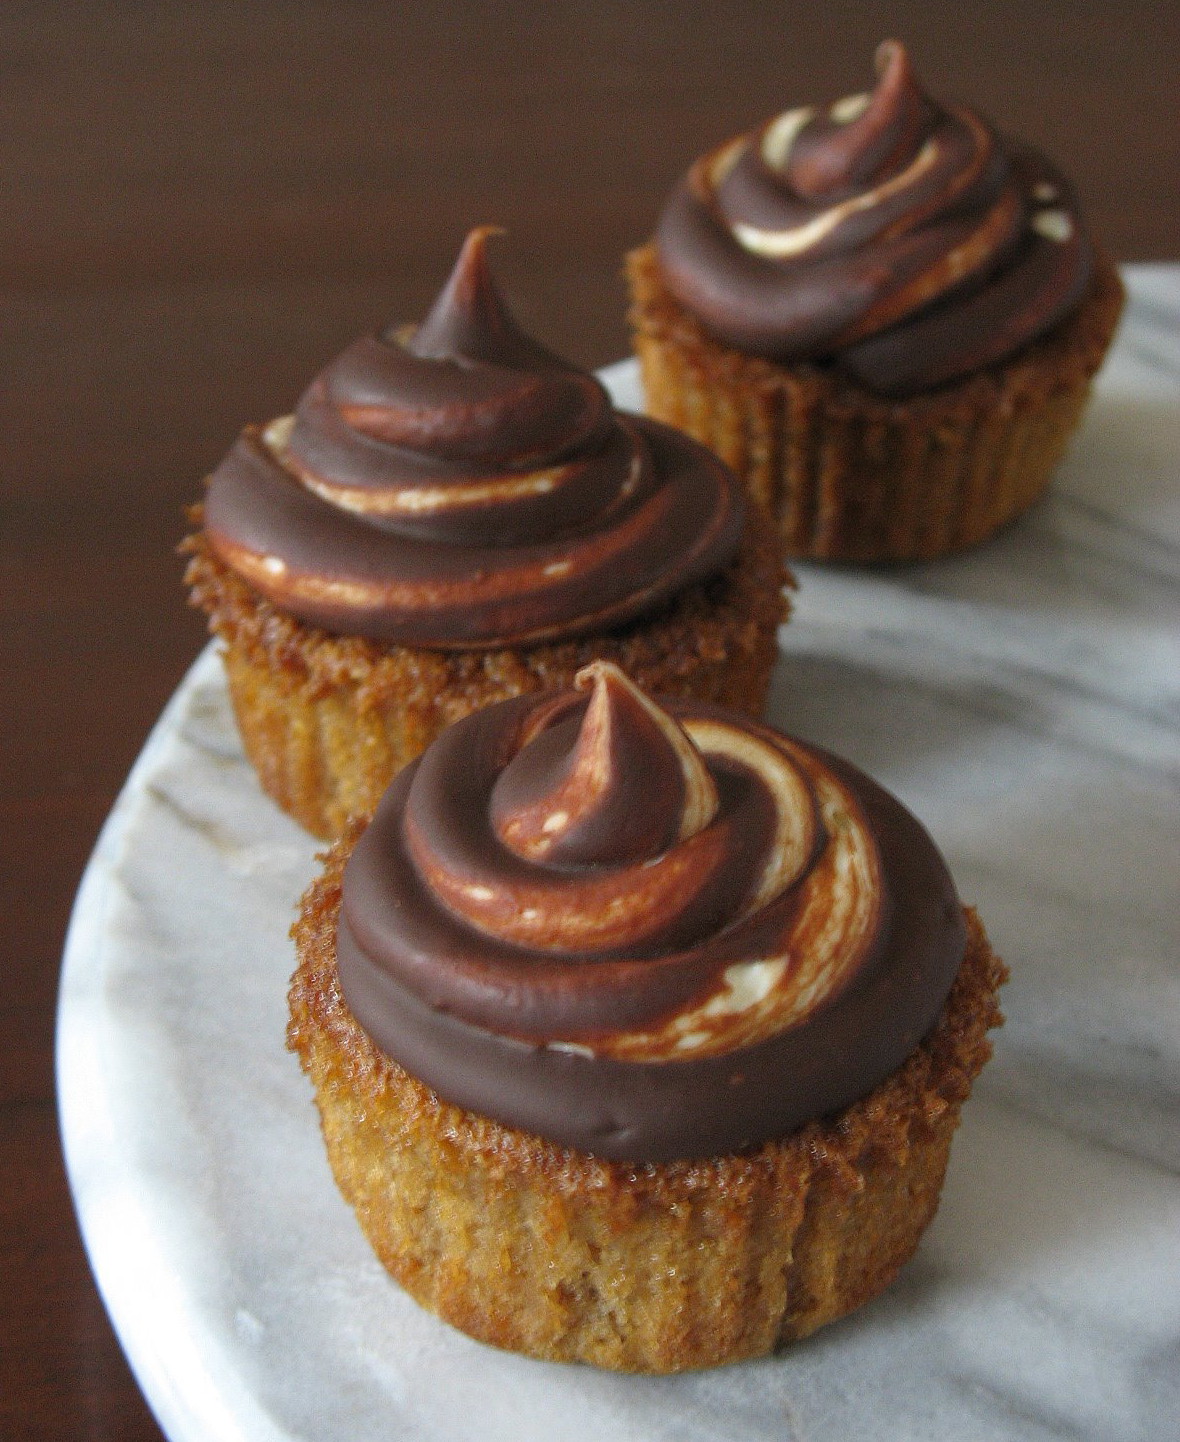
I had half a can of chestnut puree left from the other day so I looked for a recipe that would allow me to include it in the ingredient list without perturbing the other liquid/dry ingredient ratios.I got inspired by this recipe from Magnolia Bakery and the frosting came about according to what I add in the pantry and refrigerator. I love cream cheese frosting, I love chocolate and I love chestnuts. I did not want the frosting to be too sweet so I reduced the amount of powdered sugar one would normally use and used bittersweet chocolate. It was perfect to balance the smoothness of the chestnut. i kept them on the small side as B. is trying to watch his sweets intake and they made a perfect little bite to have with coffee after dinner.
Chestnut Cupackes with Swirled Cream Cheese and Chocolate Frosting, adapted from Magnolia Bakery:
Makes 12
1 cup all-purpose flour
1/2 teaspoon baking soda
1 stick unsalted butter, softened
1/2 cup granulated sugar
1/2 cup firmly packed light brown sugar
2 large eggs, at room temperature
3 ounces chestnut puree
1/2 cup buttermilk
1/2 teaspoon vanilla extract
Frosting:
4 oz. cream cheese, softened
2Tb. butter, softened
1/4 cup powdered sugar
4 oz. melted chocolate
Preheat oven to 350 degrees.
Line a 12-cup muffin tin with cupcake papers. Set aside.
In a small bowl, sift together the flour and baking soda. Set aside.
In a large bowl, on the medium speed of an electric mixer, cream the butter until smooth. Add the sugars and beat until fluffy, about 3 minutes. Add the eggs, one at a time, beating well after each addition. Add the chestnut puree. Mix well.
Add the dry ingredients in three parts, alternating with the buttermilk and vanilla.
Carefully spoon the batter into the cupcake liners, filling them about three-quarters full. Bake for 20–25 minutes, or until a cake tester inserted in the center of the cupcake comes out clean.
Cool the cupcakes in the tins for 15 minutes. Remove from the tins and cool completely on a wire rack before icing.
For the frosting: in a large mixing bowl, use a spatula to mix well the cream cheese, butter and powdered sugar.
Paint the inside of a pastry bag fitted with a plain round tip with the melted chocolate. Spoon the cream cheese mixture in the bag and decorate the cupcakes in whirly motion.
End result? I made them on tuesday and they are already gone…talk about self restriction! Bad me!
I told you I had gotten the bug… The second installment of my love for "Verrines" is inspired by this cool little book and my never dying love for blood oranges. When I see them in the store around December-January I tend to buy several bags at a time, that and kumquats…I currently have 8 pounds of the gorgeous beauties sitting on my counter and ideas flying through my mind every minute.
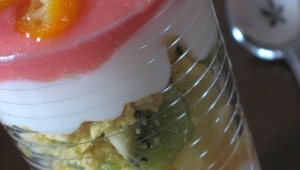
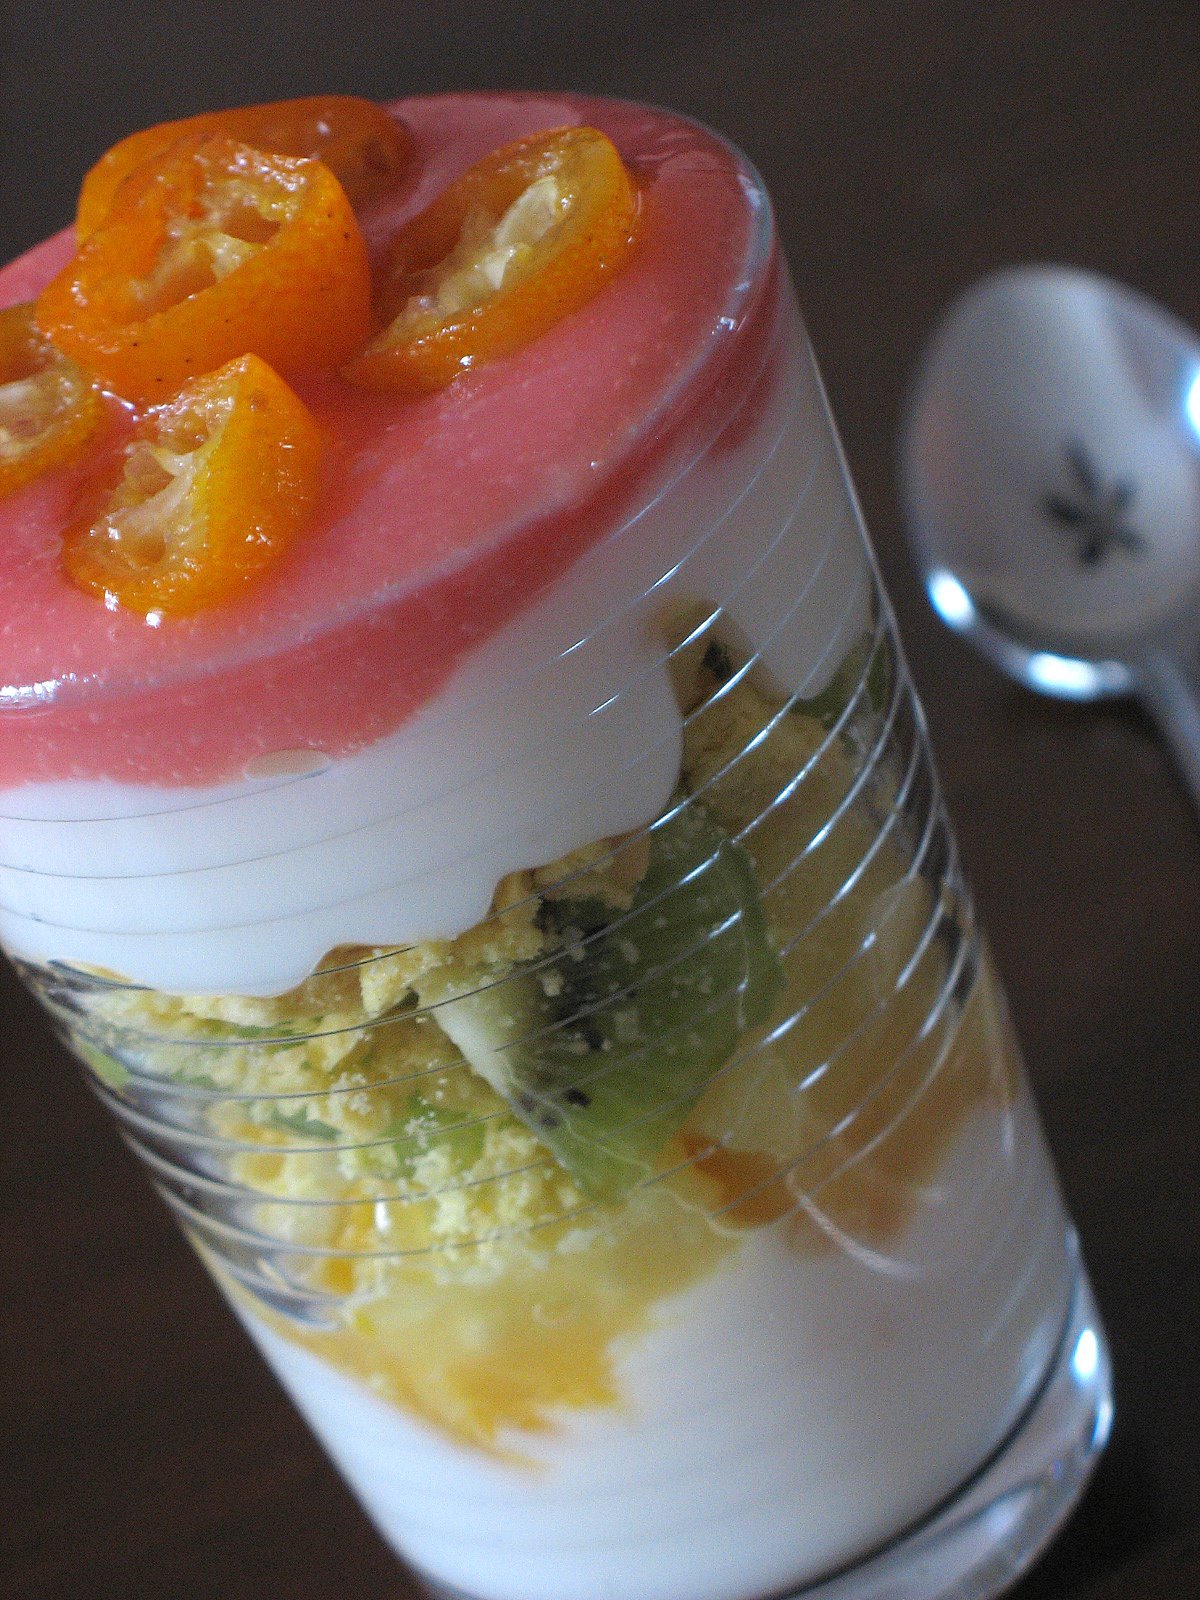
We had company for dinner the other night and flipping through the pages of the book I noticed a recipe for an apple crumble in a "verrine". Just the sight of those juicy cooked apples topped with a cinnamon crumble was enough to make my stomach growl. But I was in the middle of juicing blood oranges, not slicing apples. I did not have the desire to crank the oven on either as it was still pretty warm outside. I started this dessert by thinking "well, I’ll just make a fruit salad and layer it with Greek yogurt and crushed ginger cookies"…but I was lusting after that picture, those nice juicy fruits….and then the Kitchen Fairy kissed me on the forehead and I started whisking some blood orange curd, caramelizing some kumquats…and oops….there you have it.
Layered Fruit Salad, Greek Yogurt, Blood Orange Curd and Caramelized Kumquats, aka Lazy Sunshine Salad :
Serves 4
Fruit Salad:
1 apple, peeled, cored and diced
1 kiwi, peeled and diced
1 banana, peeled and diced
1 blood orange, peeled and diced
zest of 1/2 a lime + juice
1 Tb honey
Blood Orange Sauce:
¼ cup sugar
1 T grated blood orange zest
2 large eggs
2/3 cup blood orange juice
Combine sugar, orange zest, orange juice and eggs in a saucepan. Cook on medium heat, whisking constantly, until sugar is dissolved and the mixture thickens. Let cool to room temperature.
For the cookies: I had a stash of these in the freezer especially to be used crumbled on top of mousses or other creamy desserts, so it was perfect timing, but here is the recipe again:
Double Ginger Cookies, adapted from Cooking Light
1 1/2 cups all-purpose flour
1 cup whole wheat flour
3/4 cup chopped crystallized ginger (I use 1/3 cup)
1 teaspoon baking powder
1/2 teaspoon baking soda
1/2 teaspoon salt
1/2 teaspoon ground ginger
1 1/4 cups sugar, divided
1/2 cup applesauce
1/4 cup vegetable oil
1 teaspoon grated lemon rind
1 tablespoon lemon juice
1/4 teaspoon vanilla extract
Lightly spoon flours into dry measuring cups, and level with a knife. Combine flours and next 5 ingredients (flours through ground ginger); stir well with a whisk. Make a well in center of mixture. Combine 1 cup sugar, applesauce, and next 4 ingredients (applesauce through vanilla). Add to flour mixture, stirring just until moist; cover and chill dough at least 1 hour. I skip this step and add 1 Tb of water to the dough.
Preheat oven to 350°.Lightly coat hands with flour. Shape dough into 24 balls (about 2 tablespoons each; dough will be sticky). Roll balls in 1/4 cup sugar. Place balls 2 inches apart on baking sheets coated with cooking spray. Bake at 350° for 15 minutes or until lightly browned. Cool 1 minute on pan. Remove from pan; cool completely on wire racks.Note: These freeze well. Place cooled cookies in a heavy-duty zip-top plastic bag; store in freezer for up to 1 month. Thaw at room temperature.
I usually get more cookies, 30 – 32.
Caramelized Kumquats:
Wash and cut in half a pint of kumquats (except the ones I popped in my mouth while cooking)and put them in a heavy saucepan with 1/3 to 1/2 cup sugar, cook over low heat until the sugar is dissolved and all the kumquats are nicely coated with the syrup.
Last step: have fun layering everything in the order you want with some Greek yogurt or fromage blanc or any of your avorite creamy concoctions and top with a layer or blood orange sauce and a few caramelized kumquats.
When I read about the chosen theme for this month SHF on David Lebovitz’s blog I let out a little sigh…chocolate? again? Unbelievable as it seems, even I, the chocolate lover, was starting to gravitate towards more fruit based desserts after my chocolate filled holidays. But I kept on reading because after all, once you fall for chocolate you just keep on reading and eating and baking,…. The idea for this month was to pick a brand, any brand of chocolate and cook/bake with it.
I have to admit that although I do not consider myself a chocolate snob, I tend to buy higher end chocolate bars and blocks rather than store bought for some of my baking. The results are incomparable, and so are the textures and flavors. I have bought evey brands out there I could find in hope that even a cheap bar could taste as good but most of the time I have been disappointed. If I am going to include chocolate in a cake I choose Callebaut or Schockinag. They melt well, the chocolate retains its flavor through high temperature baking and I still have connections to get some big slabs at a moderate price. I use Valhrona if I make ganaches, creams and custards because the flavor really comes through and your palate can really tastes the chocolate.
Everybody has a different opinion about what kind and what brand of chocolate tastes better to them. I believe that one has to try as many different kinds of choclate brands and cocoa percentages to know what appeals to them. There is no shame in proclaiming loud and clear your love for a particular kind, whether it be dark, milk or white (not really chocolate I know but good anyhow). I confess that I am a milk chocolate fanatic, and dark chocolate higher than 65% does not appeal to me. For some reason it coats the back of my throat and leaves a very acidic tastes on my tongue. I am always in search a good quality milk chocolate, not one over saturated with cream, but one that is one molecule removed from a very smooth dark chocolate.
While at the Grande Epicerie at Le Bon Marche, I was lucky enough to find 2 really interesting (to me) chocolate bars. In my pursuit to like darker chocolate I bought a bar from Michel Chaudun via Weiss chocolatier, 70% dark chocolate with cocoa nibs. The second one was a milk chocolate bar from Michel Cluizel, "1er Cru de Plantation ‘Mangaro’ Milk Chocolate ".
I had a nibble of each the other day, and then I stacked one square of each and popped them in my mouth…and then I repeated this last bit by stacking them on top of a shortbread cookie…and then I wished I had a dozen or so of them…! But they were not easy to eat like that, if only I could melt them and serve them in a little shortbread crust… The solution was very easy: a chocolate ganache tart, and because I would melt the milk chocolate with an equal amount of dark chocolate the cream would not overpower the object of my desire.
Thank you to the two Michel for allowing me to create what is to me the best chocolate ganache tart I have had so far.
If you want to make this, use what your tastebuds qualify to be the best chocolate. Tastes is as subjective as love so use what you enjoy best.
Chocolate Ganache Tart, adapted from my head and Doris Greenspan (crust).
In a food processor, pulse all the crust ingredients. Empty in a bowl and knead until the dough comes together. The butter will warm up when in contact with your hands and will allow you to form the dough unto small disks. Wrap in plastic and refrigerate while you prepare the ganache.
Heat the cream over medium heat. When hot, remove from the stove and throw in the chocolates, let stand for a minute. Gently stir to incorporate all the chocolate. Let stand at room temperature while you prepare the tartlett crusts.
For the tart shells:
I used 4 inch round tartlet molds but you can use smaller ones if desired, I got 3 filled tart with the quantity of chocolate I had melted. That point is really make and bake as you go.
Remove the dough from the fridge and roll out between two sheets of plastic wrap. Fit the dough into the tartket molds, prick with a fork and refrigerate while you heat up the oven to 350 degrees. Pre bake until done. Let the shells cool completely.
Remove from the molds and fill with the ganache. Refrigerate until the ganache is completely set.
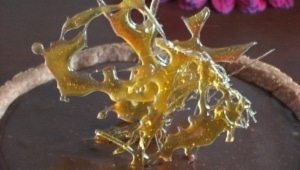
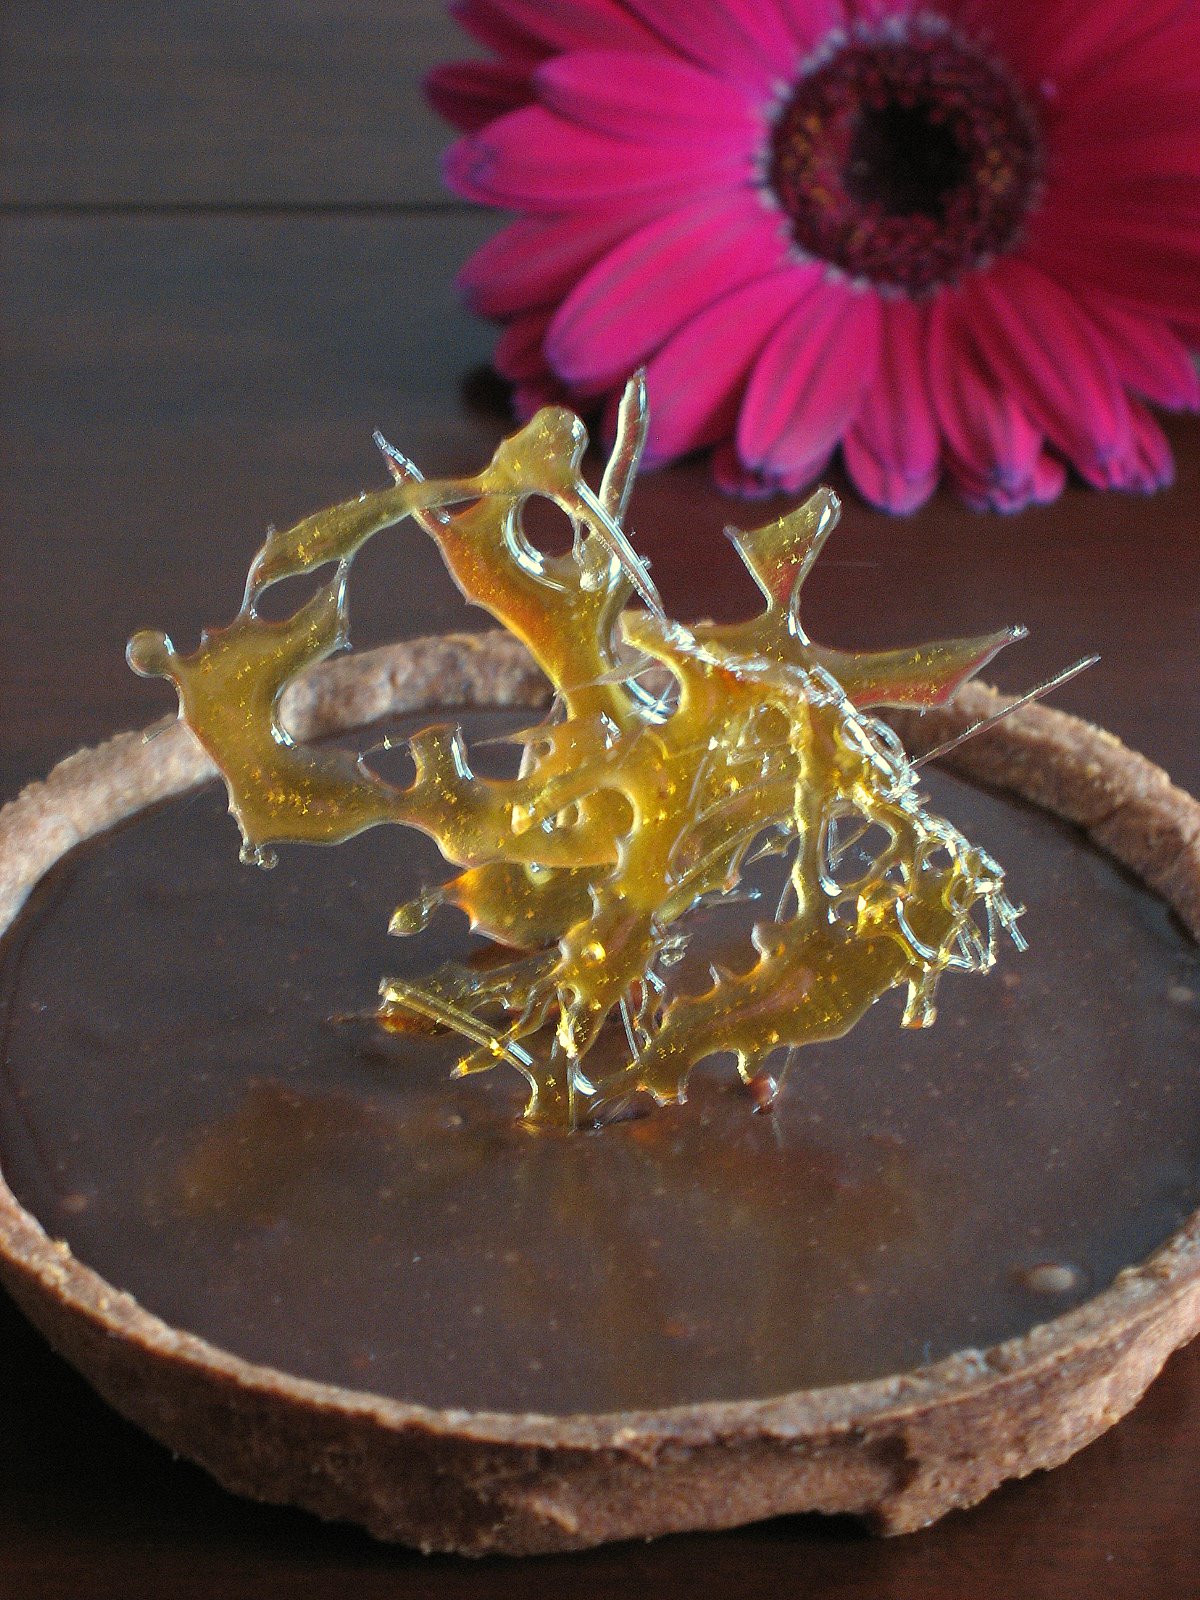
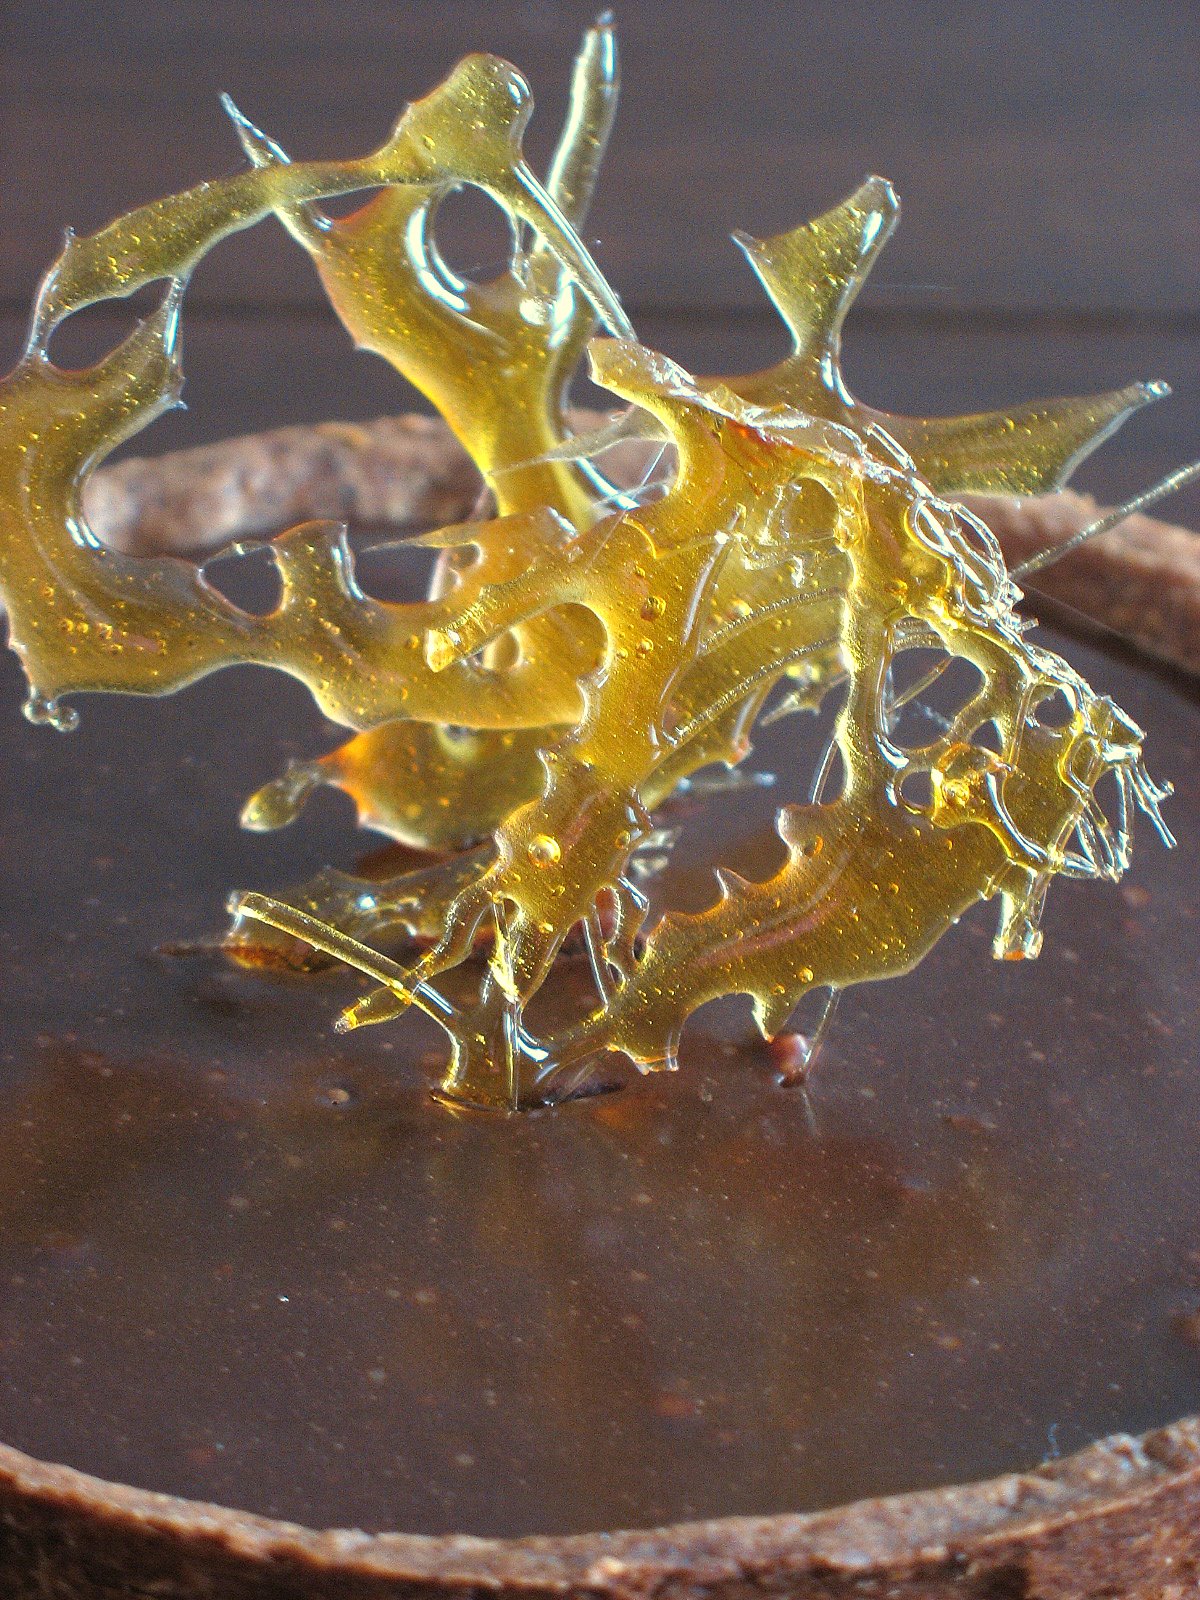
For the decor, I melted 1/2 cup of sugar woth 2 Tb of water until golden brown and spoon shapes and lines onto parchment paper. I let the caramel cooled completely,cut out stands and branches and stuck them in the tart. Et Voila!
Ok, this was a rare splurge, combining 2 great names into one little tart, but hey it felt really good and the world around me almost stopped for a few minutes!
I love many things in life, and this dessert sprung out of a an old love I have for chestnut puree and a new addiction my awesome aunt Agnes nourished this Christmas by giving me a really cool little book.
Everytime I go home, I ask my mom for a few favorites: boudin noir, blanquette de veau, viande des grisons, creme Danette or Mont Blanc, and "creme de marrons". On its own, it is just allright but when used in custards, cakes and mousses its flavor really shines through and the cream takes on a velvety smooth, somewhat chocolatey taste. We did not eat it in great quantity in our house thus it truly felt felt special when I could have some.
This Christmas, I dragged B. into the Grande Epicerie at Le Bon Marche where we stocked up on fine chocolate, Mariage Freres tea, jams and syrups and of course a jar of chesnut cream.
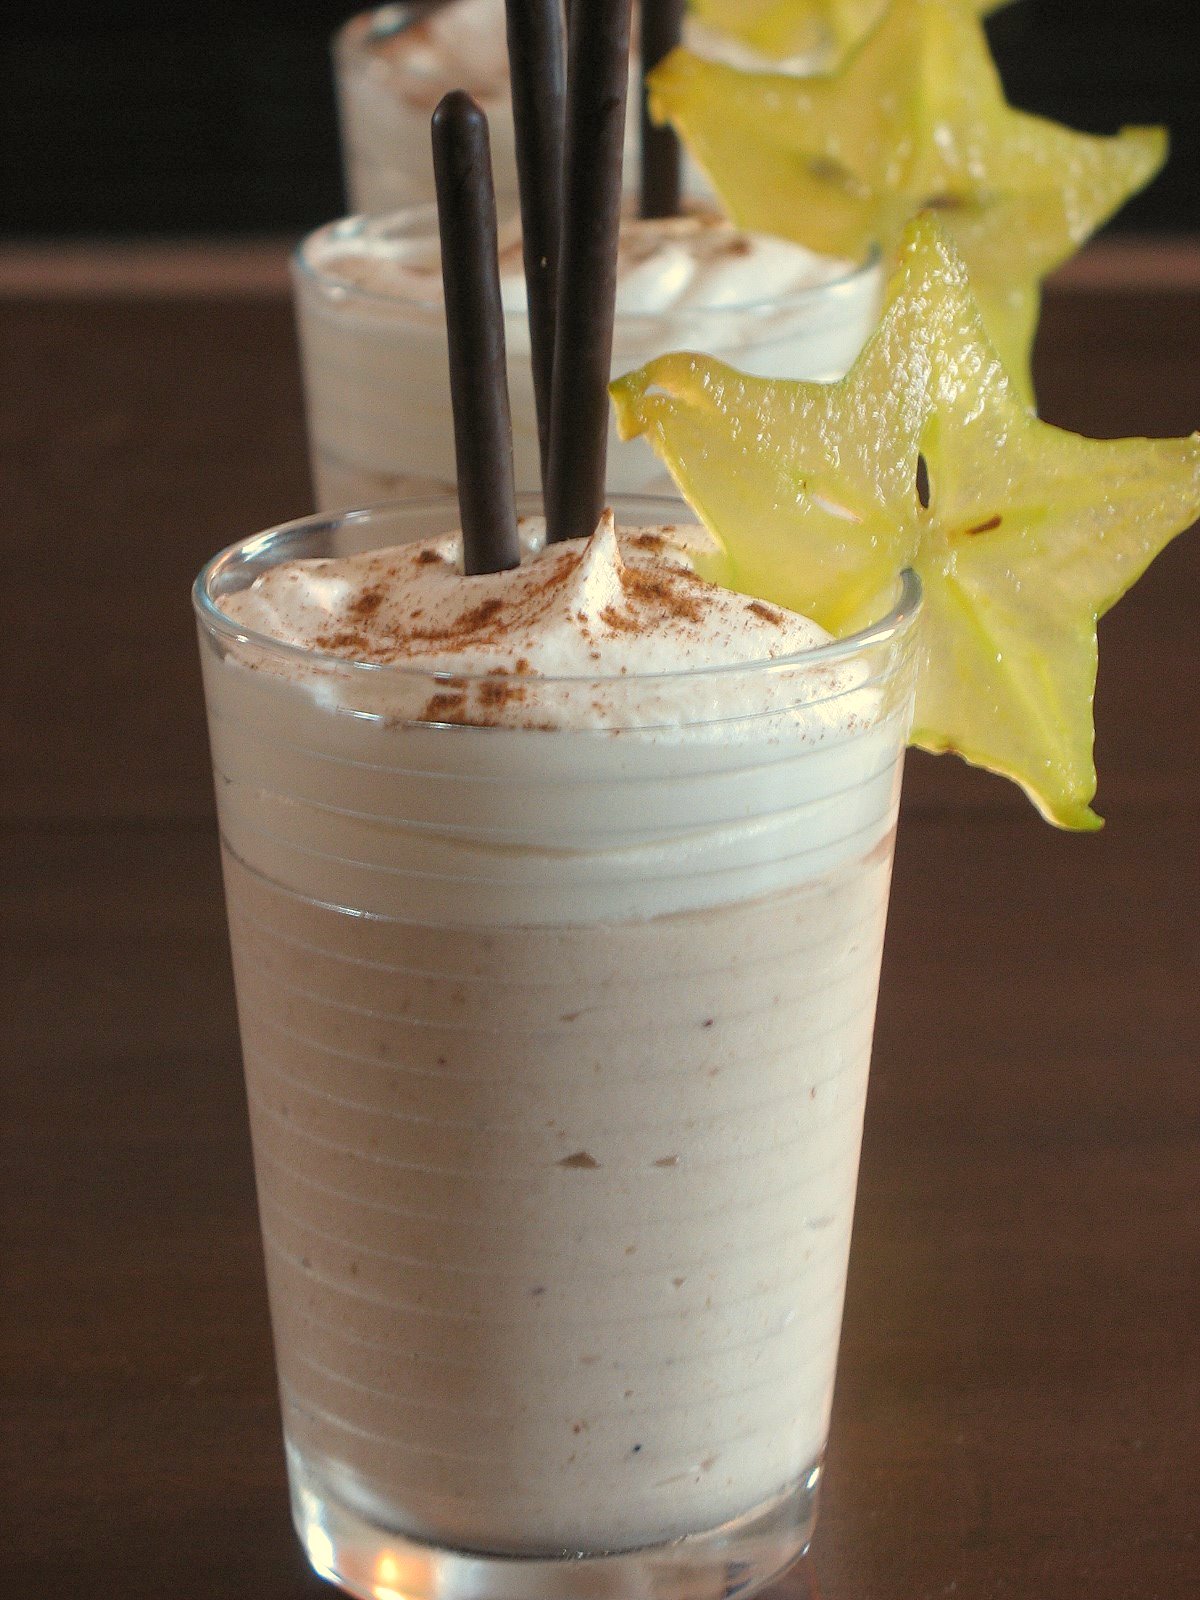
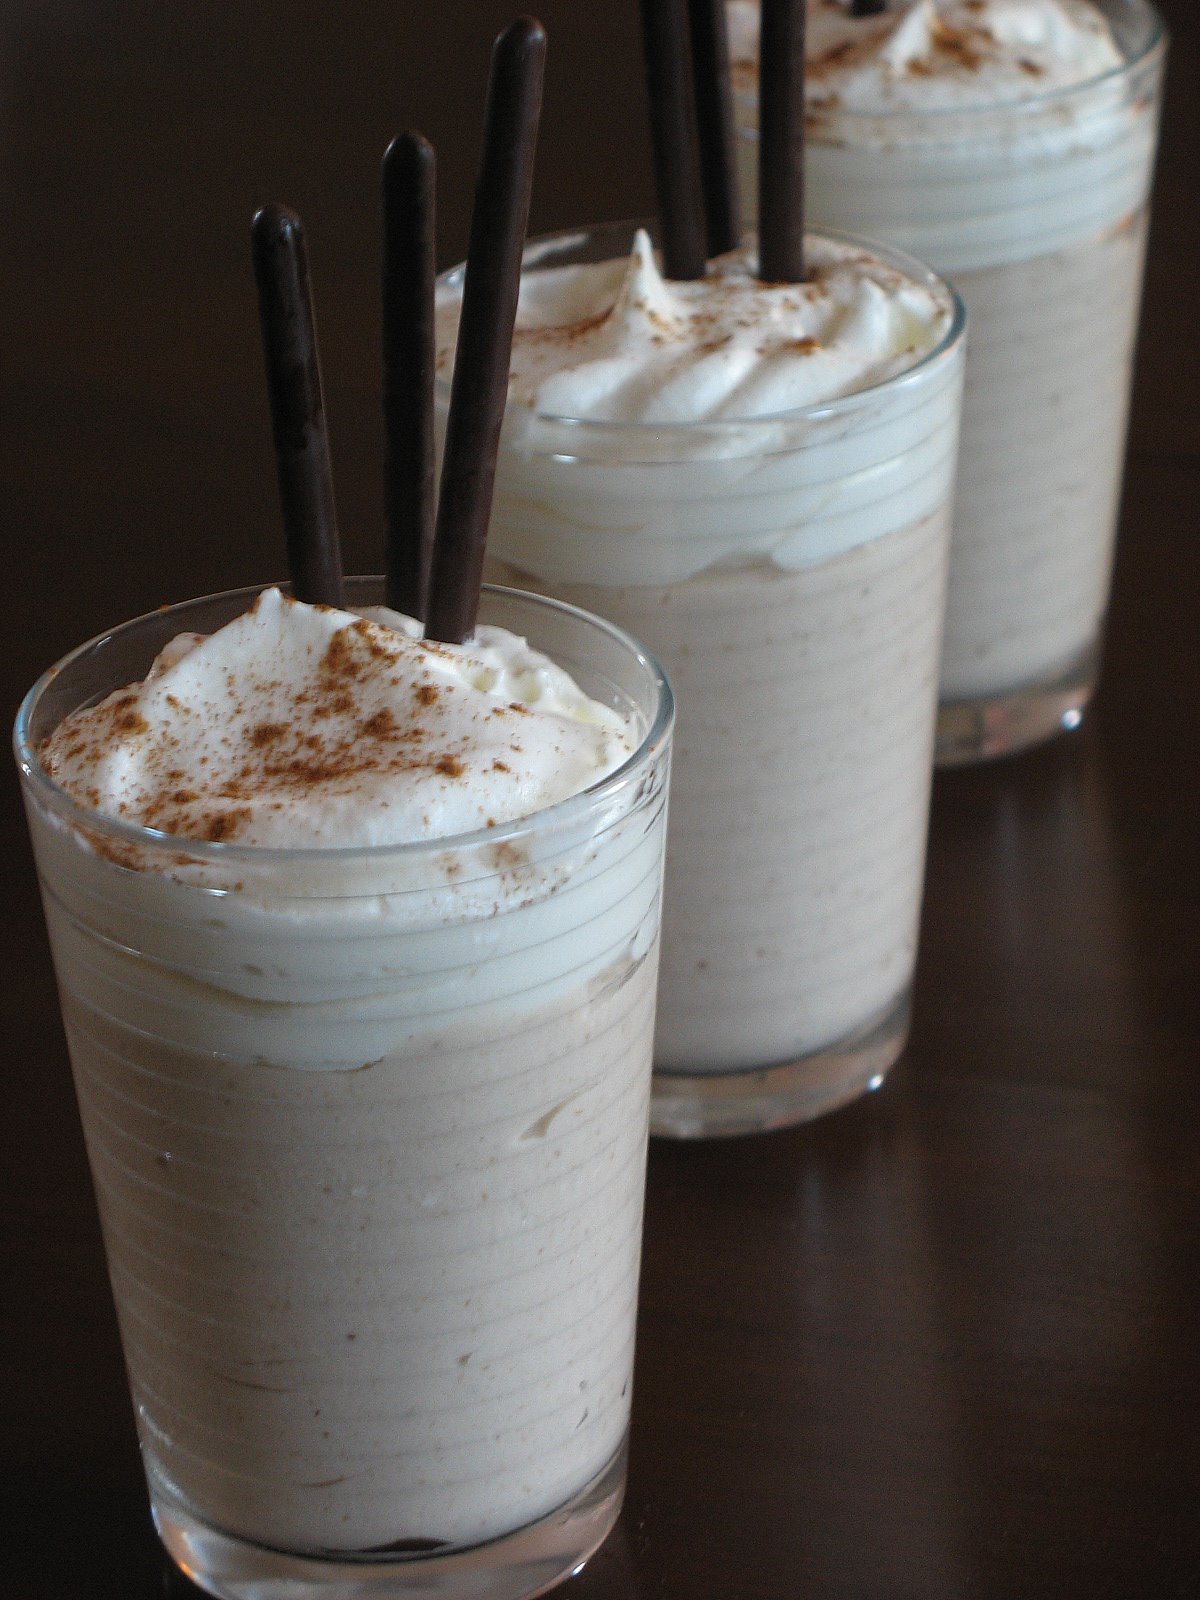
It had to be kismet or fate because while I was perousing a couple of French magazines on the plane home, looking for ideas for an upcoming dinner party I found a promising recipe for a "bavarois" using the chestnust. The picture looked nice enough, but after reading the above mentionned book I could not stop thinking about using glasses as a plating and serving medium.
They turned out perfect. The flavors were great and "grown up", the presentation allowed me to let the kid in me play around a little. "Verrines" are great for layering but the different types of glasses you can use really help support your imagination and creativity.
I have to warn you that you might see a lot more of this type of dessert on this blog because I have caught the bug! I have to mention Mercotte for starting this! Her blog is full of delectablecreations!
Chestnut Bavarois, adapted from Avantages magazine:
Serves 6. Prepare it the day before so that it has time to set and allow the flavors to develop.
2 egg yolks
200 ml milk (about 3/4 cup)
30 gr. sugar (1 oz)
1 packet gelatine
200 gr. chestnut puree
2 Tb. cognac
200 ml. heavy cream
Sprinkle the gelatin over some cold water (I used 1/2 cup). Set aside.
Make a creme anglaise: Heat the milk until very hot. In the meantime, whisk the egg yolks and sugar until thick and pale. When the milk is hot, slowly but steadily pour it over the egg yolks and continue to stir until well incorporated. Put the mixture back on the stove over medium low heat and continue to cook and stir until the cream coats the back of a spoon. Remove from the heat and stir in the gelatin and the cognac. Mix well, add the chestnut puree and let cool to room temperature.
Whip the heavy cream to a stiff mousse and when the chesnut cream mixture is cool but not yet set, fold the whipped cream carefully.
At this point you can line indivual molds with plastic wrap and divide the mixture among them, refrigerate and when the mixture is set, inver the molds and remove the plastic, decorate and serve.
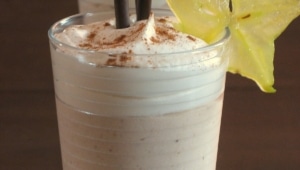
I took six small glasses and divide the mouse among those. I topped each with slightly sweetened whipped cream, a dash of cinnamon, a couple of chocolate cookie sticks and star fruit.
One of our guest could not make it to the party, so B. and I shared the extra one the night after. When I say share, I mean I let him have a spoonful and the rest was for me…he is the one who did not want to put the jar of chestnut puree in the suitcase in the first place (was getting heavy…but what’s one more jar?) but now could not stop wanting more…


