
Jahresarchive: 2007

Birthday Girls…

Tomorrow is my birthday (30 something and rocking…) and Kate’s (20 something and rocking…)

I had no idea when I started this blog over a year ago that blogging would come with benefits. Not only did I become part of a wonderful group of talented, supportive and Daring Bakers (if you knew how fantastic they are you’d get teary-eyed too), I have also been asked to be one of the co-administrators of the Daily Tiffin by my dear friend Meeta….and last but not least I have met a funny and talented young lady, Kate of Applemint while I was hosting HHDD 11.

After exchanging emails we realized we shared the same birthday: May 13th…. We decided to celebrate this coincidence that we would both bake each other a cake.
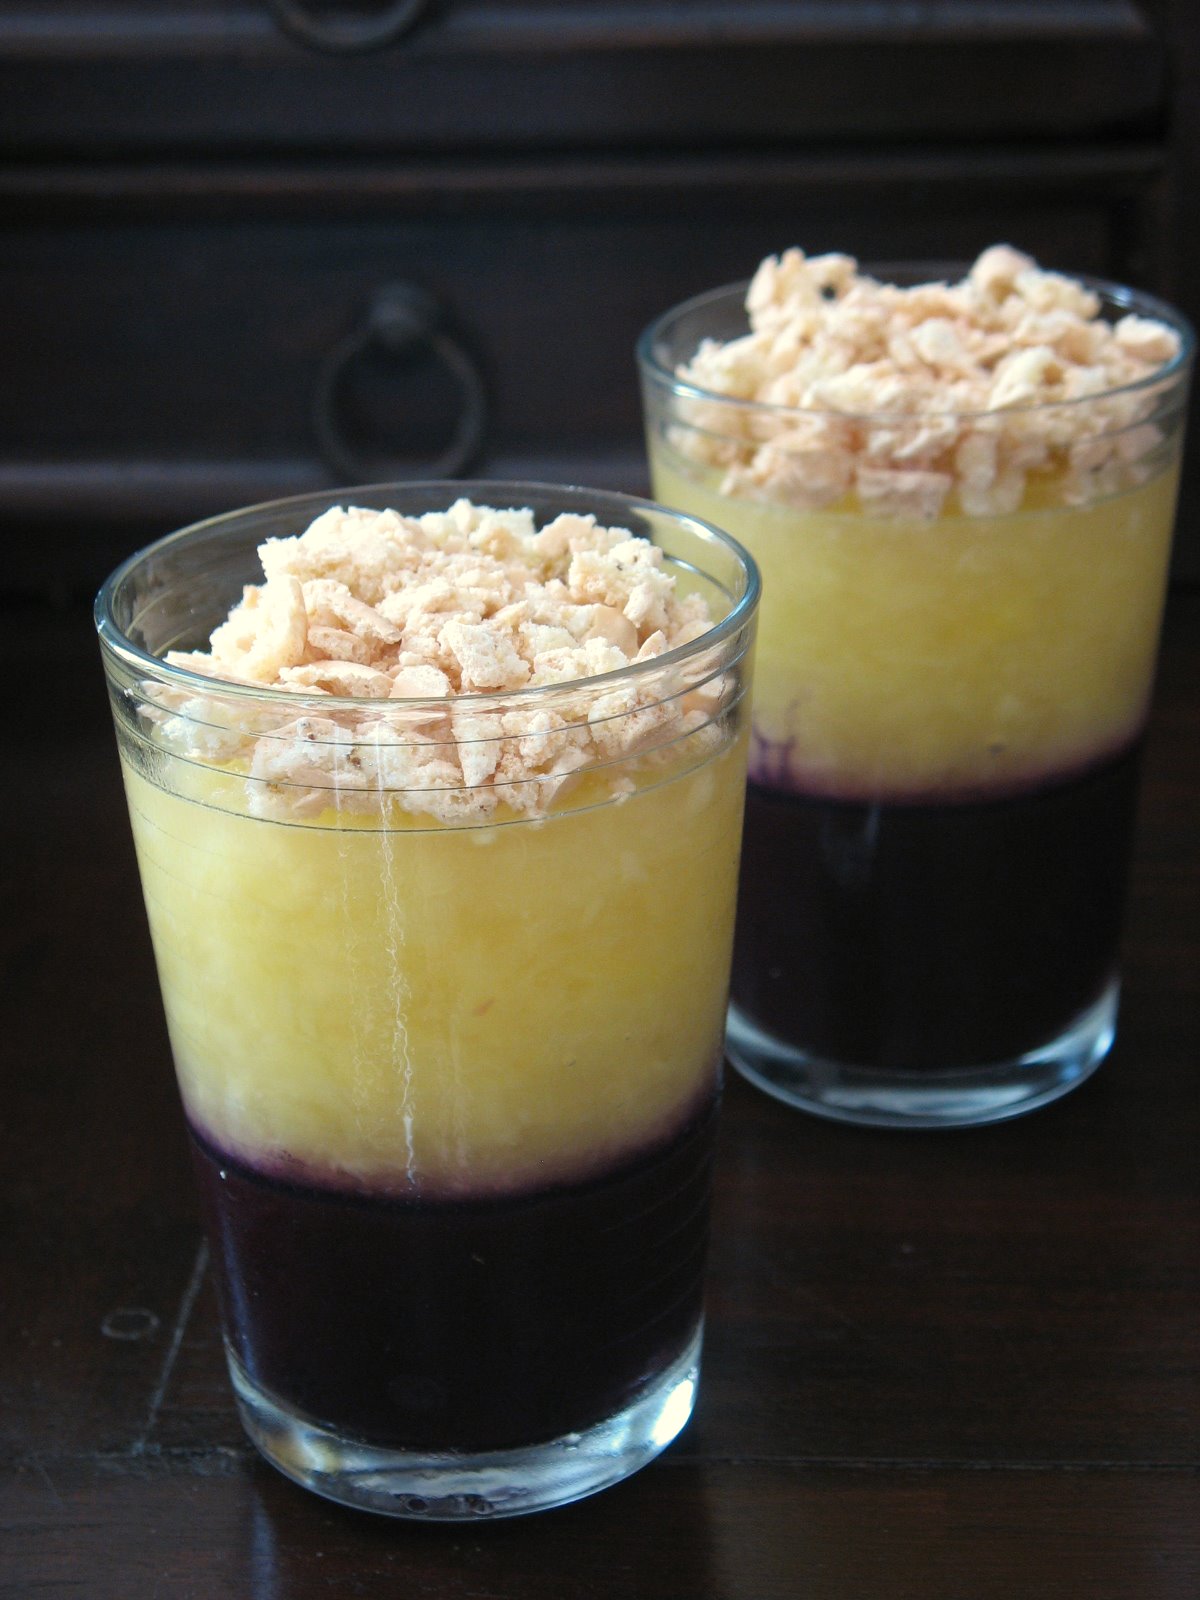
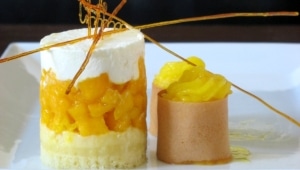
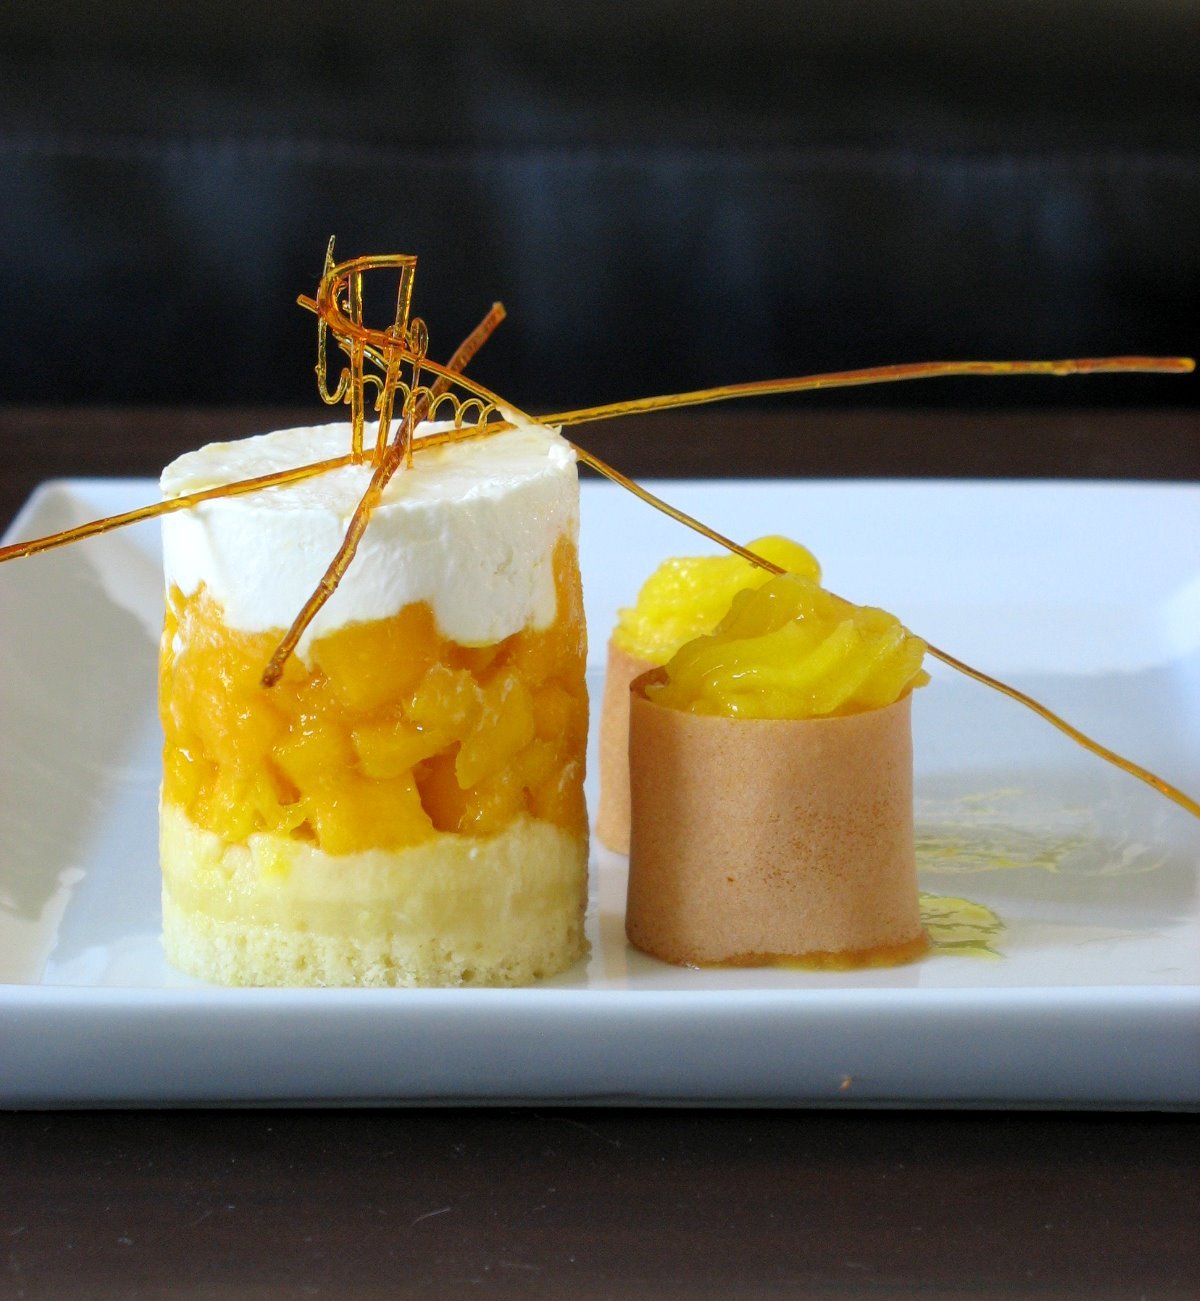
Euh…Helen, today is May 12th….Ah maybe here in northern America but in Hong Kong where Kate lives it is already the 13th and I want her to see my birthday cake as soon as she turns her computer on. She has made me an awesome lemon sponge with lemon grass and lime leaf mousse with mango compote jelly. I love it! I asked what her favorite flavor(s) was and the answer came in one sweet sentence: "anything with dark chocolate".

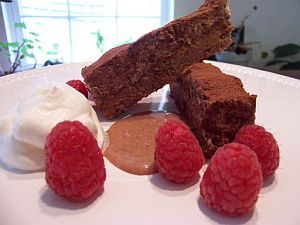
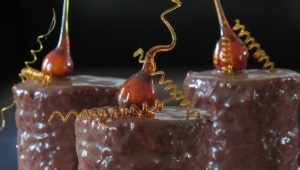
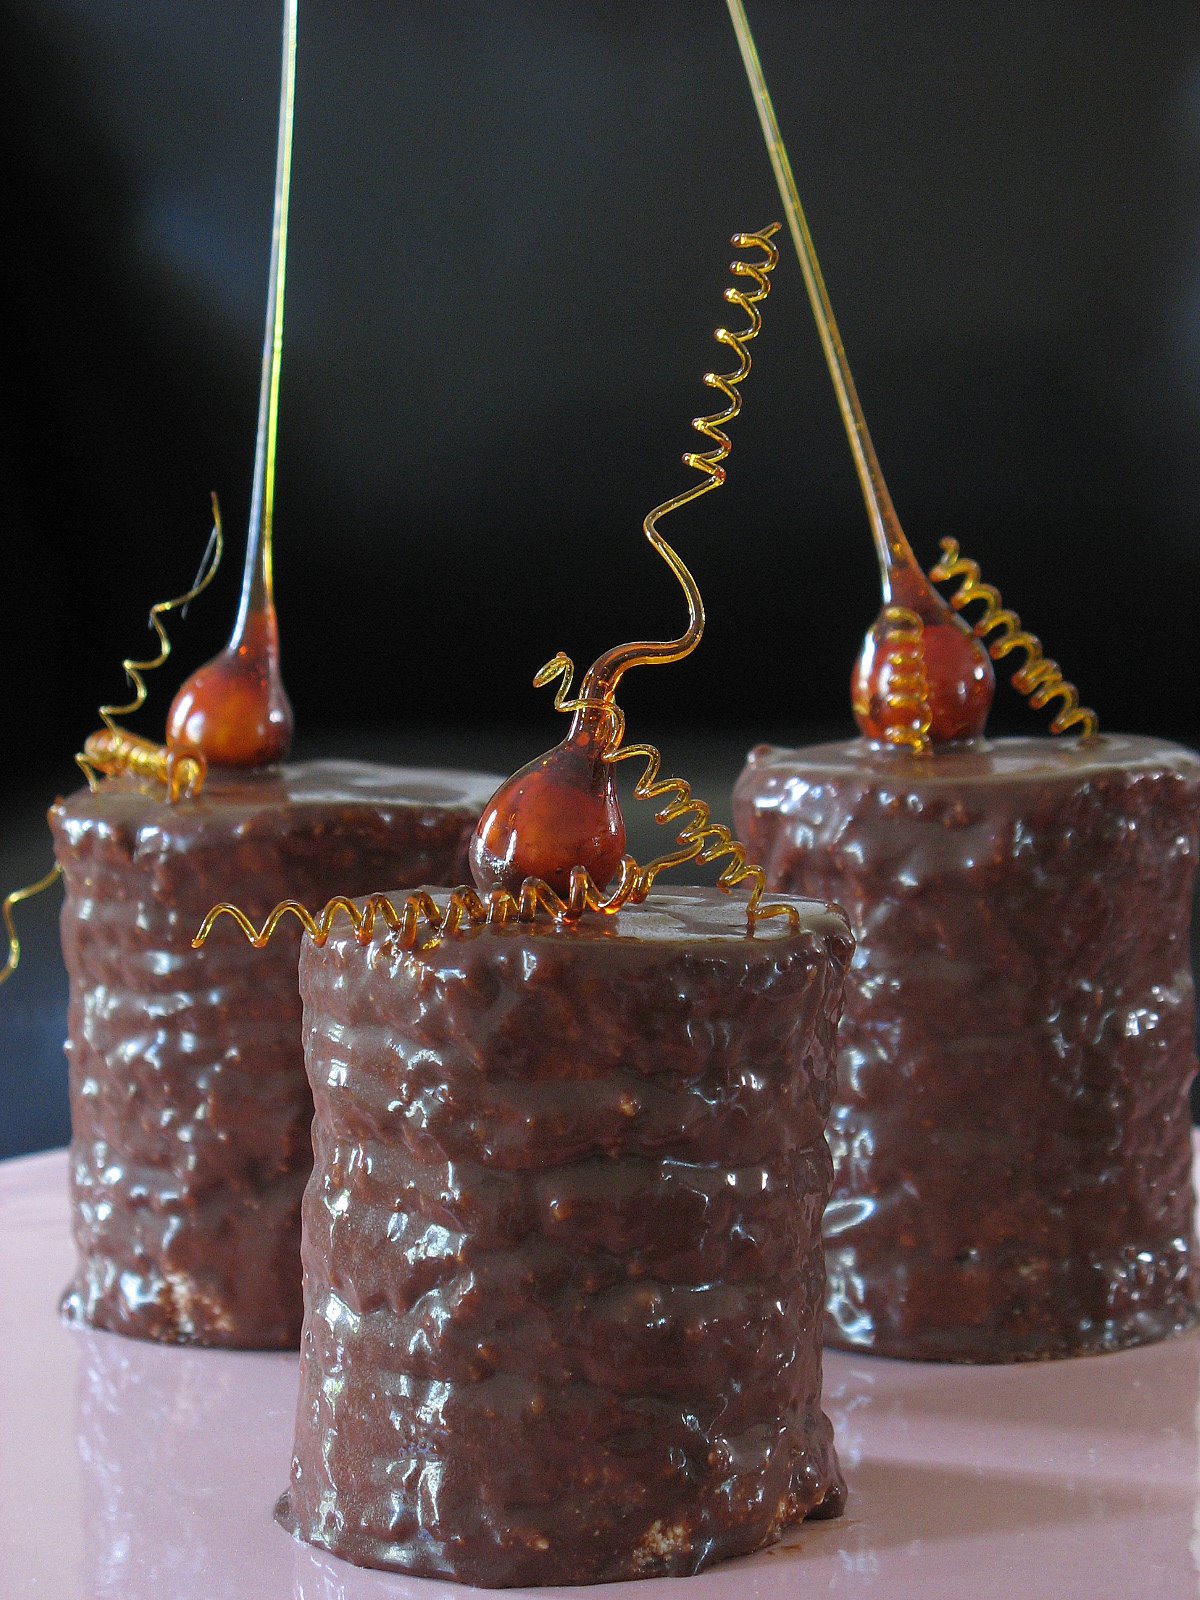
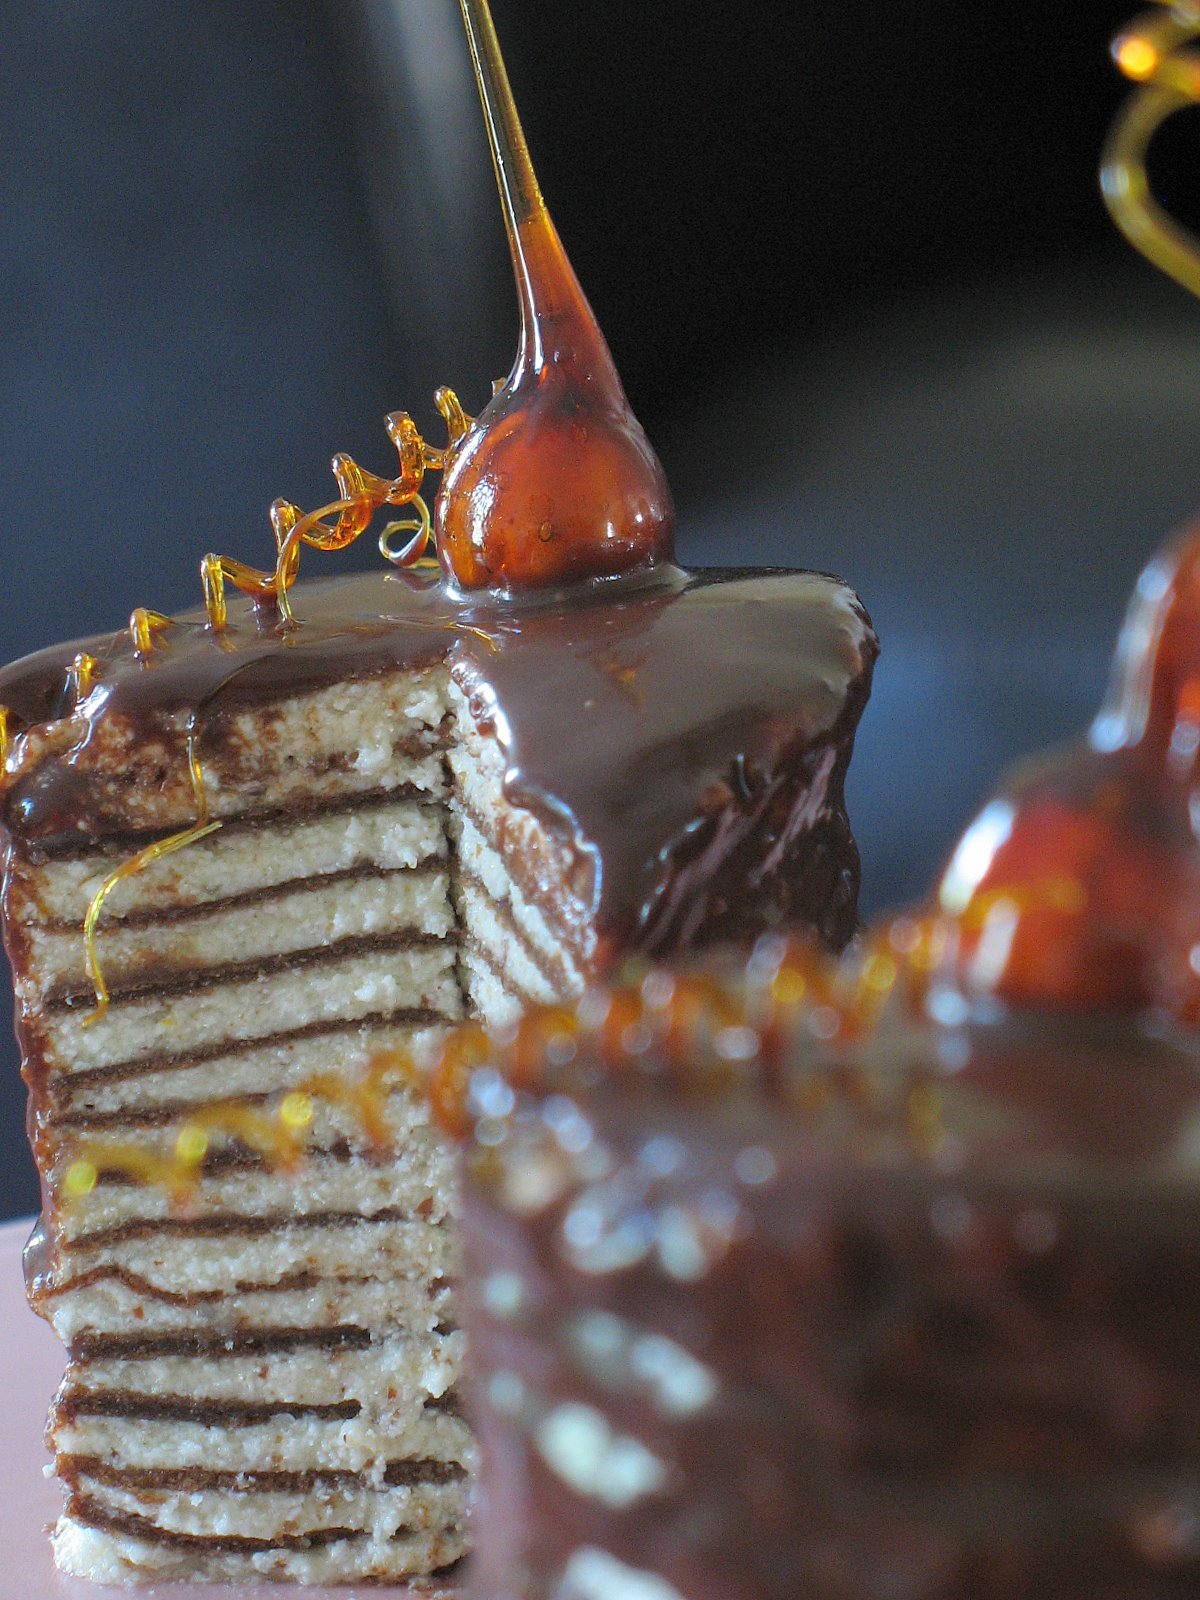
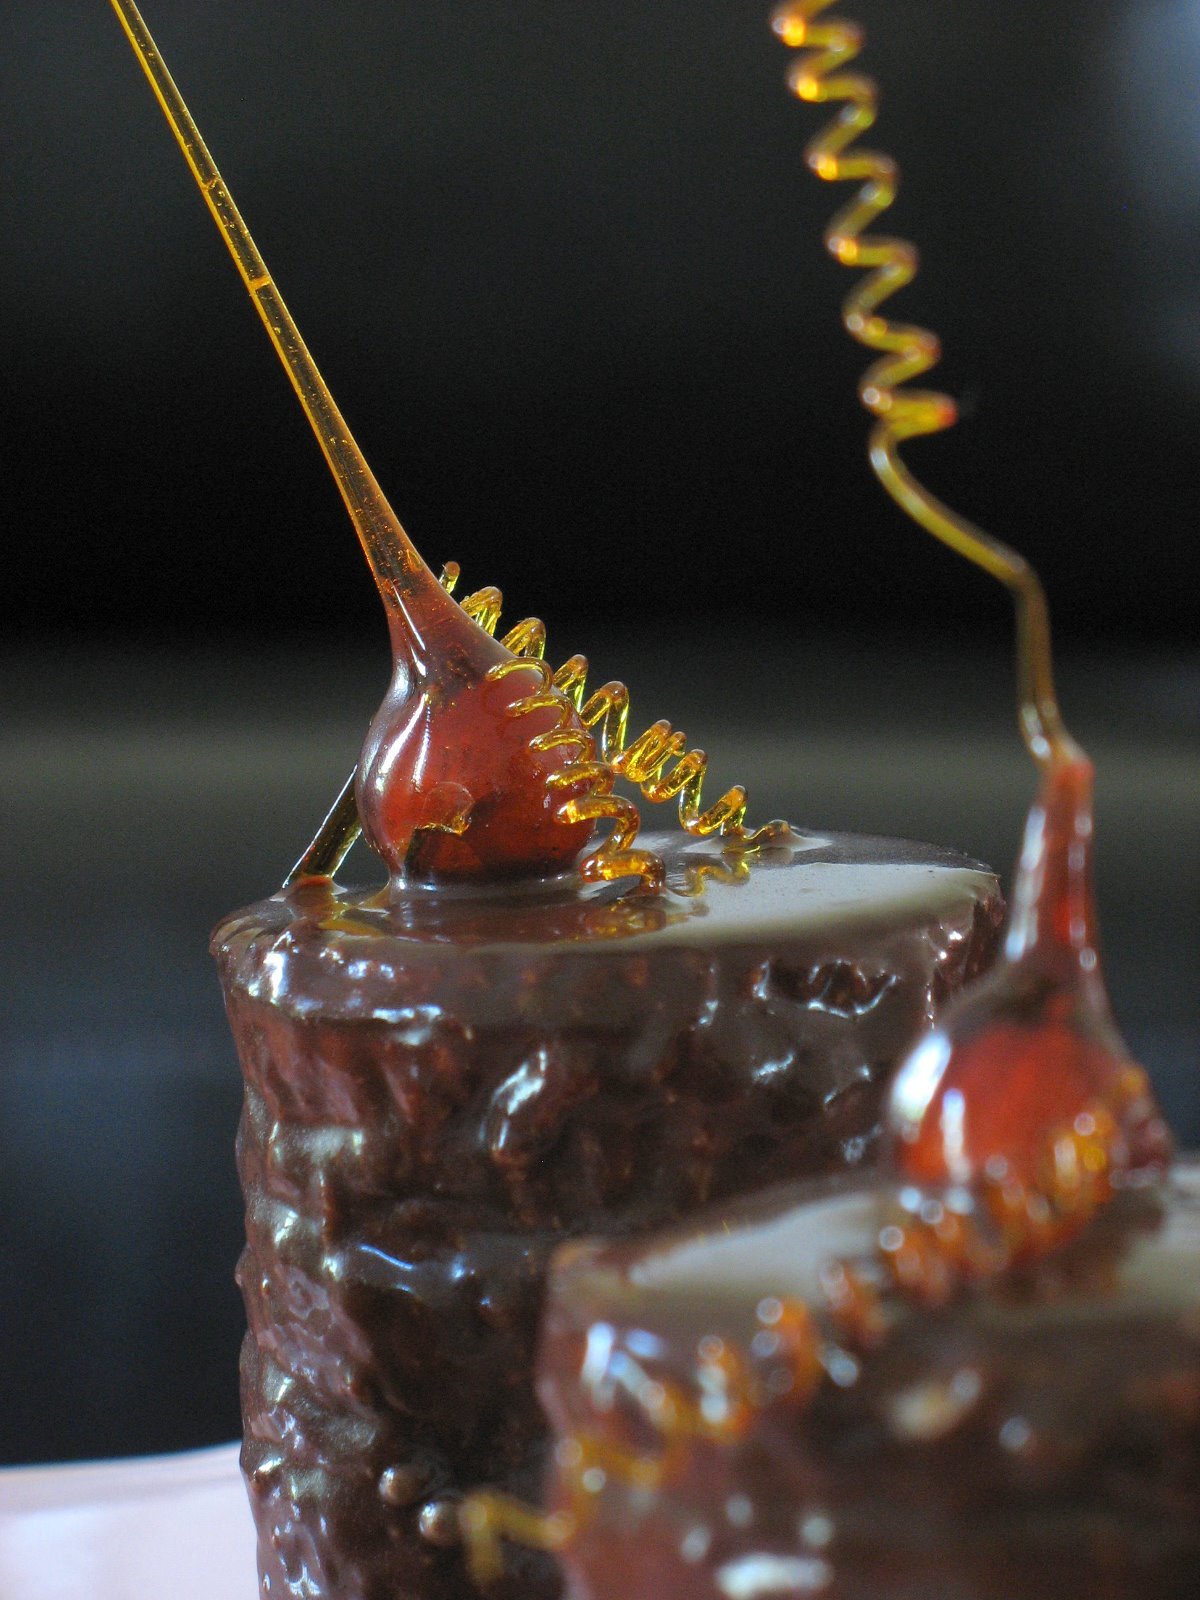
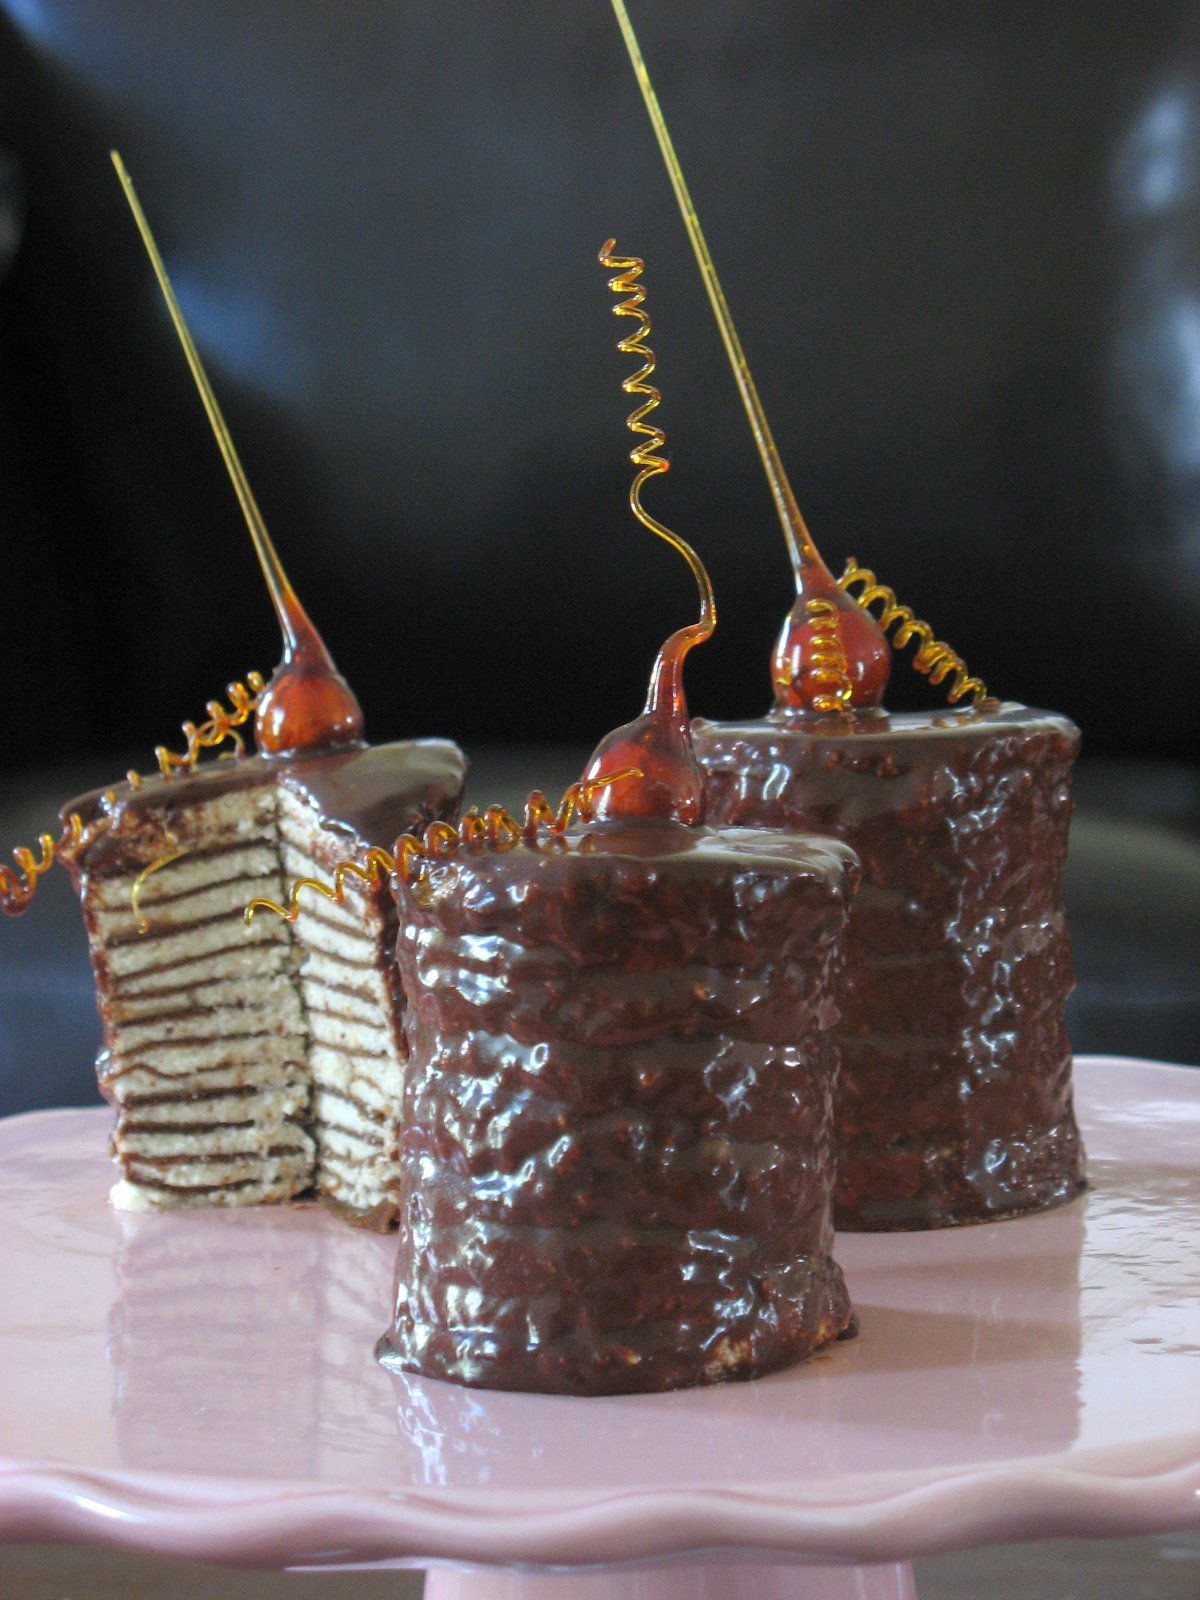
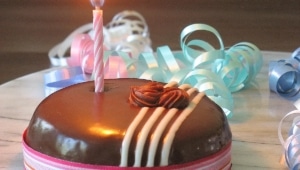
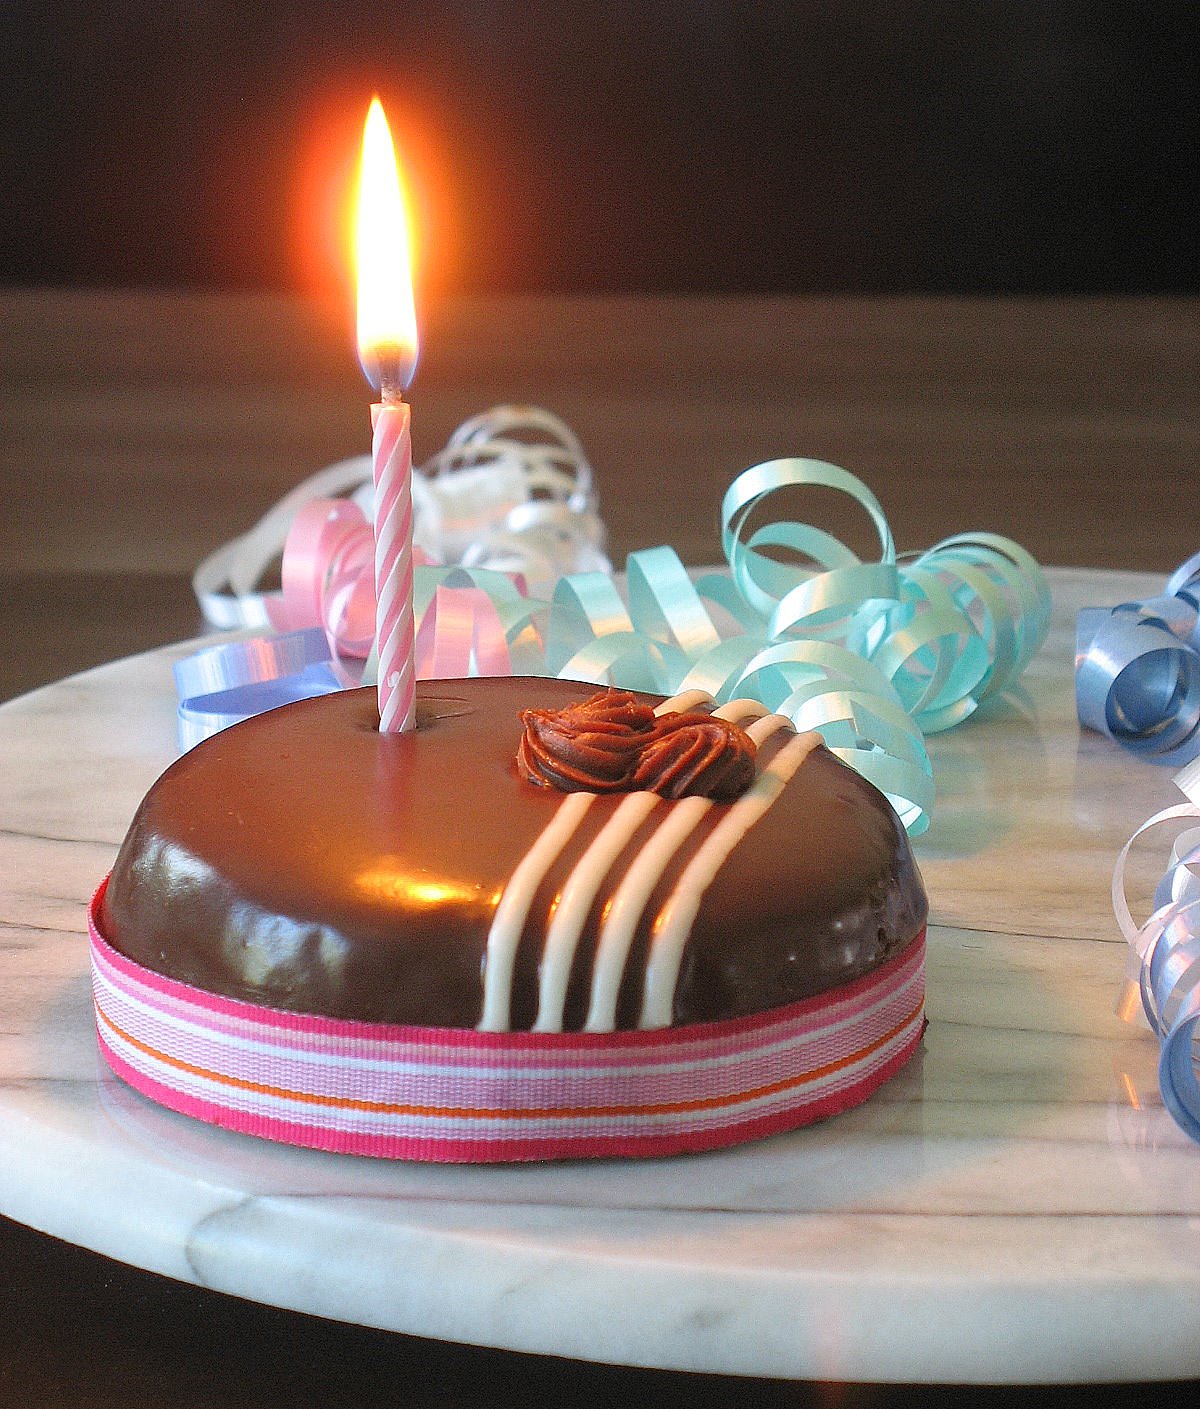
In her honor I made a deep dark Devils Food Cake with Dark Chocolate and White Chocolate Ganache.

Happy Birthday to you Kate! Happy Birthday to Me!

Devil’s Food Cake, adapted from Dorie Greenspan:

Makes 8 individual cakes

1 1/3 cups all-purpose flour
1/2 cup unsweetened cocoa powder
3/4 teaspoon baking soda
1/2 teaspoon baking powder
1/4 teaspoon salt
1 1/4 sticks (10 tablespoons) unsalted butter, at room temperature
1/2 cup (packed) light brown sugar
1/2 cup sugar
3 large eggs, at room temperature
1 teaspoon pure vanilla extract
2 ounces bittersweet chocolate, melted and cooled
1/2 cup buttermilk or whole milk, at room temperature
1/2 cup boiling water
4 ounces semisweet or milk chocolate, finely chopped, or 2/3 cup store-bought mini chocolate chips

Center a rack in the oven and preheat the oven to 350 degrees F. Butter two 8-x-2-inch round cake pans, dust the insides with flour, tap out the excess and line the bottoms with parchment or wax paper. Put the pans on a baking sheet.
Sift together the flour, cocoa, baking soda, baking powder and salt.
Working with a stand mixer, preferably fitted with a paddle attachment, or with a hand mixer in a large bowl, beat the butter on medium speed until soft and creamy. Add the sugars and continue to beat for another 3 minutes. Add the eggs one by one, beating for 1 minute after each addition. Beat in the vanilla.
Reduce the mixer speed to low and mix in the melted chocolate. When it is fully incorporated, add the dry ingredients alternately with the buttermilk, adding the dry ingredients in 3 additions and the milk in 2 (begin and end with the dry ingredients). Still working on low speed, mix in the boiling water, which will thin the batter considerably. Switch to a rubber spatula, scrape down the bowl and stir in the chopped chocolate. Divide the batter evenly between the two pans and smooth the tops with the rubber spatula.
Bake for 25 to 30 minutes, rotating the pans at the midway point. Transfer the cake pans to a rack and cool for about 5 minutes, then run a knife around the sides of the cakes, unmold them and peel off the paper liners. Invert and cool to room temperature right side up. Cut 8 4-inch rounds with a cookie cutter. Refrigerate for a couple of hours.

For the glaze:

6 ounces bittersweet chocolate, finely chopped
2/3 cup heavy whipping cream
1 tsp vanilla
2 ounces white chocolate

Put the chopped chocolate in a medium bowl. In a small saucepan, bring the cream to a boil. Remove pan from heat and add the chopped chocolate. Let stand for 1 minute then gently stir until chocolate is melted and the glaze is smooth. Gently stir in the vanilla. Transfer glaze to a small bowl and cover the surface of the glaze with plastic wrap and let cool for 5 minutes at room temperature before using.
Place the chilled cakes, still on the cake round, on a wire rack set over a baking sheet. Slowly pour the hot glaze onto the center of the cake. Smooth the glaze over the top and sides, letting the excess drip onto the baking sheet . Melt the white chocolate and srizzle over the cake.

Kate, I wish you all the best for this new year and wish for the day that you can show me the sights of Hong Kong!

Since I’ll be celebrating my birthday out somewhere tomorrow, I take this opportunity to wish all mothers out there a wonderful Mother’s Day tomorrow. My mom will get her own special post June 3rd when they celebrate Mother’s Day in France.

Blueberry – Acai & Pineapple Verrines

This is not only a tasty and refreshing spring dessert but a very healthy one to boot. I am going to let you in on a little habit of mine: I drink acai juice everyday….what is it? It is the juice from the acai berry, a palm fruit, originally used by the tribes of the Amazon. The fruit contains great health properties and the juice is actually quite tasty once you get acclimated to a little grassy palate.
I started drinking it when I was told to increase my levels of vitamin Bs and essential fatty acids. I hate taking pills, I almost always choke or gag and frankly I could do without all the coating additives around them…plus 1/2 cup of juice a day beats a handful of pills. I have grown to like the taste and have been trying to get B. to drink some in the morning but the man is like a tornado throughout the house..always on the go..until we both crash (yes, it is exhausting watching him!).

I figured I would try to sneak it in desserts to make sure he would enjoy the same benefits, so I came up with these "verrines" or "dessert in a glass". The blueberries have a strong enough flavor to mellow the acai juice taste if you have a reluctant tester or a picky eater, and the crushed up macaron on top, well, it’s just like the cherry on the cake!

Blueberry – Acai and Pineapple Verrines:

Serves 4

2 cups of fresh pureed or diced pineapple
2 cups fresh or frozen blueberries
1/2 tsp. ground ginger
1/4 tsp. ground cinnamon
1 tsp. lemon zest
1/3 cup acai juice
1/2 cup sugar

For the blueberry-acai layer:
In a saucepan, heat the blueberries,ginger, cinammon, lemon zest with 1/4 cup sugar until the sugar is dissolved and the blueberries start to break down and get juicy. Remove from heat, stir in the gelatin until dissolved. Add the acai juice. Let cool and divide among glasses. Refrigerate until slightly thickened.

For the pinneapple:
In a saucepan, heat the pureed pineapple with the remaining 1/4 sugar. When hot, remove from heat and stir in the gelatin until dissolved. Let cool and pour over the bluberry-acai layer.

To finish: crush up a few macarons, meringues or cookies on top of each glass and serve.

Bananas Foster Tartelettes

Well, the same says it all. This was an impromptu dessert made last night. The boys were working on the boat and I decided to have T. stay over for dinner. There was plenty for 3 but I did not have any dessert fixed up….ok I am lying, there was ice cream but only for one and if we did not want to fight over it I’d better come up with something fast. I had half of the inside-out puff pastry chilling in the fridge and some banana that were getting a little too yellow for B. so there you have it:

Bananas Foster Tartelettes:

(serves 4)

Inside Out Puff Patry (or store bought)
2 bananas
2 Tb. butter
1/3 cup light brown sugar
1/4 cup dark rum

Roll enough puff pastry to cut out 4 3-inch rounds with a cookie cutter. Lay them on a baking sheet lined with parchement paper, cover with another sheet of parchement paper and set another baking sheet on top. They will puff up but won’t get wild on you. (I did not press them flat after baking like I did with the Mille-Feuille)
Bake at 375 (F) until golden brown. Remove from the oven and allow to cool.

For the bananas:
Cut them into 1/2 inch thick slices.
In a sautee pan, over medium heat, melt the butter, add the brown sugar and the rum and sloow the sugar to melt and the mixture to thicken up a little. Put the slices in a single layer in the sauce and cook 2 minutes. Flip and cook another minute. Remove from the heat and allow to cool slightly.
Once cooled, place them in a decorative pattern on top of the tart shells, and serve.

Oh man that was good…so good I am glad I made extras….!
See…I can do uncomplicated sometimes!!!

Meet My Sugar Daddy…

Well, Lisa and Ivonne are never going to forgive me but it seems like I have an affair with Pierre Herme almost every weekend, at least on sunday afternoons when I finally can sit down and fantasize about him..ok, maybe not "him" but his culinary ventures and creations. Every macaron, gateau, pastry is a poem in itself…so does the man. As I tried to put into words what I felt for and thought if Pierre Heme, I remembered a post I had bookmarked from ubber talented pastry chef Shuna at Eggbeater. Read this and you will understand why we are infatuated!

Instead of my traditional "internet fantasies by P.H", I became completely engrossed in a book my mom gave me for Christmas years ago… I love the book and yet I probably only made a handful of recipes from it, rice pudding, a couple of sorbets, creme brulees, chocolate mousses,etc. I am afraid to touch gold…I am afraid to mess with perfection…Oh what the heck?! I am far from his level so why not…after all, he put his recipes in book, he’s got to be thinking about us and (please say so) can’t be completely narcissistic….

I always read a cookbook from the end first: the materials and ingredient sources, the index, the ingredients and above all the techniques and tips from which I can always learn.
As I was reading the book, my eyes stopped at this recipe : "pate feuilletee inversee"…or…Inside Out Puff Pastry. Yes, you read right. In regular puff pastry, the layers are created by folding pastry dough over a butter block and folding and turning it several times. Well, leave it Pierre Herme to fold the butter block over the pastry dough, folding and turning. The result is fabulous, layers upon layers of soft, airy buttery goodness. I was really curious to see how that butter block (with a minimum of flour) would behave being on the outside. Things turned out perfectly and if I could have kissed my butter right then I think I would have, but the neighbors were around and I did not want to scare anybody off.
I don’t know if Herme created the concept but it would not surprise me a bit given his ability to re-invent classics and techniques.

One particular recipe in the book caught my eyes, a "mille feuilles" also known as "napoleon" with gorgeous red strawberries, rhubarb and vanilla pastry cream. I had the dough, fresh plump raspberries and freshly roasted rhubarb. I favor simple whipped cream with raspberries and I was short on time, trying to put together an impromptu dessert for our weekly friday evening al fresco dinner with the neighbors. In other words, I skipped the pastry cream, and I am glad I did because the finished dessert was light, tart and let the dough shine through instead of taking supporting role.

Raspberry Rhubard Mille Feuilles, adapted from Pierre Herme:

Inside Out Puff Pastry: (enough for 4 napoleons and 1 large tart)
Butter Block:
190 gr soft butter
75 gr flour
Dough:
175 gr flour
7 gr. salt
60 gr melted butter
70 ml water

For the Butter block: mix together the soft butter and the flour and form into a ball, in between two sheets of plastic or parchment paper, roll into a disk 3/4 inch thick. Refrigerate 1 1/2 hours
For the dough: mix all the ingredients together, adding the water little by little until you get a smooth dough. Pat into a square 3/4 inch thick and refrigerate 1 1/2 hours.
Roll the butter block into a 1/2 inch thick disk, put the dough block on top and enclose it with the butter block (by pulling the extra butter dough over the pastry dough).
Roll into a rectangle 16×9 inch. Fold the top and bottom toward the middle, fold the dough in half. Put the folded edge toward your left, lightly press the dough with your hand and refrigerate for an hour.
Repeat one more time and refrigerate 1 hour.

For the third and final turn, roll out the dough into a rectangle again, visually dive your dough in 3 and fold the bottom and top thirds toward the middle tier. Refrigerate another hour before using in your recipe.
The dough makes more than what you might need for one tart or severl Napoleons, but it is easier to work a large quantity of puff pastry and refrigerate or freeze what you don’t use.

Remaining components:
1/2 Inside Out Puff Pastry
1 1/2 cups heavy cream, whipped to soft peaks with 2 Tb sugar
1 pint fresh raspberries.
Roasted Rhubarb:
Heat oven to 375. Cut 2 rhubarb stalks into 1 inch slices. Put them in a medium sized roasting pan, sprinkle 1/2 cup brown sugar over it and roast until the rhubarb get caramelized, about 20 minutes. Remove from the oven, let cool, and slightly mash with a fork.

Roll the dough to a 1/2 inch thick rectangle. Line a baking sheet with parchement paper, lay the puff pastry on it, cover with another sheet of parchment paper, put a baking sheet over it and bake at 375 until golden brown. The top baking sheet adds enough weight for your dough to remain under control and yet allows for the layers to puff up during baking. Remove from the oven and let cool completely.
Once cooled, cut the dough into equally sized triangles (decide the size according to your taste. I went for a base of 3 inches).

To assemble:
Put a pastry triangle on a plate, pipe or spoon some whipped cream over it, cover with raspberries. Top with a sheet of pastry, spoon some roasted rhubarb, cover with a final sheet of pastry and dust with powdered sugar.

Vanilla Cardamom Ice Cream – A Taste Of Spring


Why "A Taste of Spring"? Well, because here in South Carolina, this is just about what we have been given….a few days of clement and mellow temperature, a smidget of wind and soft blue clouds. I love spring and since I moved to SC I have been deprived of it. Scorching hot summers and mellow winters, but no spring, and don’t get me started on fall!

I knew I only had a few days to celebrate Spring and since this is a perfect "entre deux" (in between) season, I aimed to combine my 2 favorites from winter and summer.
Cardamom screams winter to me and I go through huge supplies every year: in brioches, sweet rolls, hot teas, mulled spices, moroccan dishes, creams, custards,….
As far as summer goes it should be spelled "ice cream". I tend to agree that there is no season for it but a little scoop (make mine a big bowl) of ice cream on a sultry summer day is extremely refreshing.

For this dessert, you have an ice cream maker go ahead and use it but I did not have enough room in the freezer so I froze the custard base and took it out every couple of hours or so and give it a whirl with an hand held immersion blender and everything came out perfect.

Vanilla Cardamom Ice Cream, inspired by this recipe.

4 egg yolks
2 cups half and half
4 oz sugar
1 tsp vanilla extract
5 cardamom pods, broken in half

In a large bowl, whisk the egg yolks and sugar until pale and thick, add the vanilla.
In a saucepan, on medium heat, bring the half and half and cardamom pods to boiling point but do not let it boil.
Slowly pour the hot cream onto the egg yolks mixture and stir to combine (tempering). Pour the whole mixture back into the saucepan and cook over low heat, stirring constantly, until the cream coats the back of spoon. At this point you have made a custard sauce, also known as "creme anglaise".
Let cool completely, strain the cardamom pods and refrigerate until cold. Process the custard according to your ice cream maker manufacturer’s instructions or use the hand held immersion blender described earlier.

I wish I had made 2 gallons of this…so good…so sophisticated.
I believe I have to make more if I want to have at least a couple of scoops to take to Meeta's Monthly Mingle, appropriately celebrating spring. Participate as well, so I can live Spring vicariously through you!

Mango Mango – Taste Of Yellow

If you are not a food blogger you probably do not understand why so many of us are creating and posting yellow foods…. We are all in for a good cause.

Barbara of Winos and Foodies is the driving force behind so many yellow dishes popping on your screen. Currently fighting cancer, she still finds the energy to create an event, A Taste of Yellow, to raise cancer awereness. Her idea has been recognized as an official event supporting LiveStrong Day and the Lance Armstrong Foundation on May 16th. So, whether you blog about food, cancer knows no boundaries and I urge you to make a yellow dish and post about it before May 7th, and visit Barbara’s page to learn more about it.

I have already mentioned how cancer affected my life. My brother died of oesophagus cancer at 38 years old, and recently my grandmother passed away from complications of breast cancer. One life cut too short, the other one well filled and ready for the next journey. Pain, anger and sadness are part of my daily routine but I feel comfort and strength in reading or meeting people fighting or surviving cancer. Whoever said the pain dimishes with time was wrong, way wrong, that’s why I jumped on the occasion to participate. I hope and pray that no one has to go through the pain of saying goodbye to a sibbling, child or relative who suffered through cancer and did not make it. Our family has grown stronger and closer being tested in their faith, love and friendship and not in our futile attempts at cheating death.

I was staring at all the yellow foods at the store when I found my hands grazing a crate of beautifully ripe and fragrant mangoes. A couple lemons and four mangoes later I was back in the kitchen putting my yellow dessert together.

For this, I drew my inspiration from Richard Leach’s Sweet Seasons, once again, adapting his "Lemon-Mango Coupe" to be easily made in a home kitchen.
The components can be made over several days and the whole thing put together the day you plan on serving it. From bottom to top:
-base of Ultimate Lemon Pound Cake
– lemon custard cream
– diced mangoes
– sour cream topping
– mango sorbet in spring roll wrapper tubes

All Mango – All Yellow:

Serves 8

Ultimate lemon pound cake : 8 slices needed. Recipe here.

Cut the slices using 2.5 inch metal rings (8 slices-8 rings). Set the rounds on a sheet pan. Set aside.

Lemon Custard:

1 cup (236 ml) lemon juice

1/2 cup (118 ml) sugar

4 eggs

2 egg yolks

1/2 cup (118 ml) creme fraiche or sour cream

zest of 1 lemon

Preheat oven to 300 degrees.Combine lemon juice, sugar, whole eggs and eeg yolks in a bowl and whisk until smooth. Add the creme fraiche and lemon zest. Incorporate well.
Line the inside of an 8 inch round cake pan with plastic wrap. Do not worry, it will not melt. Fill the pan with the custard and place it on deep sheet pan or roasting pan. Fill the larger pan with water and bake the custard in this water bath for 30 minutes or until set. Allow to cool and refrigerate.
Cut the custard using the 8 rings previously used for the cake slices. The custard should remain in the rings, place them on the sheet tray on top of the cake rounds. I did this tricky move by using a spatula, sliding it under the tubes, lifting them carefully with my hand and quickly setting them on the cake rounds.

Mango filling:

2 fresh mangoes, peeled and diced

1/2 cup sugar, divided

1 tsp freshly grated ginger

2 cups cream fraiche.

Lightly sprinkle the mango with 1/4 cup sugar and toss gently. Fill the rings with the mango to withing 1/2 inch of the tops.
Combine the creme fraiche with the remaining 1/4 cup of sugar. Carefully spoon it into the rings and smooth the tops. Place in the refrigerator.

Mango Sorbet:

4 cups diced mangoes

1 1/2 cups water

2 cups granulated sugar

juice of 1/2 lemon

Combine all the ingredients ina saucepan and brigng to a simmer. Cook for 5 to 10 minutes, remove from the heat and puree until smmoth. Pass through a sieve. Cool completely and process in an ice cream machine according to the manufacturer’s instructions. Keepp frozen until ready to use.

Spring Rolls Rings:

4 large spring roll wrappers

1/4 cup clarified butter

1 egg white, slightly beaten

Heat oven to 350. Cut the wrappers into strips 3 inches wide and 5 inches long. Butter the strips, with a pastry brush, leaving 1 inch unbuttered. Using 16 metal tubes 1 inch in diameter, roll the wrappers around the tubes. Brush the butter free space with the egg white and overlap a amll ostion of the wrapper, sealing it.Bake for a couple of minutes or until brown. Watch closely.
Slide them off the tubes and let cool completely.

To assemble: place some mango sorbet into a pastry bag and pipe it into the spring roll tubes. Place 2 on a plate, side by side. Unmold the mango dessert next to them. Decorate as you wish.

Chocolate Ice Cream Pops

It’s hot here…really hot. Leave it to South Carolina to skip spring and go right into summer!

We are starting to crave ice cream…bad! I am impatiently awaiting David’s new cookbook, the ice cream maker is all polished and shiny but we need something to cool us down…now! Yes, we could go and buy some but what fun would that be when I can whip this little cuties out?!

The day I made the Banana-Chocolate Bonbons I doubled on the recipe since it was pretty tasty. Turned out that half of the chocolate pudding stayed in the fridge while I tended to other creations. To top things off, we did not really feel like eating it "like that", so I came up with these.

Dark Chocolate Ice Cream Pops:

Chocolate Pudding:

1/2 cup sugar

2 tablespoons cornstarch

4 ounces fine-quality bittersweet chocolate

2 Tb cocoa powder

1 1/2 cups whole milk

1 large egg yolk

1 tablespoon unsalted butter

1/4 teaspoon vanilla

In a heavy saucepan whisk together sugar, cornstarch. Add chocolate and cocoa powder to sugar mixture. In a bowl whisk together milk and egg yolk and gradually whisk into chocolate mixture. Bring mixture just to a boil over moderate heat, whisking constantly, and boil 1 minute, whisking. Remove pan from heat and whisk in butter and vanilla.Divide pudding between two 8-ounce ramekins. Chill puddings in freezer, surfaces covered with plastic wrap, until cooled, about 30 minutes.

1 cup heavy cream, whipped to stiff peaks.

For the pops: once the pudding has cooled, gently fold the whipped cream into it. Pour the batter into 4 ice cram pops, or 4 glasses like I did. Put a wooden ice cream stick on the middle, and freeze until firm.

Easy to make on a hot day and easier to eat on a hotter day!

We Have A Winner !

Well, it was another close call but all the votes for this Mousse round of Hay Hay it’s Donna Day have been added and double checked and I have the pleasure of announcing the winner:

Katie from Other People’s Food with her Le Kit Cat Mousse . Congratulations Katie! By winning Katie will receive this book by Trish Deseine and she will be hosting the next round of HHDD, so keep checking her blog!


It was a great pleasure to host this round and ya’ll made my blog look moussy good. Thanks again for the pleasure of having me as host!

Darkest Chocolate Crepe Cake

Don’t be fooled by how cute these look…I am almost 100% convinced I will not make them again…at least not like this…

These three chocolate crepe cakes were actually part of a bigger group of 10, and shamelessly served to my dinner guests so I could complete my April Daring Baker challenge and tell you all about it. Remember the croissants or red velvet cakes? Yep, it is that time of the month again and our group grew even bigger this time so if you see 29 other Chocolate Crepe Cakes in various sizes and flavors, do not reset your computer. We decided to go big, go high…except with my never ending love of individual desserts I went small but high. But fear not, from all our discussions it appears that all of us have had very different experiences with the same recipe, so I urge you to read all the other Daring Bakers’ posts to have a idea and in some cases a good laugh.

Don’t get me wrong, the guests were delighted with the presentation, all those caramel dipped hazelnuts and mini caramel corkscrews. Yes, I could have gone another road and make it exactly asand I love crepes. For crying out loud, I come from the country of crepes, I make them every February for the Chandeleur, I even once made over 100 for our Girl Scout troups meeting! Yet, I hated these!

I had no major trouble making the crepes, except that the batter was thicker than what I like to work with and the chocolate flavor did not really come through despite the 70% Lindt chocolate that I used. I like crepes on the lighter side, the ones I can swirl easily in a hot sauté pan with a slight and graceful wrist movement (or so I like to think!); the ones that have tiny microscopic holes in them once cooled thanks to a little added beer to bring some air into them. In my case, Martha’s crepes were on the heavy side, kind of gummy, took longer to cook and required much patience while being flipped and handled. I ended up with about 30 crepes. To make the mini cakes, I took out 3 inch metal rings, cut out rounds in the crepes and began alternating filling and crepes until I had used all the crepes.

The icing was the part that I liked the least. It was a thin ganache, which made it easy to spoon on top of the cakes but it slid down the sides way too fast to cover them nicely. Looking at Martha’s picture I understand that it was to show the essence of the cake, kind of like “rustic ingredient (crepe) goes to the ball (caramel work)”, but that did not do it for me…I like smooth when it comes to chocolate icing….

Now the filling was another story! “Awesome” pretty much describes it. When Brilynn chose the recipe (Martha Stewart’s) this month, she was kind enough to let us play with the original and some of us decided t go another route. I originally made a blood orange cream, inspired by a lemon one from Pierre Herme , but it was so good we ended up spooning it on toasts, brioches, scones, anything but the crepes…shame on us, but that cream is so good it deserves its own post, so I went for the filling given in the recipe but made my own hazelnut paste (see end of post) because unlike Martha I did not find any “hazelnut cream” anywhere…that was too vague for my taste. I could eat this filling simply with a spoon and it would be fantastic in a macaron or sandwiched in 2 thin shortbread cookies.

The final component of the cake was the caramel….and this is when I usually do a happy dance. I absolutely love working with caramel, but was not always the case but I had a great teacher in Old Chef and I am continuously learning from him. He is the same one who made me handle boiling hot sugar with my bare hands (burning them) almost 8 years ago so I “would get used to it”…(crazy old French man!) and yet I love him and love working with him. I disgress… To me caramel is as confusing, fun, tantrum-prone, and alive as yeast. There is always room for improvement and always thousands of way to handle it. At home, I use all kinds of weird contraptions to play with hot sugar. I duct tape 2 wooden spoon to my countertop above the dishwasher, open the door and spun my sugar in between the spoons. Once I am done, close the dishwasher door and turn it on…and voila…clean up done.

I thought about doing it nice little nest of spun sugar but I had already done that for the Chocolate Intensity challenge and I feared the mini cakes would get drowned under them, so I kept it pretty simple and clean. (Very Martha said B.) For the caramel hazelnuts I attached them to long skewers dipped them into the caramel, stuck the skewers into an apple and balanced the apple above the dishwasher. For the corkscrews, I lightly oiled a metal skewer and twirled the caramel around it. Let it dry a minute and let it slide off onto a lightly oiled parchment paper lined baking sheet. Make sure the caramel is thick enough to play with. One easy cooling method is to put your pan into a larger one filled with ice as soon as your caramel has taken on the right color on the stove. If it gets too thick, simply reheat on low for a minute. Oh, and have scissors near by in case those caramel strands start taking on a life of their own!

To sum up: it was kind of a mixed bag of feelings for me this month. Too much fuss for an okay cake. I can’t talk for the other gals just yet but I suspect that there were as many different experiences and opinion as they were Daring Bakers involved. The techniques employed are not difficult to master even for a novice ( ok-ok- I am the weirdo that thinks that practicing flipping crepe should be a Sunday activity!), but the batter consistency makes it a pain. Texture wise, I am guessing that unless you use good quality chocolate you won’t taste it much in the final product. Taste wise, it is a shame to say but the filling makes the cake.

To see what my fellow Daring Bakers have done, check out the drop down menu on the right side of this blog.

Hazelnut Paste, from Cook’s Thesaurus
Coarsely chop one pound roasted hazelnuts. In a food processor or blender, finely grind about 1/3 of the nuts at a time, until mealy. Add egg whites from 3 large eggs, 2 cups powdered sugar and 2 teaspoons hazelnut liqueur. Blend until paste forms. Wrap and store in a covered container, up to 2 weeks. Makes 2-3 cups

Update: per Lisa’s request here is my unprofessional technique to let my caramel dry…:

Remember to Vote

Chef Louis here is keeping track of your votes on my chalkboard pantry door and he is not very busy at the moment.

Remember to vote for your favorite mousse to complete this round of HHDD. Voting ends tomorrow at midnight. Drop me an email at marinette1ATcomcastDOTnet with your favorite number!